

Welcome to the only recipe you’ll ever need for the fastest, most satisfying, and endlessly versatile dessert imaginable. Prepare to master the art of the no-bake bar and become the hero of every sweet craving.
Imagine the scene: it’s a sweltering summer afternoon, and the thought of turning on your oven feels like a crime. Or maybe it’s a frantic weeknight, the kids are demanding a treat, and your energy reserves are running on empty. Perhaps you’ve just received a last-minute invitation to a potluck, and the panic of “What can I bring?!” is starting to creep in. In all these scenarios, there is one simple, glorious answer that requires no baking, minimal cleanup, and just a handful of pantry staples.
Enter the legendary No-Bake Monster Cookie Bar. This is more than just a recipe; it’s a culinary lifesaver. It captures all the nostalgic, comforting flavors of a classic monster cookie—the rich, salty peanut butter, the hearty, chewy oats, the delightful pops of chocolate—and transforms them into an incredibly easy, press-in-the-pan treat. Forget the hassle of creaming butter and sugar, the anxiety of cookies spreading too thin, or the mountain of dirty bowls. We are embracing the profound beauty of simplicity to create something truly spectacular.
At its heart, this is a 3-ingredient oatmeal bar, a testament to the fact that amazing flavor doesn’t require a complex shopping list. In this comprehensive guide, we will not only walk you through the foolproof base recipe but also explore the science behind why it works so perfectly. We’ll dive into an entire universe of creative customizations, from healthy twists to decadent upgrades, and provide a detailed FAQ to answer every question you could ever have. Get ready to fall in love with the easiest, tastiest no-bake oatmeal bar you’ve ever made.
7 Reasons Why These Bars Will Change Your Life
If you’re not yet convinced that these peanut butter oat bars deserve a permanent place in your kitchen repertoire, let’s break down exactly why they are so revolutionary. This isn’t just about a quick dessert recipe; it’s about adopting a smarter, simpler approach to satisfying your sweet tooth.
- Unbelievably Simple: We cannot overstate this. The core recipe uses just three common ingredients and one bowl. The process is so straightforward that it’s the perfect “first recipe” for kids to build their kitchen confidence, and an absolute lifesaver for novice bakers or anyone short on time. It is genuinely, wonderfully foolproof.
- No Oven, No Problem: This is the ultimate selling point. As the quintessential no oven treats, they are a blessing on hot summer days when adding heat to your home is the last thing you want to do. They’re also a game-changer for those in dorm rooms, RVs, temporary housing, or anywhere an oven isn’t available.
- Ready in a Flash: The active preparation time, from gathering ingredients to pressing the mixture into the pan, is about 10 minutes. Ten minutes! The hardest part is simply waiting for them to set in the fridge. This makes them the undisputed champion of the last-minute dessert world.
- Wholesome and Hearty: While undeniably a treat, these bars possess a satisfying substance that a simple cookie lacks. Packed with protein from peanut butter and slow-release energy from the fiber in old-fashioned rolled oats, they function as a “snack-sert” that actually curbs hunger and keeps you feeling full longer.
- A Canvas for Creativity: The 3-ingredient base is your delicious, blank slate. The real magic begins when you start to customize. You can transform them into true monster cookies with M&M’s and chocolate chips, make a healthier version with seeds and dried fruit, or create an indulgent masterpiece with a rich chocolate ganache topping. The possibilities are truly endless.
- Perfectly Portable: Once chilled and set, these bars are remarkably sturdy and hold their shape beautifully. This makes them an outstanding choice for school lunchboxes, picnics, road trip snacks, care packages, and bake sales. They are a reliable and mess-free potluck dessert idea that everyone will love.
- Allergy-Friendly Potential: With a few easy and accessible swaps, this recipe can be adapted to suit various dietary needs. Use pure maple syrup for a vegan version, certified gluten-free oats for a GF treat, and sunflower seed butter for a completely nut-free option that’s safe for school events.
The Magic Trio: A Deep Dive Into Your Ingredients
A truly great recipe is about understanding the role of each component. Knowing why these three ingredients work together in perfect harmony is the key to mastering your no-bake monster cookie bars and feeling confident enough to experiment and adapt the recipe to your liking.
1. Peanut Butter: The Flavorful Binder
The peanut butter is the undisputed star of the show. It performs two critical functions: it provides the rich, nutty, and slightly salty flavor that defines the bar, and more importantly, it acts as the primary structural binder. The natural fats in the peanut butter solidify when chilled, which is what holds the entire bar together.
- The Best Choice for Success: For the most reliable, firm, and perfectly set bars, we strongly recommend using a standard, processed creamy peanut butter (like Jif, Skippy, or a store-brand equivalent). These peanut butters contain added emulsifiers that prevent the oil from separating. This stability is a massive advantage in no-bake recipes, as it guarantees a consistent texture and ensures your bars bind tightly without becoming an oily or crumbly mess.
- Navigating Natural Peanut Butter: You can certainly use natural peanut butter, but you must be prepared for a different result and may need to make adjustments. Natural peanut butters, where the oil separates, are often runnier or, conversely, drier and grittier once stirred. This can lead to bars that are softer and more prone to falling apart. If you choose this route, make sure your natural peanut butter is extremely well-stirred. You might also need to add a tablespoon of melted coconut oil or a bit more liquid sweetener to achieve the right binding consistency.
- Crunchy vs. Creamy: This is purely a matter of personal texture preference! Using crunchy peanut butter is an excellent way to add extra texture and nutty bits throughout the bars without any extra ingredients. However, for that classic, smooth, melt-in-your-mouth base that allows other add-ins to be the textural stars, creamy is the traditional choice.
2. Honey or Maple Syrup: The Sweet Glue
This liquid sweetener is far more than just for taste; it’s the sticky, viscous adhesive that works in tandem with the peanut butter. It coats every oat, makes the mixture pliable enough to press into the pan, and helps it firm up into a solid bar upon chilling.
- Honey: The classic choice for traditional honey and oat bars. Its natural thickness and pleasant floral notes are a perfect complement to the saltiness of peanut butter. Any standard liquid honey from the grocery store will work perfectly.
- Maple Syrup (The Real Stuff!): A fantastic alternative that creates a slightly different flavor profile—richer, more complex, with a hint of caramel and woodsy notes. It is crucial to use pure maple syrup, not “pancake syrup,” which is primarily corn syrup and will not set properly. Using pure maple syrup is the key to creating a delicious vegan no-bake monster cookie bar. Since maple syrup is slightly thinner than honey, your final bars may be a touch softer, but they will still set up beautifully.
3. Rolled Oats: The Chewy Foundation
The oats are the backbone of the recipe. They provide the bulk, the signature chewy texture, and the hearty, satisfying quality that makes these bars so much more than a simple confection. The type of oat you select will have the single biggest impact on the final texture.
- Why Rolled Oats are King: For this recipe, old-fashioned rolled oats are the gold standard. These are whole oat groats that have been steamed and then flattened, preserving their large, thick flake shape. This structure provides the absolute best chewy, toothsome texture and gives the bars a rustic, substantial quality. They are absorbent enough to soak up the binder without turning into mush.
- A Note on Quick-Cooking Oats: You can use quick oats in a pinch, but be aware of the textural trade-off. Quick oats are rolled thinner and cut into smaller pieces, so they absorb liquid faster. This results in a bar that is softer, denser, and has a more uniform, almost dough-like consistency. Some people prefer this, but it moves away from the classic chewy oatmeal bar experience.
- The Unbreakable Rule: No Steel-Cut Oats! This is the one non-negotiable rule of this recipe. Steel-cut oats are raw, chopped oat groats that are incredibly hard and dense. They require significant cooking time with liquid to become edible. Using them raw in this no-bake recipe will result in bars that are unpleasantly hard, gritty, and will feel like you are chewing on tiny pebbles. Do not use them.
- For a Gluten-Free Treat: While oats are naturally gluten-free, they are often grown and processed in facilities that also handle wheat, rye, and barley, leading to cross-contamination. To create a genuinely gluten-free no-bake oatmeal bar, it is essential that you purchase oats that are explicitly labeled and certified as “gluten-free.”
Recipe: The Ultimate No-Bake Monster Cookie BarsYIELD: 16 bars INGREDIENTS
CLASSIC MONSTER COOKIE ADD-INS (OPTIONAL)
INSTRUCTIONS
|
Taking It to the Next Level: Endless Variations
The 3-ingredient base is a delicious starting point, but the real joy of this recipe is making it your own. Here’s how to make these true Monster Cookie Bars and explore other creative and delicious ideas to suit any taste or occasion.
The Classic Monster Cookie Upgrade
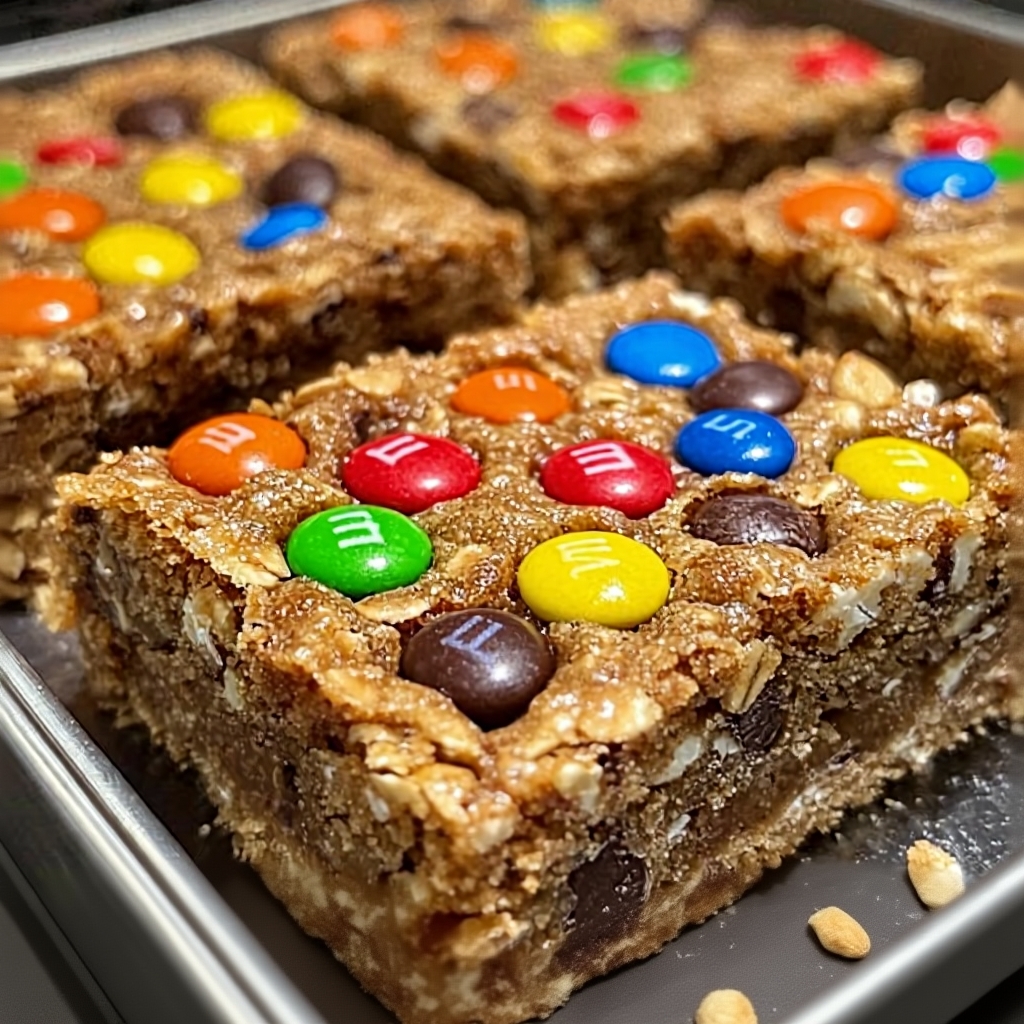
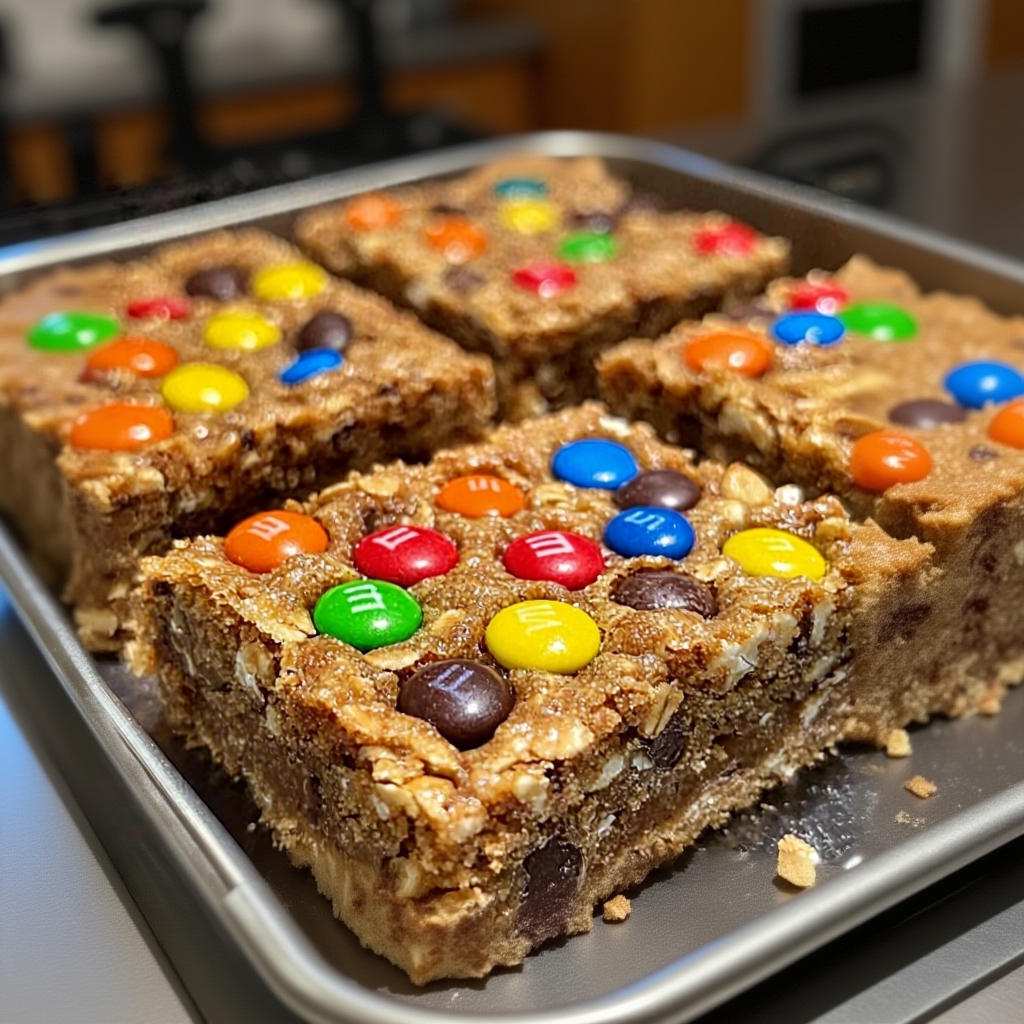
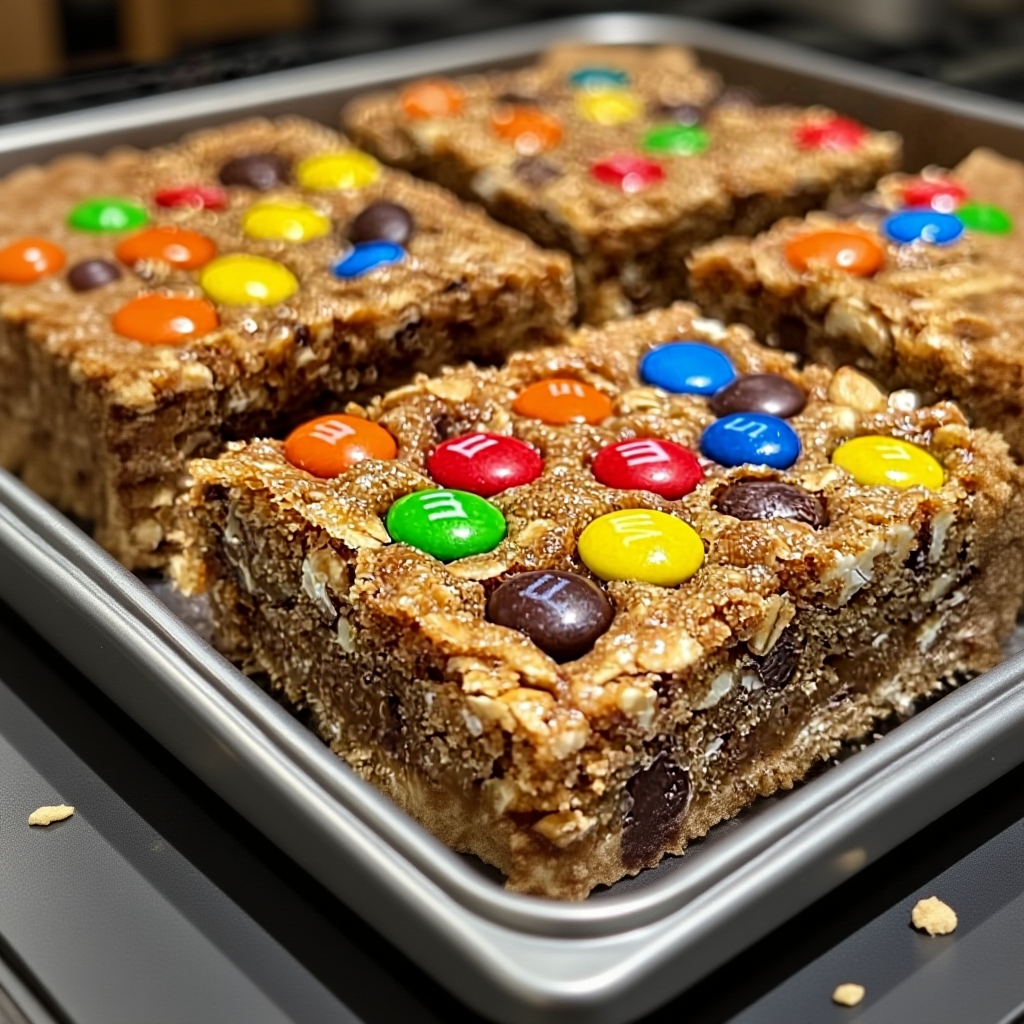
To capture that authentic, nostalgic “monster cookie” experience, you need pops of color and bursts of chocolate. This is the most popular and highly recommended variation for a reason!
- The Perfect Add-Ins: You’ll want M&M’s and chocolate chips. For the best distribution and a perfect blend of flavors in every single bite, we strongly suggest using the mini versions of both.
- How Much to Add: A great starting point is 1/2 cup of mini M&M’s and 1/2 cup of mini semi-sweet chocolate chips. Feel free to adjust to your liking!
- The Right Time to Add Them: This is important for texture and appearance! Add the M&M’s and chocolate chips after the oats are fully incorporated, right at the very end. Fold them in gently just until they are distributed. For that bakery-style look when making no-bake bars with M&Ms, reserve a small handful to press onto the top of the bars right before you put them in the fridge to chill.
For the Chocolate Fanatic: A Decadent Topping
Elevate your bars from a simple snack to a truly indulgent dessert with a smooth, rich chocolate topping. This simple addition makes them look and taste incredibly luxurious. Melt 1 cup of semi-sweet chocolate chips with 1 tablespoon of coconut oil or butter in the microwave in 30-second bursts, stirring until smooth. The fat is essential for a glossy finish that cuts cleanly without cracking. Pour the melted chocolate over the pressed oat mixture in the pan before chilling. Use a spatula to spread it into an even layer, then refrigerate to set both layers at once.
Texture and Crunch Boosters
If you love a symphony of textures in your desserts, these add-ins are for you. Mix and match up to 1 cup total to create your perfect bar.
- Crispy Rice Cereal: For a lighter, crispier texture that perfectly complements the chewy oats, fold in 1 cup of crispy rice cereal (like Rice Krispies) along with the oats.
- Nuts & Seeds: Add a deeper nutty flavor and satisfying crunch. Stir in 1/2 cup of chopped roasted peanuts, pecans, or walnuts. For a nut-free crunch and a boost of nutrients, try sunflower seeds or pumpkin seeds (pepitas).
- Shredded Coconut: For extra chewiness and a hint of tropical flavor, add 1/2 cup of sweetened or unsweetened shredded coconut. Toasting the coconut briefly in a dry skillet before adding it will intensify its flavor beautifully.
- Crushed Pretzels: For that irresistible sweet-and-salty combination, fold in 1/2 to 3/4 cup of roughly crushed pretzels.
Storage, Serving, and Freezing Guide
Proper storage is absolutely essential to maintain the perfect texture and freshness of your no-bake monster cookie bars.
Refrigeration is Required
Because these bars are held together by the chilled fats in the peanut butter, they must be stored in the refrigerator. If left at room temperature, especially in a warm environment, they will become soft, sticky, and may fall apart.
- Method: After cutting the bars into squares, place them in a single layer in an airtight container. If you need to stack them, always separate the layers with sheets of parchment or wax paper to prevent them from sticking together.
- Duration: Stored correctly, they will stay fresh and delicious in the refrigerator for up to 2 weeks.
Freezing for Future Cravings
These are incredibly freezer-friendly bars, making them perfect for batch-prepping or ensuring you always have a quick treat on hand for unexpected guests (or cravings).
- Method: For best results, cut the bars into individual portions before freezing. Wrap each bar tightly in plastic wrap to protect it from moisture and freezer burn, then place all the individually wrapped bars into a larger freezer-safe zip-top bag or container.
- Duration: They will keep perfectly in the freezer for up to 3 months.
- Thawing: You can thaw them in the refrigerator for about an hour, or on the counter for 15-20 minutes. But here’s a pro-tip: they are absolutely fantastic eaten straight from the freezer for an extra firm, super chewy, and refreshing treat!
Your No-Bake Questions, Answered! (FAQ)
Here are the answers to the most common questions about making the best no-bake recipe for monster cookie bars.
Help! Why are my bars crumbly and falling apart?
This is the most frequent issue and it’s almost always due to one of three things. First, your ratio of dry to wet ingredients might be off; if the mixture looks dry and not very sticky when mixing, add another tablespoon of peanut butter or honey. Second, you may have used a very dry, natural peanut butter that lacks the binding power of processed versions. Third, and most commonly, you didn’t press the mixture firmly enough into the pan. You must use significant pressure to compact the mixture tightly, eliminating air pockets and forcing the ingredients to fuse together as they chill.
Can I make these bars nut-free?
Yes, absolutely! Making a nut-free version of this easy dessert bar is simple. Substitute the peanut butter with an equal amount of creamy sunflower seed butter (like SunButter), which has a similar consistency and works perfectly as a binder. Be sure to also use nut-free add-ins, like chocolate chips that are certified as being produced in a nut-free facility.
How do I get those perfect, clean-cut squares?
The secret to professional-looking, clean-cut bars is a combination of temperature and technique. First, be patient and chill the bars thoroughly—a minimum of 2 hours, but overnight is even better. The colder and firmer the block, the less it will crumble. Second, use the hot knife trick. Fill a tall glass with very hot water. Dip a large, sharp chef’s knife into the water for a few seconds, then wipe it completely dry with a towel. The hot, dry blade will slice through the cold bars like butter. Repeat this dip-and-wipe process between each cut for flawlessly clean edges.
Can I add protein powder to these bars?
Yes, you can easily turn these into high-protein homemade energy bars. Add 1 to 2 scoops (about 1/4 to 1/2 cup) of your favorite vanilla or chocolate protein powder when you add the oats. However, be aware that protein powder is extremely absorbent and will significantly dry out the mixture. You will need to compensate by adding more liquid. Start by adding an extra tablespoon or two of honey/maple syrup, or a splash of milk (dairy or non-dairy), until the mixture reaches the correct sticky, press-able consistency.
Are these bars actually healthy?
“Healthy” is a subjective term, but these can certainly be considered a “healthier” treat. They are made with simple, recognizable ingredients. The rolled oats recipe provides whole grains and fiber, while peanut butter offers protein and healthy fats. This makes them more satisfying and nutrient-dense than many processed snacks. However, they are still a calorie-dense dessert, so they are best enjoyed in moderation as a wonderful kid-friendly snack or treat.
