

Ever wanted to turn an ordinary afternoon into a color-splashed, sparkly adventure? You’re in for a treat! Rainbow Sensory Foam Dough is the softest, fluffiest, most fun thing you can make with just cornstarch, shaving cream, and a little glitter magic. 🧼✨
According to a 2024 parenting survey, 82% of parents said sensory play helps reduce screen time and improves focus—and this project is a winner in both departments! It’s part science, part art, and 100% fun. Whether you’re a homeschooling parent, a crafty auntie, or just someone who loves colorful chaos, this DIY is a must-try.
Why Sensory Dough Is a Must for Kids
I still remember the first time my niece squished a ball of homemade rainbow sensory dough between her fingers—her eyes went wide like I’d just handed her a unicorn. That was the moment I knew: this stuff is magic. Over the years, I’ve made all kinds of DIY sensory play recipes, but nothing gets the giggles going like this one.
The Calm in the Chaos
If you’ve ever tried calming sensory activities with a room full of toddlers, you know the struggle. Sensory dough is a lifesaver—it gives their little hands something to do, and their minds something to focus on. One rainy afternoon, we were stuck inside, and I pulled out a batch of this foam dough. Within minutes, the usual wrestling match over screen time turned into quiet, creative play. I actually had time to drink coffee. Hot. Imagine that.
It’s Not Just Play—It’s Brain Fuel
What surprised me most? How much this kind of sensory activity supports fine motor skills development. Kneading the dough, squashing it, rolling tiny “snakes”—these little movements strengthen hand muscles and coordination. My sister’s OT even confirmed it: stuff like this helps with pencil grip later on. Who knew glittery goo could prep kids for school?
Budget-Friendly, Brain-Friendly
Most folks think you need fancy toys for effective sensory activities for toddlers. Nope. A can of shaving cream, some cornstarch, and a splash of food coloring? You’re golden. I’ve made batches for under $3, and the playtime payoff is hours. Plus, you skip the plastic packaging and weird chemicals that come with store-bought stuff.
Let Them Lead
One tip I learned the hard way: let them mix the colors. Yep, even if it turns into a weird brown blob. The freedom to experiment is where the learning happens. My nephew once turned his dough into a whole “galaxy ball,” complete with sparkly meteor trails. He explained it in full dramatic detail—right down to the alien invasion.
The “Keep It Together” Trick
Look, we all know the chaos that can come with messy play. I’ve found that putting down a silicone baking mat and giving each kid their own mixing bowl saves my sanity. Plus, I always keep some wipes nearby—because kids + glitter = an explosion waiting to happen.
So yeah, sensory dough isn’t just a fun activity. It’s DIY therapy, learning disguised as play, and—if we’re being honest—pure, squishy joy. Don’t underestimate what a little shaving cream and cornstarch can do. It might just save your afternoon (and your sanity).
Ingredients You’ll Need (And Why They Work)
Okay, let’s talk ingredients—because nothing kills a DIY faster than realizing halfway through you’re missing something weird like “cream of tartar” (what even is that?). That’s why I love this rainbow sensory foam dough recipe: the ingredients are simple, safe, and already sitting in most cabinets.
1. Cornstarch: The Soft Stuff
This is your base. Cornstarch gives the dough that dreamy, powdery softness that melts in your hands but still holds shape when squished. And if you’re like me—aka, someone who’s tried 12 versions of homemade playdough without cream of tartar—this one’s a total win. Cornstarch is affordable, easy to find, and 100% edible (though I wouldn’t recommend snacking on the dough).
2. Shaving Cream: The Fluff Factor
Here’s where things get fun. Regular foamy shaving cream turns boring starch into fluffy magic. I tried using gel shaving cream once by accident and… yeah, don’t. You want the old-school white stuff. I always go for unscented to keep things allergy-friendly—it makes the activity more suitable for non-toxic sensory play. Plus, it feels so dang good when you mix it in. Like marshmallow fluff, but less sticky.
3. Food Coloring: Bring on the Rainbow
Don’t be shy with the color! I start with 4–5 drops, but sometimes I add more to get those bold, punchy shades. You can mix colors to teach kids how red and yellow make orange, blue and red make purple—all that preschool color theory. Just a heads-up: some brands stain more than others. I learned the hard way when my toddler had Hulk hands for a day.
4. Glitter (Optional but Highly Recommended)
I used to skip glitter because I was terrified of the cleanup. Now? I just accept it. Glitter makes the dough feel magical, and kids lose their minds over it. You don’t need much—just a sprinkle in each bowl—and suddenly it’s “Frozen” meets science class. For safer use, go with biodegradable glitter or large flake types, especially for younger kids.
5. Small Bowls: For Easy Mixing
Sounds boring, but trust me—this keeps the chaos contained. Let each kid have their own bowl of dough to color and mix. It becomes their “project,” and it somehow cuts down on the mess. (Well… slightly.)
I’ve tried fancier recipes before, but this combo is cheap, effective, and hits all the marks for safe sensory ingredients. Plus, there’s something magical about watching ordinary kitchen items become the star of the afternoon. It’s like science, art, and parenting survival—rolled into one squishy ball of rainbow joy.
Step-by-Step DIY Instructions
Alright, now for the real fun—making the dough. The first time I made this stuff, I didn’t expect it to actually work. I figured it’d be a sticky mess or turn into some weird science experiment gone wrong. But nope! It was shockingly smooth, fluffy, and a total hit with the kids. Here’s how to make sensory foam dough without overthinking it.
Step 1: Mix the Base
Start by dumping 2 cups of cornstarch into a big bowl. Then squirt in 1 cup of shaving cream—eyeballing it is totally fine, this isn’t gourmet cooking. Mix it together with a spoon at first (or your hands, if you like the squish). It should feel light, soft, and moldable. Too dry? Add a bit more shaving cream. Too wet? More cornstarch. Think fluffy cloud meets stress ball.
Pro tip: Don’t mix like you’re baking. Mix like a kid—messy, impatient, and curious.
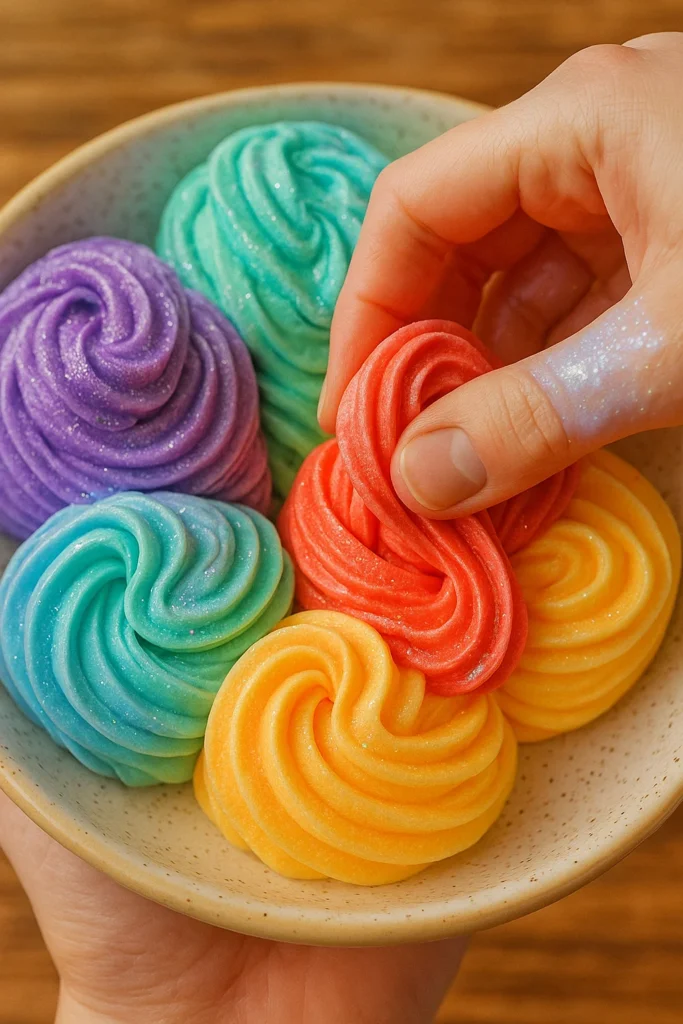
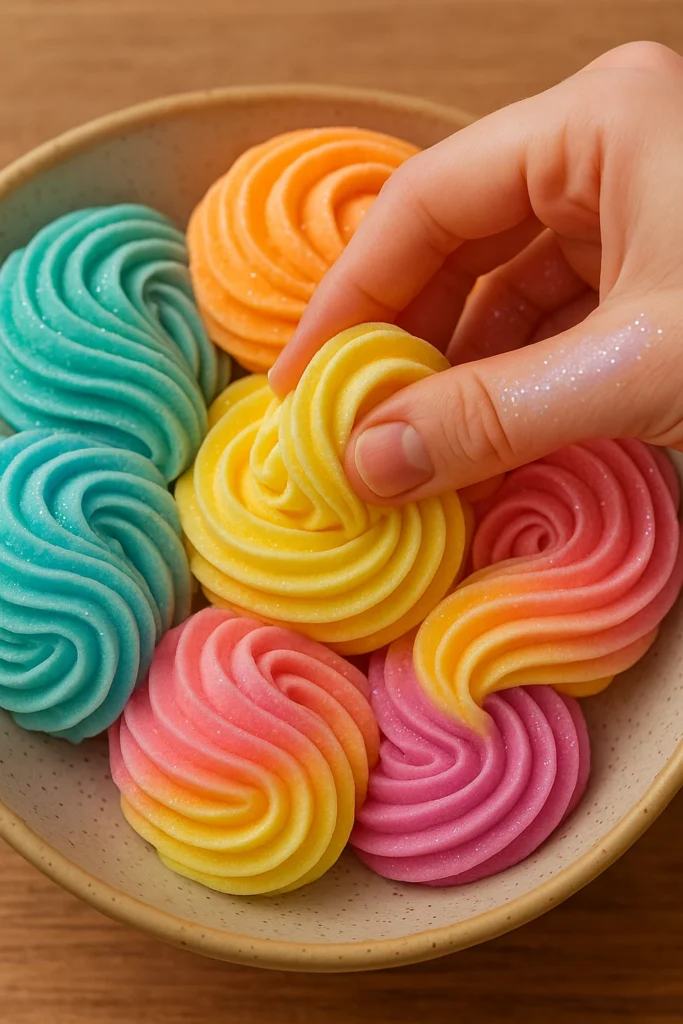
Step 2: Divide and Conquer
Once your dough is formed, split it into smaller portions. I usually go with 5–6 bowls so we can get a full rainbow, but honestly? Even just red, blue, and yellow can make the magic happen. This step helps avoid color wars if you’ve got more than one kid. Ask me how I know…
Step 3: Add Color
Now drop in the food coloring—4–5 drops per bowl should do it. Then knead like your life depends on it. Your hands will look like a tie-dye shirt at first, but it washes off. My tip? Wear gloves if you’ve got anywhere to be that day. The colors blend better as you knead, and the dough becomes this vibrant, satisfying blob.
Step 4: Add Sparkle (Optional)
This part is totally up to you, but come on… glitter makes everything better. I let the kids sprinkle their own into each bowl and suddenly they’re all Elsa casting spells. Just don’t sneeze while doing it. Learned that lesson the hard way. 💨✨
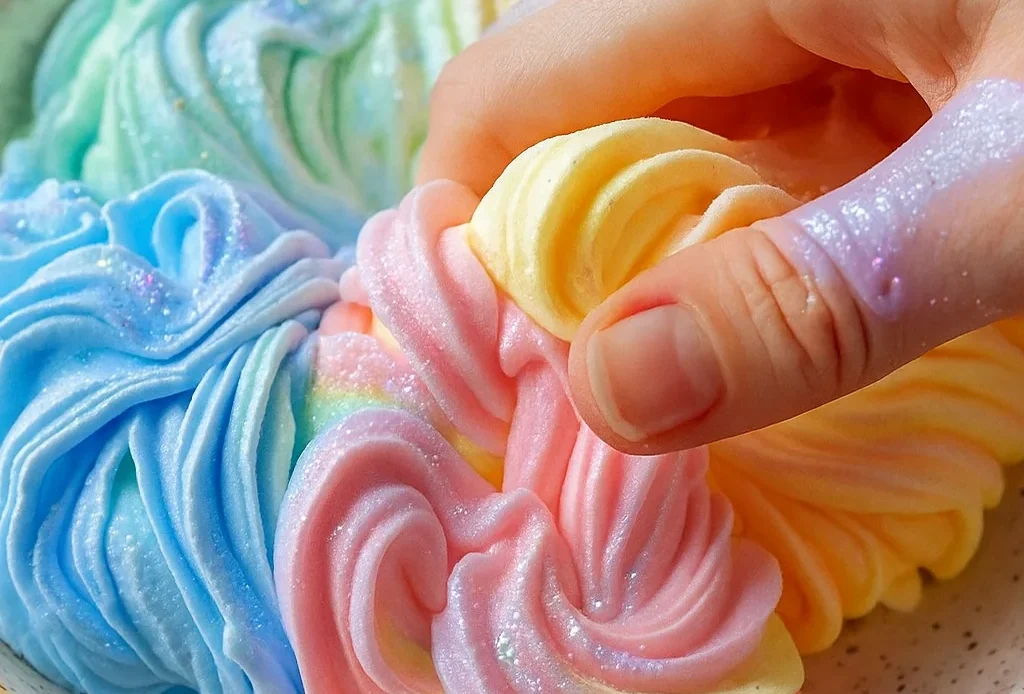
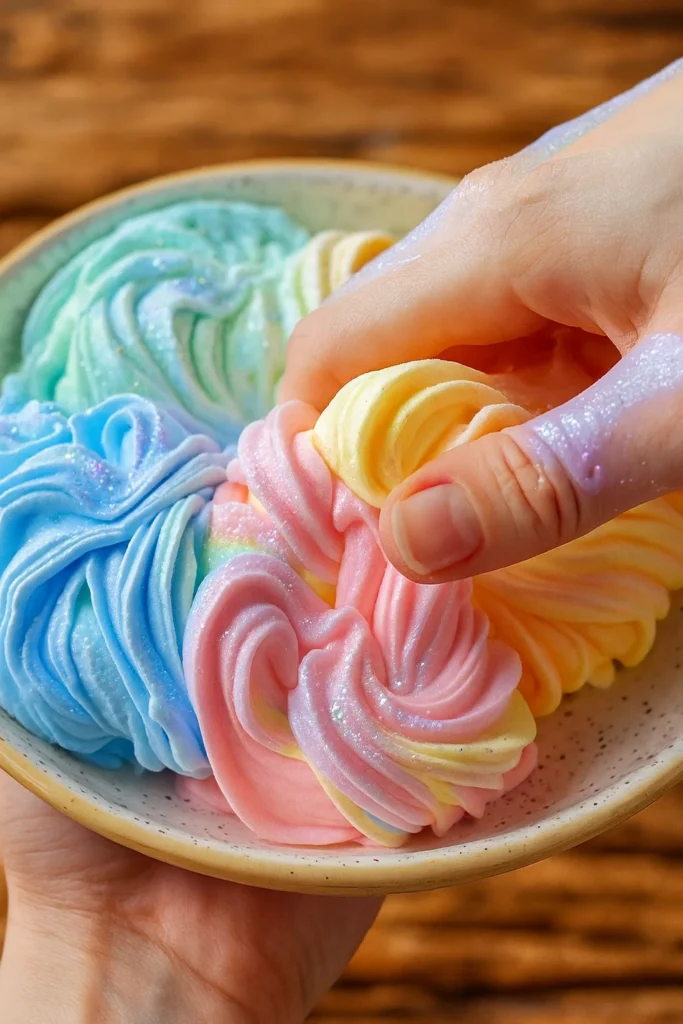
Step 5: Combine the Colors
Here’s the magic moment: bring all the colors together into one giant rainbow ball. You can twist, layer, or roll them into a swirl. It’s mesmerizing to watch—and the kids usually end up mixing it into one cosmic color anyway. That’s part of the charm.
This whole project takes about 15 minutes start to finish, and it’s easily one of the best fun indoor activities for toddlers I’ve ever tried. It checks all the boxes for a killer afternoon: creative, budget-friendly, and packed with sensory play goodness. And best of all? It’s actually fun for grownups, too. Just don’t forget to take pics before the dough becomes “mudball gray”—it happens.
Tips for Sensory Success
Look, I’ve made enough batches of sensory dough to know it can totally go sideways if you’re not prepared. I’m talking rainbow handprints on the walls, glitter in your coffee, and tears over “the purple one touching the green one.” So let me save you the trial-and-error with a few toddler sensory play tips that I wish I had from the start.
Don’t Overdo the Color
Seriously—start with just a few drops. It’s tempting to go wild for bold colors, but too much food coloring can make the dough wet and stain little hands. If you’re using cheap dye (been there), test it on your own fingers first. I once made a batch that turned everyone into mini Hulks for the weekend.
Use Unscented Shaving Cream
Trust me on this. The scented stuff can be overpowering, especially in small spaces. I learned the hard way during a snow day when the whole kitchen smelled like an axe body spray explosion. Plus, for kids with sensitive noses or skin, unscented = safer.
How to Store Homemade Playdough
This dough doesn’t last forever, but you can stretch its life with a simple trick. Stick it in an airtight container or ziplock bag, press out the air, and keep it in the fridge. It’ll stay good for 2–3 days tops. After that, it starts to dry out and loses that squishy texture we all love. I’ve even added a dab of lotion to revive it once or twice!
Give Each Kid Their Own Bowl
Want to avoid drama? Don’t make them share dough bowls. Set up individual stations with a small bowl, a spoon, and their own glitter stash. It becomes their little “lab,” and it cuts down on the chaos. This tip alone saved me from full-blown sibling meltdowns more times than I can count.
Embrace the Mess (Within Reason)
Yes, things will get messy. But a silicone mat under the table, a roll of paper towels nearby, and some old shirts go a long way. When I’m planning the best indoor crafts for kids, I always ask myself: “Can I clean this up in under 10 minutes?” If yes, it’s a go.
Bonus: Add Scents or Oils
If your kids don’t have sensitivities, add a drop of lavender essential oil for a calming twist. Or try peppermint around the holidays. It turns basic dough into a full sensory toy experience—great for winding down before nap time.
At the end of the day, the goal isn’t perfection—it’s engagement. You don’t need fancy molds or overpriced sensory toy alternatives. Just a few smart setup tricks, a relaxed mindset, and maybe a coffee within reach. Because when those little hands dive into that fluffy, glittery dough? That’s the good stuff.
And there you have it—your complete guide to making rainbow sensory foam dough that’s colorful, squishy, sparkly, and downright addictive (in a good way). Whether you’re planning a rainy-day rescue mission, looking for DIY sensory play ideas, or just want something fun and screen-free to do with the kids, this craft hits the sweet spot. Fast, easy, budget-friendly, and best of all? It keeps those little hands busy.
I’ve tried a lot of fun crafts for kids, but this one always ends in smiles (and maybe a little glitter on the dog). So whip up a batch, embrace the mess, and let your kids squish, squeeze, and swirl their way through the colors of the rainbow.
💡 If this project brought some color and calm into your home, pin it and share it with your friends! Your next rainy afternoon will thank you. 🌈🖐️✨
