


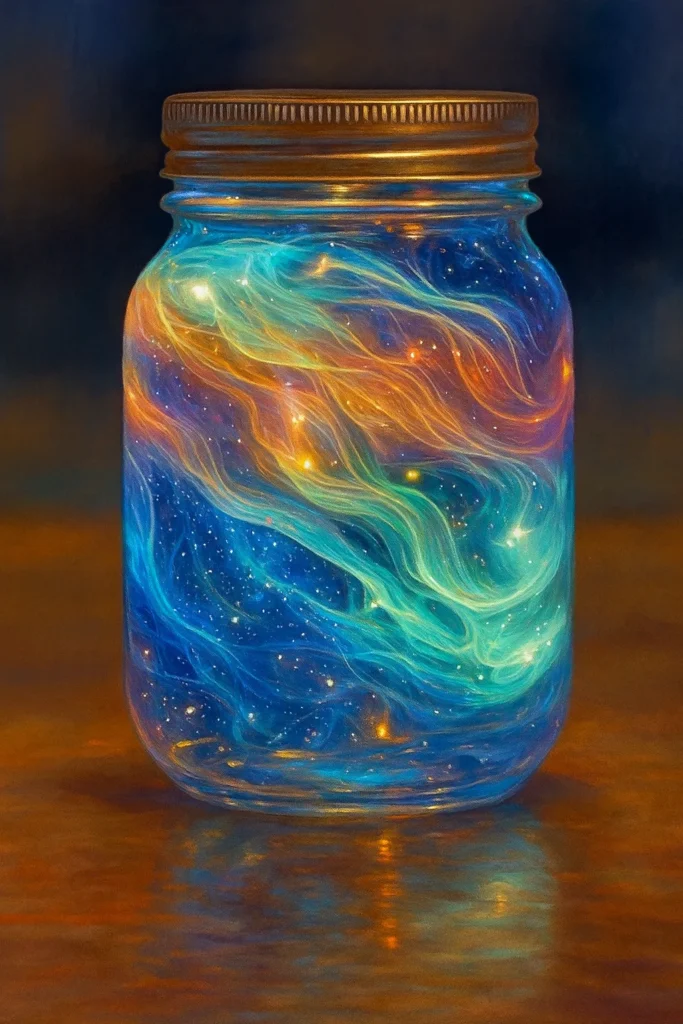
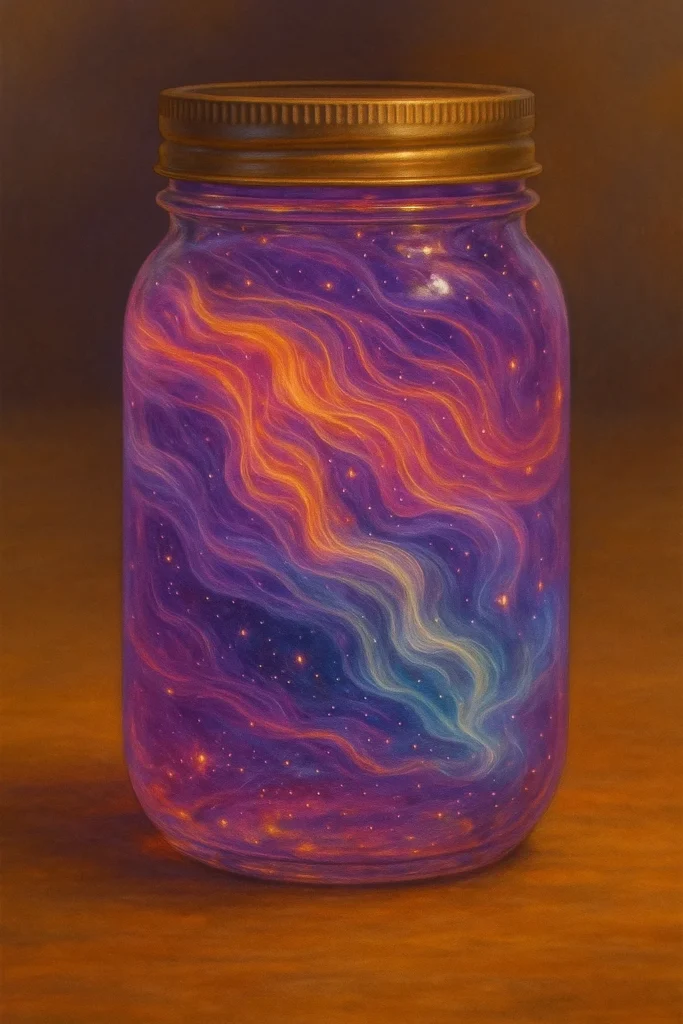
Ever dreamed of watching the Northern Lights dance across the sky—but from the comfort of your own home? 🌌 Well, guess what? You can bottle that beauty! Creating your own “Northern Lights in a Jar” is not only simple and kid-friendly, but it’s also one of those rare crafts that feels downright magical.
Whether you’re a teacher looking for a STEAM activity, a parent planning a glow-in-the-dark sleepover, or just someone who loves dreamy DIYs, this glowing jar brings the enchantment of the Arctic skies right into your hands. According to NASA, the auroras are caused by charged particles colliding with Earth’s atmosphere—but all you need is a jar, some glow paint, and a bit of imagination!
Supplies You’ll Need to Create Northern Lights in a Jar
When I first tried making a “Northern Lights in a Jar,” I seriously underestimated how much fun the prep would be. There’s just something about gathering all those dreamy little materials—like you’re about to bottle a piece of the sky. ✨
Start with the Right Jar
Go with a clear mason jar. Trust me, the smooth glass and classic shape make a huge difference. I once used an old salsa jar (don’t recommend), and it ended up looking more swampy than starry.
- Look for wide-mouth mason jars—they’re easier to layer.
- Avoid tinted glass if you want your colors to pop.
- Pro tip: Use recycled jars if you’re doing this as a classroom or group project. Budget-friendly and eco-conscious!
Use Glow in the Dark Paint—Don’t Skimp Here
This is where the magic happens. You want high-quality glow in the dark paint, especially in shades like green, purple, blue, and pink. I tried the cheap stuff once… yeah, don’t do that unless you like disappointment.
- Go for acrylic glow paints—neon and water-based are ideal.
- Brands like Tulip or DecoArt have great options.
- Mix each color with just a splash of water for better flow.
Cotton or Polyester Fiberfill
You’ll need a fluffy base to hold the color—cotton balls or polyester fiberfill both work. Fiberfill gives a more cloudlike texture, but cotton is cheaper and easier to find.
- Pull apart the cotton for that wispy aurora look.
- If it’s too packed, the paint won’t absorb well.
Add Some Glitter (Yes, It’s Worth It)
I know, glitter can be the enemy. But hear me out: in this craft? Iridescent glitter is what turns the lights from cute to cosmic. I use fine holographic glitter for that sparkly, floating stardust effect.
- Sprinkle lightly between layers—don’t overdo it.
- Look for shimmer or “fairy dust” styles in craft stores.
Want Extra Glow? Go Electric
For a supercharged effect, I sometimes toss in a mini LED fairy light string or crack open a glow stick. It gives the jar that “OMG wow” moment when you turn off the lights.
- Battery-powered fairy lights are reusable.
- Glow sticks work for a single night but look insane.
Other Handy Tools
Just a few extras that make everything easier:
- Paintbrushes or droppers – helps you place color precisely.
- Paper towels – for quick clean-ups (you will need them).
- A small bowl for mixing your paints.
Making one of these glowing jars feels like building a little universe—so don’t skip the good stuff. Having the right DIY craft supplies makes all the difference. And honestly? Shopping for this was half the fun.
Step-by-Step Instructions for the Glow Jar
Alright, now that you’ve got all your magical gear ready, it’s time to put this thing together. I’ve done this project with nieces, students, and even solo on a rainy afternoon—it always turns out different, and that’s part of the fun.
Here’s how to turn your ordinary mason jar into a glowing little Northern Lights masterpiece:
1. Clean That Jar Like It’s Going on Display
I mean it. If there’s any leftover label gunk or fingerprints, it’ll mess with the glow. I learned this the hard way when my “aurora” ended up looking like foggy soup. 😬
- Use warm soapy water or rubbing alcohol.
- Dry completely—no streaks!
2. Fluff Up Your Cotton
You’re building the sky layer by layer, so don’t just toss the cotton in there. Tease it out, fluff it up, make it look like clouds from a fairytale.
- Put a thin layer at the bottom of the jar.
- Don’t press it down too much—you want air pockets for the light to shine through.
3. Mix Your Paints Right
Glow paint straight out of the bottle is too thick. I always mix about 1 part paint with 1 part water in a little bowl. You want it to drip and soak into the cotton, not just sit on top.
- Use separate bowls for each color.
- Stir with a stick or brush till it’s smooth.
4. Paint & Sprinkle—Repeat
Now the magic begins. Take a paintbrush or dropper and drip your first color over the cotton. Then sprinkle a bit of glitter. Add another fluffy cotton layer, more paint, more glitter… repeat until you reach the top.
- Try alternating colors (blue, pink, green, purple).
- Think of it like painting a sky in 3D.
- Keep layering till the jar is full, but don’t overpack it!
5. Optional: Add Some Extra Glow
Want that extra wow factor? Pop in a glow stick’s liquid (cut it open—carefully) or sneak in a short strand of LED fairy lights.
- If you use lights, wrap them loosely through the cotton before sealing.
- For glow stick liquid, shake it up and pour sparingly between layers.
6. Seal and Charge
Once your jar’s all layered up, close it tight. Then—crucial tip here—set it under a strong light source for 10-15 minutes. Sunlight works best, but a lamp will do in a pinch.
- The longer you charge, the brighter the glow.
- I sometimes hit it with a flashlight right before showing it off.
7. Kill the Lights and Watch the Magic Happen
The moment of truth. Turn off all the lights and admire your creation. If you layered right, it should look like swirling, glowing clouds inside your jar. It’s mesmerizing every time. 🧪🌌
This glow in the dark DIY is part science experiment, part art project—and all awesome. Plus, it’s one of my favorite kids craft ideas because it mixes color, texture, and light in a way that’s super tactile and endlessly fun.
Tips for Making Your Northern Lights Jar Extra Magical
Okay, so your jar is done and glowing—but what if I told you there’s a way to crank the magic up a notch (or five)? I’ve made enough of these jars to know what works and what totally flops. Here’s my no-fluff advice for turning a fun craft into a jaw-dropping centerpiece or DIY night light.
Charge It Like You Mean It
If your jar looks dull in the dark, chances are it didn’t get enough light. I used to leave mine on a windowsill for an hour, thinking that was enough. Nope.
- Use direct sunlight for at least 15–30 minutes.
- If it’s cloudy, a UV flashlight or strong LED desk lamp works great.
- Recharge before every “glow show”—especially if you used cheap paint.
Glitter Wisely (Yes, There’s a Right Way)
Too much glitter = clumps. Too little = meh. You want that twinkle, not a glitter explosion. I sprinkle between each layer, just a pinch.
- Use fine holographic glitter—it blends best.
- Avoid chunky or colored glitter (it messes with the glow).
- For a cosmic vibe, try star-shaped glitter on the very top layer.
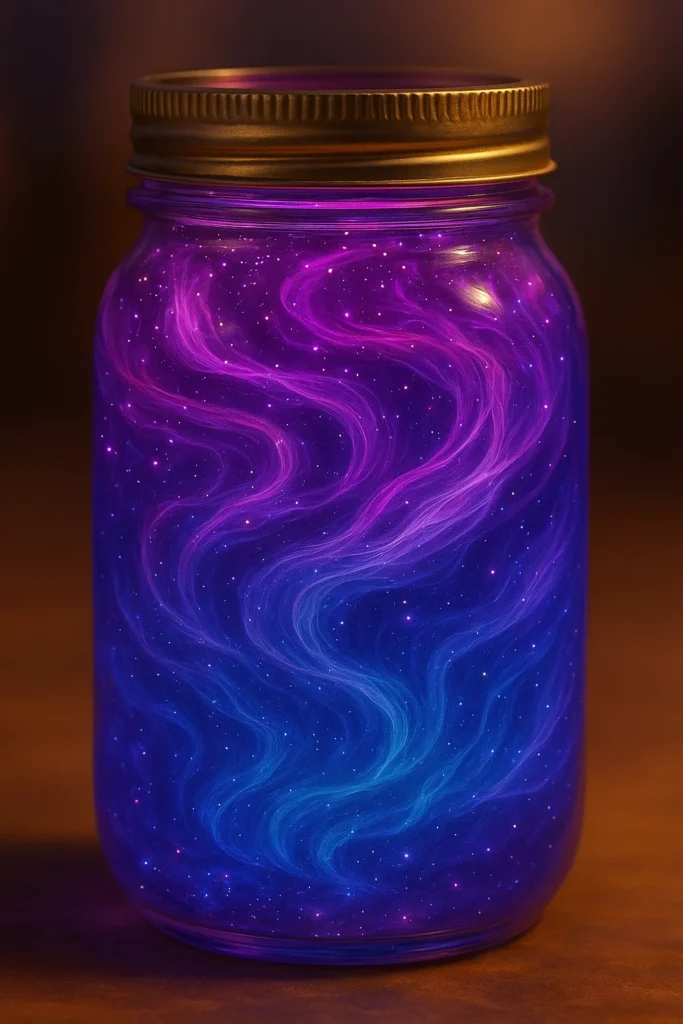
Layer Colors Strategically
The best jars look like the actual aurora borealis, not just a blob of neon. It took me a few tries to figure out a good color sequence.
- Start with blue or purple at the bottom.
- Add pink in the middle.
- Finish with green at the top for that classic aurora vibe.
Skip the Glow Sticks If You Want Longevity
Here’s the deal: glow sticks look insane for about 10 minutes, but then they die fast. If you’re using this jar as a night light or decor piece, invest in LED fairy lights.
- Use a mini battery-powered strand (they’re like $5 online).
- Nestle them loosely between layers—don’t bunch up or they’ll be too bright in one spot.
Don’t Overdo the Paint
This one bit me early on. I was like, “More glow = better, right?” Nope. Too much paint makes it look muddy and blocks the light.
- Less is more—thin, drippy paint gives the best results.
- Don’t paint the inside of the jar walls unless you want a frosted look.
Seal It Like a Pro
Whether you’re gifting it or using it for decor, you don’t want leaks. I learned this lesson after one tipped in my car. 😩
- Use hot glue or a rubber-sealing lid.
- If you’re using fairy lights, drill a tiny hole for the cord and seal around it.
Honestly, these small tweaks take your jar from “cute craft” to glow-in-the-dark showstopper. I’ve had people think mine was a store-bought lamp. Nope—it’s just one of my favorite creative jar projects!
Fun Ways to Use Your DIY Northern Lights Jar
Once you’ve made your glowing masterpiece, the big question becomes: now what? I’ve made at least a dozen of these, and let me tell you—they are way more versatile than you’d think. Whether it’s for cozy ambiance, educational fun, or just plain showing off, your DIY Northern Lights jar has a place.
1. Magical Night Light for Kids
This is hands down my favorite way to use it. The soft glow and shifting colors make it a super calming glow in the dark night light, especially for kids who hate total darkness (been there).
- Place it on a shelf or dresser, not too close to the bed.
- Recharge before bedtime for the brightest effect.
- Add fairy lights on a timer if you want all-night glow.
2. Calm-Down or Sensory Jar
Ever seen those Pinterest-perfect DIY sensory jars? This is like the glow-up version. My nephew uses his to chill out when he’s overstimulated—it’s like a visual breathing exercise.
- Use lighter paint colors and lots of glitter for a soothing effect.
- Shake gently (if unsealed) to see movement and sparkle.
- Pair it with quiet music or a meditation app for serious chill vibes.
3. Party Decor That Wows
Glow party? Sleepover? Birthday? These jars are like having the northern lights in your living room. I once made a batch of mini ones for party favors—huge hit.
- Line them up on a table or windowsill in the dark.
- Color-code them for themes (like blue for Frozen or pink for Barbie).
- Add stickers or vinyl decals to customize.
4. Science Class Meets Art Class
If you’re a teacher or homeschooling parent, this is a perfect STEAM activity. It teaches light, color mixing, and even basic atmospheric science—all while kids get messy and creative.
- Tie it into a lesson on space, magnetism, or solar storms.
- Have kids label their jars and write what each color represents.
- Use it to introduce real aurora photos and videos.
5. Handmade Gift That Glows
One Christmas, I made a few of these jars, wrapped them in tissue with a cute “You light up my world” tag, and gave them to teachers and friends. Total win. It’s the kind of handmade gift that feels personal and looks amazing.
- Add a tag or mini card explaining what it is.
- Wrap it in a clear gift bag with ribbon so the glow peeks through.
- Bonus points if you personalize the color combo for the recipient.
I swear, every time I make one of these, I think of a new way to use it. From kids room decor ideas to gifts and sensory play—it’s the craft that keeps on giving. And people always ask how it was made, which makes it a great conversation starter too.
And there you have it—a jar full of light, color, and just a little bit of wonder. ✨ Whether you made it with your kids, your classroom, or just for yourself on a rainy afternoon, this Northern Lights DIY brings that same “wow” you get under an Arctic sky—no parka required.
What I love most about this glowing jar craft is how it blends science with art, learning with fun. It’s hands-on, it’s beautiful, and best of all—it’s yours. Each jar ends up looking different depending on how you layer the colors, how much glitter you add, or what light you charge it under. And that’s kind of the point, right? You’re creating your own version of something completely natural and unpredictable.
So don’t stop at one. Make a few, experiment, try different glow paint colors, or even turn it into a family project or classroom competition. And when you’re done? Turn off the lights, sit back, and enjoy your own personal aurora show.
Loved this craft? Share your glowing creation on Pinterest so others can try it too! Just snap a pic, upload it to your board, and let that DIY magic ripple out into the world. 🌌
