

Looking for a fun, budget-friendly way to entertain your kids? You’re not alone! According to parenting blogs, sensory activities like slime-making are among the top 10 indoor activities loved by children under 10. But here’s the twist — what if you could ditch the glue and still whip up something squishy, stretchy, and satisfying?
Enter: No-Glue Soap Slime! As a mom of three who’s cleaned up more than my fair share of glue disasters, I’m always on the hunt for a cleaner alternative — and this one’s gold. With just soap, cornstarch, and a touch of creativity, you’ll create a tactile masterpiece your little ones will love. It’s part science, part magic, and all fun. Let’s dive in!
Why Choose No-Glue Slime? (Safe, Clean, and Sensory-Friendly)
Alright, I’ll admit it — I used to be one of those parents who dreaded slime day. The glue, the stickiness, the “how did it get in your hair again?!” But once I found out how to make safe, no-glue slime, I was hooked — and so were my kids. It was a total game-changer.
No Glue = No Stress
No glue means no panic when your toddler decides to taste-test their slime. Been there. This stuff is non-toxic, thanks to basic household ingredients like liquid soap and cornstarch. You won’t be calling poison control — promise. That alone made this my go-to when introducing sensory play for toddlers.
Easy on the Skin
My youngest has super sensitive skin, so every new activity is a risk. But with this version, we’ve had zero rashes or reactions. The trick? Use a creamy body wash or a kid-safe soap. Some even have added moisturizers, so the slime actually leaves their hands soft after play. Win-win.
Minimal Cleanup (Really)
Let’s be honest — most DIY crafts claim to be mess-free and then your kitchen looks like a glitter factory exploded. This stuff wipes off easily with a wet cloth, and it doesn’t dry into a crusty nightmare. I’ve even let the kids play with it on our dining table — no regrets.
Encourages Creative Play
I love watching how they get totally absorbed — poking, stretching, squishing. It’s like therapy in a bowl. They’re not just playing; they’re building fine motor skills, exploring textures, and even learning cause and effect when they mix too much cornstarch. It’s subtle science meets art class.
Real Talk…
I once added too much oil because I “eyeballed it.” Slime turned into a slippery soup. But even that was kind of hilarious — and it led to a great convo with the kids about measuring and trial and error. So yeah, even the “oops” moments are part of the magic.
Ingredients You’ll Need (Simple Supplies from Home)
You ever get halfway through a craft tutorial only to realize you’re missing the one weird ingredient no normal person has on hand? Yeah… been there, rage-quit that. That’s why I love this non-toxic craft recipe — it’s made with stuff you probably already have in your kitchen or bathroom.
The Basics
All you need to start is:
- ½ cup of liquid soap or creamy body wash – Look for something thick and opaque. The dollar store ones work just fine, but my kids love anything that smells like cupcakes.
- 2–3 tablespoons of cornstarch – You’ll adjust this to get the perfect stretch-to-squish ratio. More starch = firmer slime. Less = oozy goo.
- 1 teaspoon of baby oil or cooking oil – This gives the slime that stretch and makes it less sticky. I accidentally used olive oil once — smelled like pasta night, but still worked!
Optional Add-Ins (But Highly Recommended)
Want to level up? Try these:
- Food coloring – One drop goes a long way. Just don’t let your kid squeeze the bottle like mine did. We had neon blue everything for a week.
- Glitter or confetti – Okay, yes, this breaks the “minimal mess” rule a little, but it’s totally worth it for the sparkle. Use chunky glitter for extra pop.
Budget-Friendly Wins
The best part? These DIY slime ingredients are cheap. I got everything I needed for under $5 and still had leftovers to make a second batch. And if you’re the kind of parent who loves kids craft supplies that don’t break the bank (same), this one checks all the boxes.
A Little Tip…
If you’ve got a kid who’s really into textures, try mixing in small beads or rice after the slime is formed. Adds a whole new dimension to their sensory fun — like a squishy sensory fidget toy you made yourself.

Step-by-Step Guide to Making Soap Slime
Alright, this is where the magic happens. I’ve messed up enough batches to know what not to do — like that time I dumped in all the cornstarch at once and ended up with a crumbly disaster. So trust me, follow these easy slime recipe steps and you’ll get a smooth, squishy masterpiece.
Step 1: Start with the Soap
Grab a mixing bowl and pour in ½ cup of thick liquid soap or body wash. If your soap’s too runny, your slime will be too gloopy. I use a creamy one that smells like watermelon — my kids go nuts for it.
Add 1-2 drops of food coloring now if you want color. Pro tip: Wear gloves or you’ll be walking around with alien fingers.
Step 2: Add Cornstarch — Slowly
Sprinkle in 2 tablespoons of cornstarch, just a bit at a time while stirring. You’ll see it start to thicken like pudding. Keep mixing until it pulls together but still feels wet. You’re looking for that perfect sticky-but-not-stuck-to-your-hands texture.
If it’s too soupy, add another spoonful of cornstarch. Too thick? Add a splash more soap. It’s like cooking — feel it out.
Step 3: Knead with Your Hands
Now for the fun part: get your hands in there. Add 1 teaspoon of baby oil or cooking oil, and knead it like dough. It should feel stretchy, soft, and super satisfying to squish.
One time, I skipped this step and just stirred it — total fail. It was like slime-flavored oatmeal. The kneading is what turns it into the good stuff.
Step 4: Customize It (Optional but Fun)
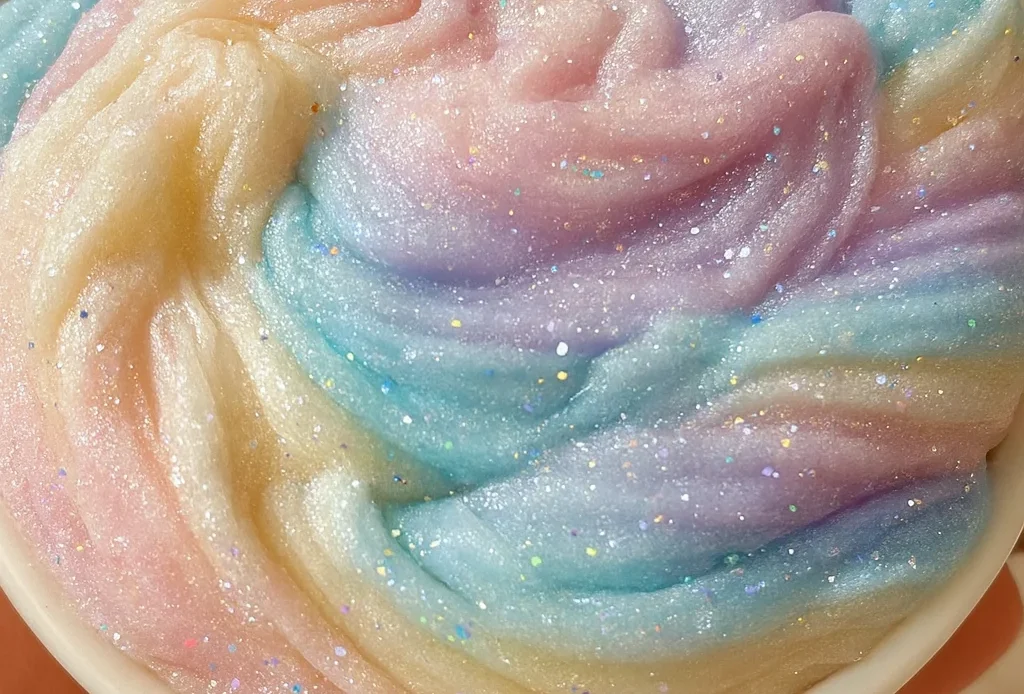
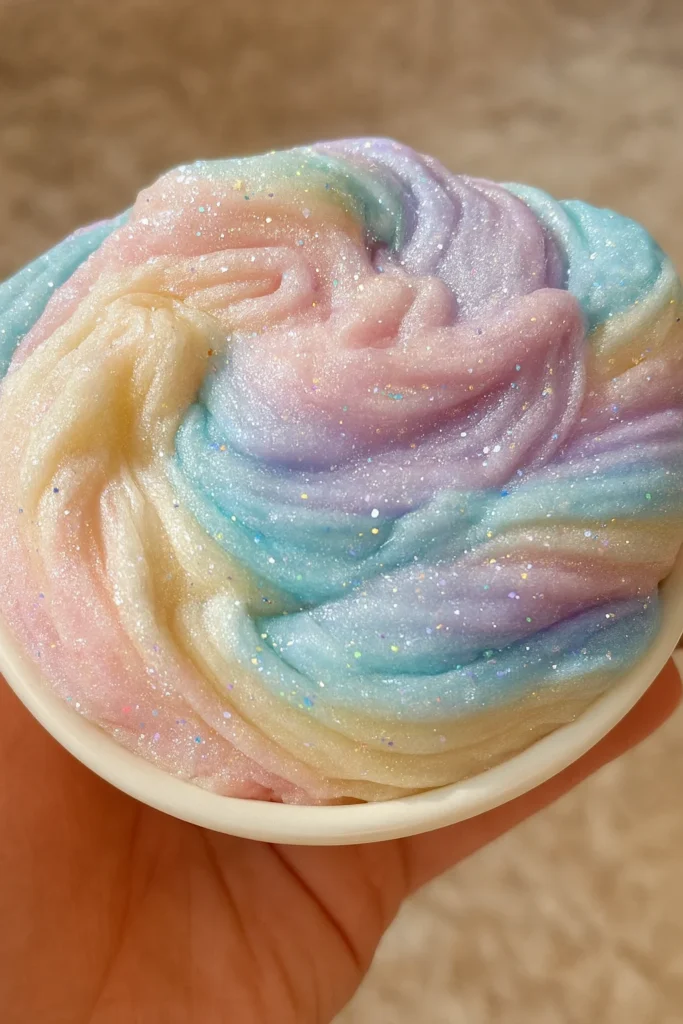
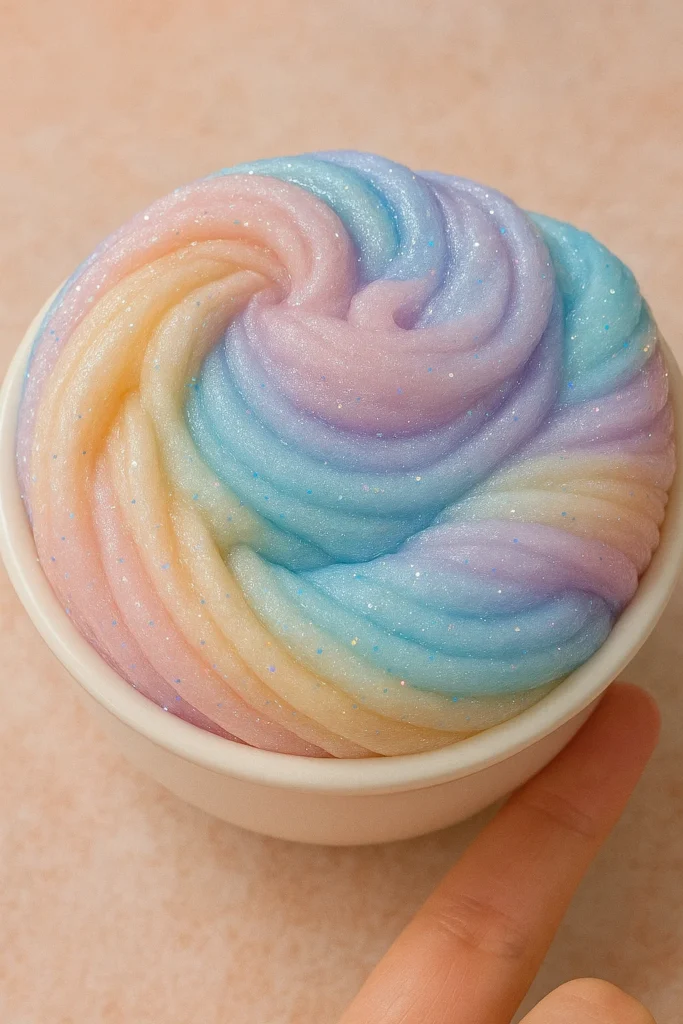
Now toss in some glitter, beads, or confetti if you’re feeling extra. My daughter loves adding little star sequins — we call it “galaxy slime.” Just don’t go overboard or it turns into a mess. Ask me how I know…
Step 5: Play, Store, Repeat
Once it feels just right, give it to the kids and watch the sensory fun begin. Store leftovers in a zip-top bag or airtight container — we’ve had batches last a full week before they dried out.
Tips to Customize Your Slime (Color, Texture & More)
This is my kids’ favorite part — turning the basic slime into their own little masterpiece. One loves sparkles, the other’s all about weird textures, and I just like the fact that it keeps them busy for an hour. Here’s how we personalize every batch using DIY slime variations that still keep it safe and non-toxic.
Switch Up the Soap
The kind of soap you use totally changes the texture. Thicker body wash gives you that fluffy, moldable feel. A thinner hand soap makes it stretchier and gooier. We’ve tried everything from coconut-scented to eucalyptus (not my fave, but the kids thought it was “slime spa day”).
If you want to experiment, split the slime into smaller portions and try a different soap for each — it’s like a little science lab.
Play with Texture
You know how some kids love smooth stuff and others want it to crunch or pop? Here are a few custom slime recipe add-ins we’ve tried:
- Glitter or confetti: Classic sparkle. You really can’t go wrong.
- Rice or lentils: Makes a super crunchy feel. Surprisingly satisfying!
- Beads: Use big ones for older kids (don’t give to toddlers — choking hazard).
- Foam balls or bits of sponge: For a fluffy, squishy vibe.
Each texture makes the slime feel like a totally new toy. And yes, we’ve had to vacuum a few messes — but honestly, it was worth it.
Add Scents (Safely)
Want to take your creative sensory play to the next level? Add a drop of food-safe vanilla or peppermint extract. Just be careful with essential oils — some aren’t safe for kids’ skin. I usually stick with things you’d find in the baking aisle, just to be safe.
One time we tried lavender and the whole room smelled like grandma’s closet. They loved it. I didn’t.
Mix in Color
We’ve gone full rainbow before — even tried a slime “ombre” thing. A little food coloring goes a long way. Swirl different colors together (but not too much or it turns into brown soup). Or let them each make a color and swap.
Want extra Instagram points? Go for neon or metallic gel tints.
Keep It Fresh
This stuff doesn’t last forever, but we’ve found that safe slime stored in a small container can last about 3–5 days. If it starts drying out, try kneading in a drop of soap. Too sticky? Dust with a pinch of cornstarch.
So there you have it — a mess-free, non-toxic kids craft that’s as fun to make as it is to play with. Whether you’re wrangling toddlers on a rainy afternoon or need a quick win after school, this No-Glue Soap Slime delivers big time.
From mixing the ingredients to adding sparkle and scent, this isn’t just a craft — it’s a hands-on sensory adventure. It’s science. It’s art. It’s therapy (for them and you, let’s be honest). And the best part? You didn’t need glue, borax, or a chemistry degree.
So try it out, get creative with your slime, and most of all — enjoy the giggles and squeals. And hey, if your kids make something amazing (or hilariously weird), snap a pic and share it on Pinterest! It’s the perfect place to show off your latest DIY craft for children — and maybe inspire another parent to ditch the glue, too.
Happy slime-making! 💫
