

Imagine the delightful aroma of peach pepper jelly simmering on the stove—it’s a beautiful reminder of family traditions in canning that have been passed down through generations. For many of us, summer was filled with laughter and the sweetness of freshly picked peaches as we gathered in a warm kitchen to create homemade preserves. This unique jelly is the perfect embodiment of that spirit, combining the luscious sweetness of ripe peaches with the zesty, surprising warmth of peppers. It’s a perfect balance of sweet, savory, and spicy that elevates everything it touches.
In this ultimate guide, we’ll explore a complete, step-by-step process on how to craft your own perfect peach pepper jelly from scratch. You’ll discover not only the joy of making it but also its incredible versatility in all your culinary adventures, from appetizers to main courses and even desserts.
Understanding Peach Pepper Jelly
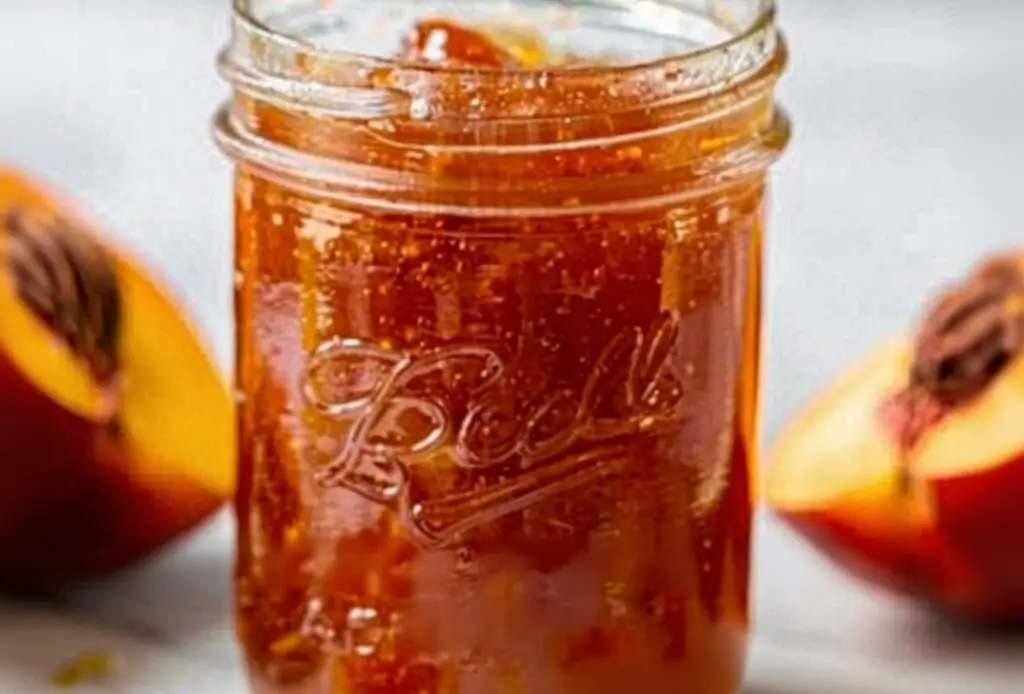
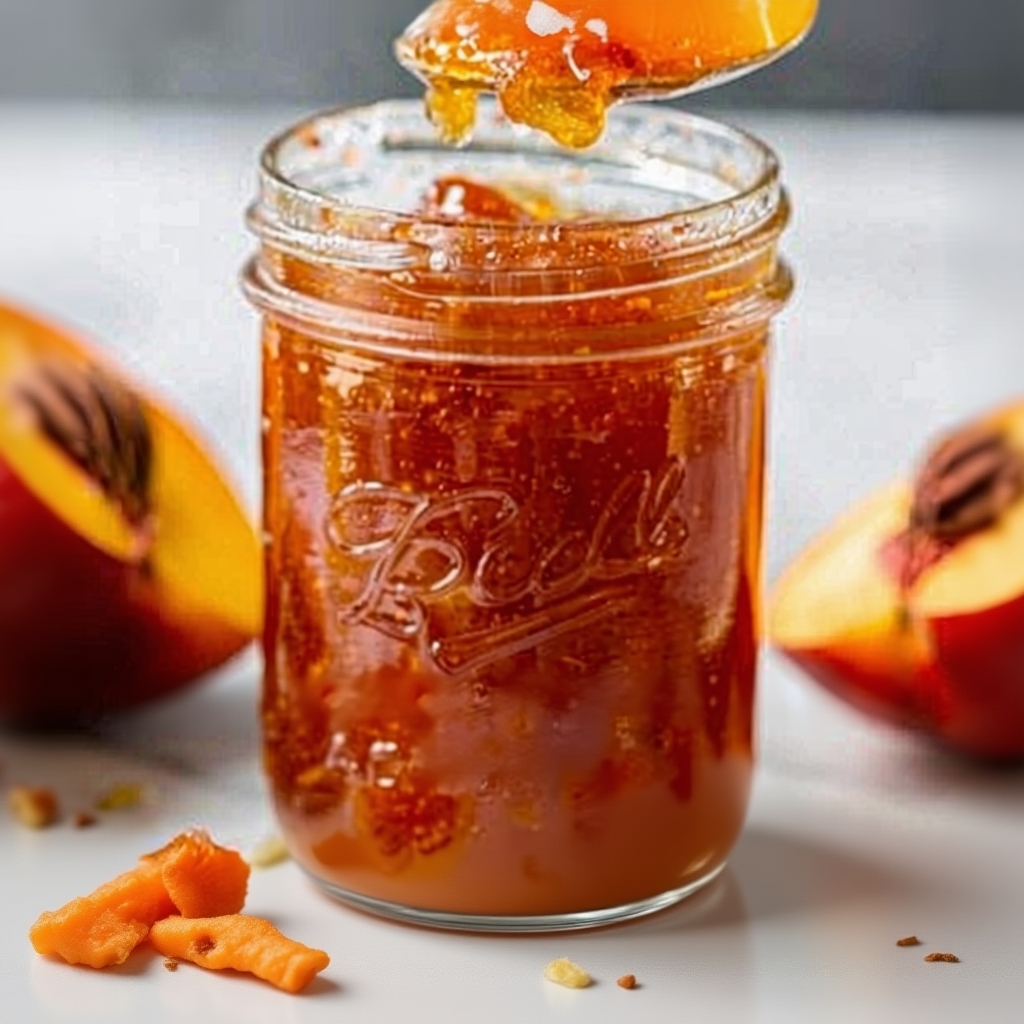
Peach pepper jelly is a fruit preserve that delivers a beautiful blend of the sweet, natural flavor of ripe peaches and the spicy kick of hot peppers. It occupies a delightful space between a sweet jam and a savory condiment. Typically made with fruit pectin, it ensures the jelly sets to a perfect, spreadable consistency while offering an explosion of flavor in each bite.
This jelly is an incredibly versatile condiment. Here’s how you can incorporate it:
- The Classic Appetizer: Poured over a block of cream cheese and served with crackers, it’s a timeless and elegant appetizer.
- Glaze for Meats: Use it as a glaze for grilled or roasted proteins like pork chops, chicken wings, or even salmon, adding a touch of sweet and spicy caramelization.
- Sandwich Spread: Elevate a simple turkey or ham sandwich with a thin layer for a surprising flavor twist.
- Dessert Topping: Drizzle it over vanilla ice cream, cheesecake, or pound cake for an exquisite dessert experience.
A Deep Dive into the Key Ingredients
The magic of this jelly lies in the synergy of a few simple, powerful ingredients.
Choosing the Perfect Peaches
For your peach pepper jelly, it’s vital to select ripe, fragrant peaches. Yellow peaches are a fantastic choice as they have a classic, robust peach flavor and a beautiful golden color. Look for fruits that are firm yet slightly yielding when gently pressed—a sign of ripeness and juiciness. If your peaches are still hard, simply leave them on the counter at room temperature for a few days until they soften and their sweet aroma intensifies.

The Role of Peppers: Sweet vs. Hot
The type and quantity of peppers you choose will dramatically impact your jelly’s flavor and heat level. The goal is to create a perfect balance.
- For Sweetness & Body: Bell peppers (especially red, orange, or yellow) provide a sweet, fruity base and vibrant color without adding any heat.
- For a Spicy Kick: Jalapeño peppers are the classic choice for a noticeable but manageable warmth. For a milder jelly, be sure to remove the seeds and membranes, where most of the heat resides. For more adventurous palates, a small amount of diced habanero can add a fiery, fruity heat.
Pectin, Sugar, and Vinegar: The Science of “Jelling”
- Fruit Pectin: This is a naturally occurring starch that, when heated with sugar and acid, causes the jelly to thicken and set. Using a commercial pectin (like Sure-Jell) makes the process foolproof.
- Sugar: Sugar is not just for sweetness; it’s a crucial preservative and is essential for helping the pectin to set properly.
- Apple Cider Vinegar: Adds a bright, tangy acidity that balances the sweetness of the peaches and sugar. It also plays a key role in the chemical reaction that allows the pectin to work its magic.
Essential Equipment for Canning
To successfully and safely make your jelly, you’ll need a few essential canning tools:
- Jars and Lids: Use glass canning jars (like Mason or Ball jars) with two-part metal lids (a flat lid and a screw band). 8-ounce (half-pint) jars are a perfect size for jelly.
- Large Stockpot: You’ll need a large, deep pot for the boiling water bath canning process. It should be tall enough to allow for at least 1 inch of water to cover the jars.
- Canning Tools: A canning kit is a great investment and usually includes a jar lifter (for safely moving hot jars), a canning funnel (to fill jars without spilling), a headspace tool (to measure the space at the top of the jar), and a magnetic lid lifter.
Tips for Canning Success
Canning can seem intimidating, but by following a few key principles, you can ensure a safe and successful outcome.
- Sterilization is Key: Always start by sterilizing your jars and lids. This can be done by running them through a hot cycle in the dishwasher or by boiling them in water for 10 minutes. This step is vital to prevent bacteria from spoiling your jelly.
- Don’t Double the Recipe: It can be tempting to make a huge batch at once, but doubling jelly recipes can interfere with the chemistry of the pectin, often resulting in a jelly that doesn’t set properly. It’s always safer to make two separate batches.
- Achieving a Rolling Boil: When the recipe says “bring to a full rolling boil,” it means a boil that cannot be stirred down. This vigorous boil is necessary to activate the pectin.
- Check for a Proper Seal: After the jars have cooled for 24 hours, check the seals. The flat lid should be concave (curved downward) and should not move or “pop” when you press on it. Any jars that haven’t sealed properly should be refrigerated and used first.
Frequently Asked Questions (FAQs)
How long does homemade peach pepper jelly last?
When stored properly in a cool, dark place, unopened jars of canned peach pepper jelly can remain fresh for up to a year or more. Once opened, store it in the refrigerator and consume within a few weeks for the best flavor.
Can I use frozen peaches for this recipe?
Yes, frozen peaches are a fantastic substitute, especially out of season! Ensure they are completely thawed and drain any excess moisture before using them.
My jelly didn’t set. What did I do wrong?
This is a common issue! It’s usually due to one of three things: not using enough pectin, not bringing the mixture to a full rolling boil for the required time, or altering the sugar-to-fruit ratio. Don’t throw it out! You can often re-cook the jelly with a little more pectin to get it to set, or simply use it as a delicious syrup or glaze.
How can I make my jelly spicier or milder?
You have complete control! For a spicier jelly, increase the amount of jalapeños or add a hotter pepper like a habanero. For a milder jelly, use more bell peppers and fewer (or no) jalapeños, and be sure to remove all seeds and white membranes from the hot peppers.
Conclusion
The process of making peach pepper jelly is a rewarding experience that connects us to cherished family traditions and the simple joys of seasonal cooking. This versatile condiment, with its perfect balance of sweet and spicy, is sure to become a staple in your pantry. We encourage you to try this recipe, experiment with your own variations, and share the delicious results with family and friends.
