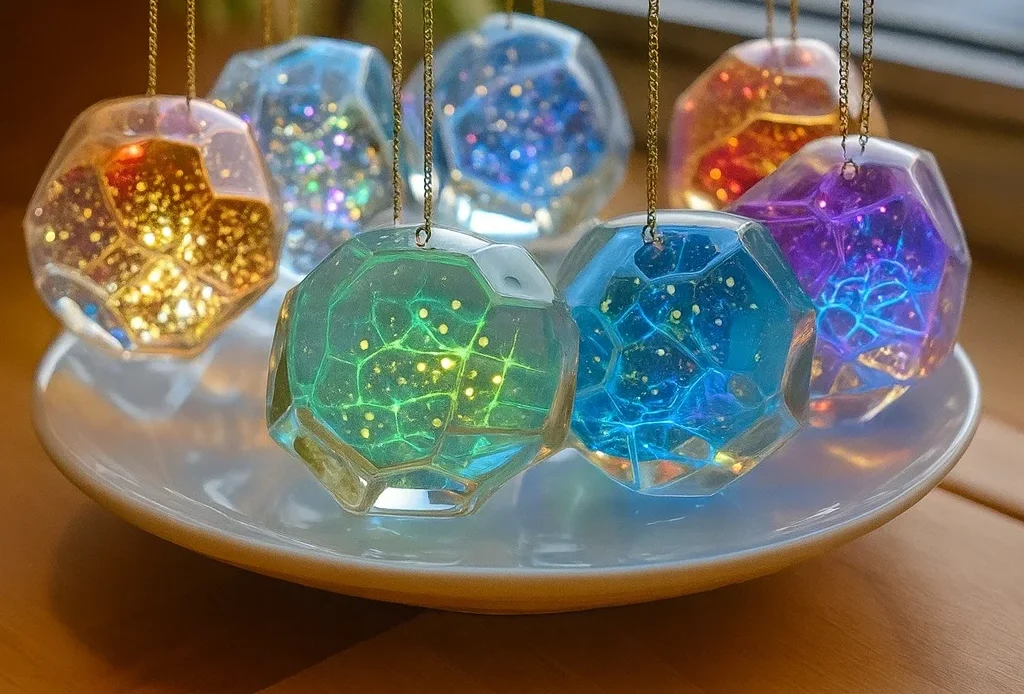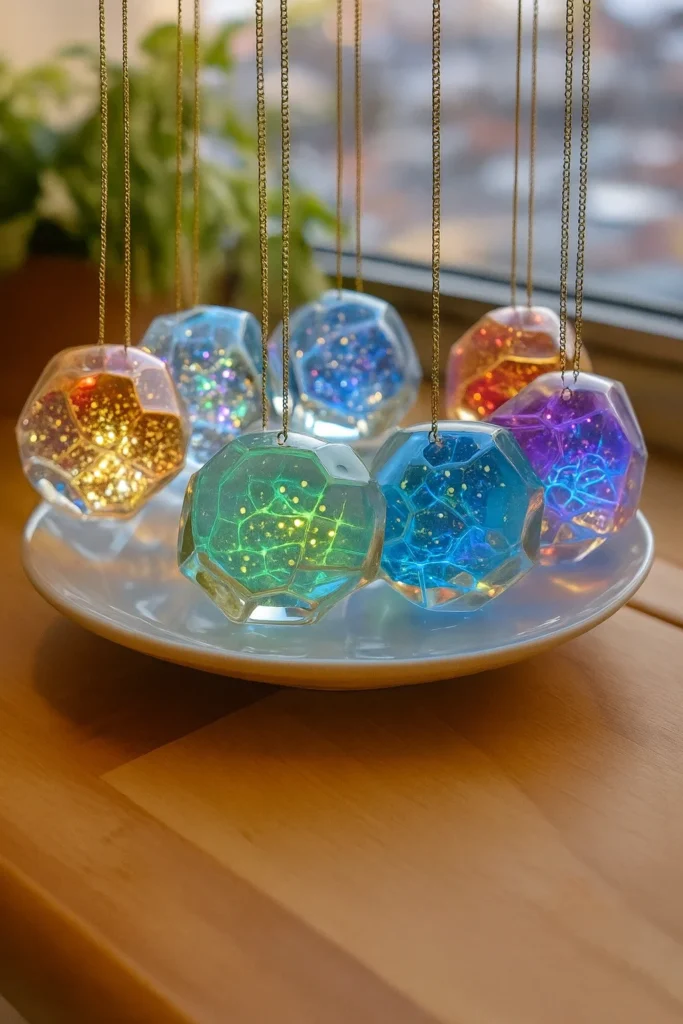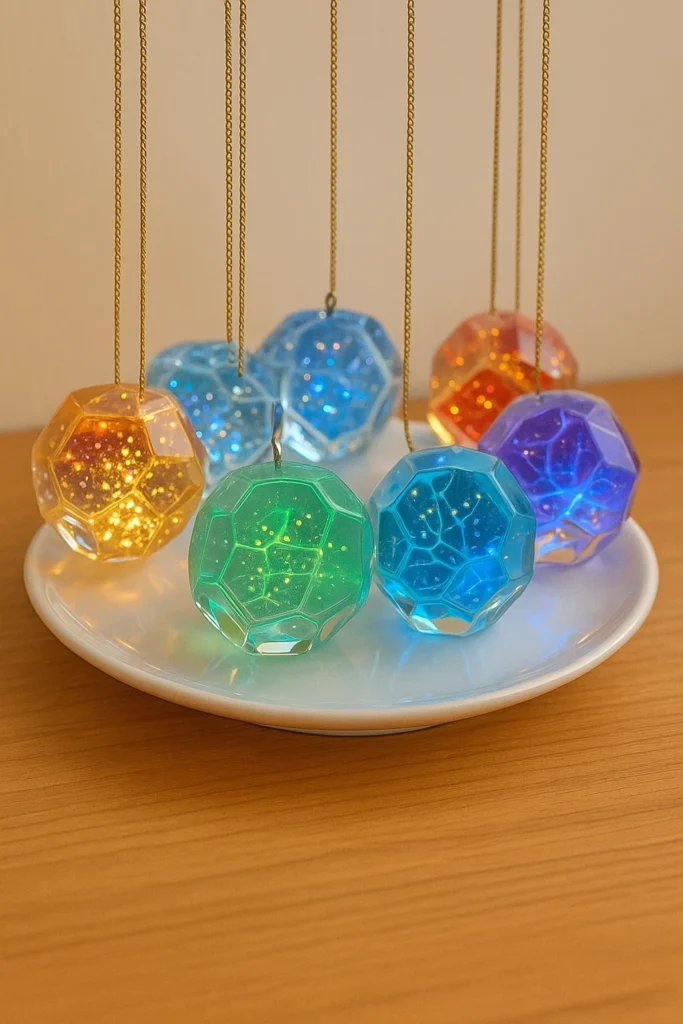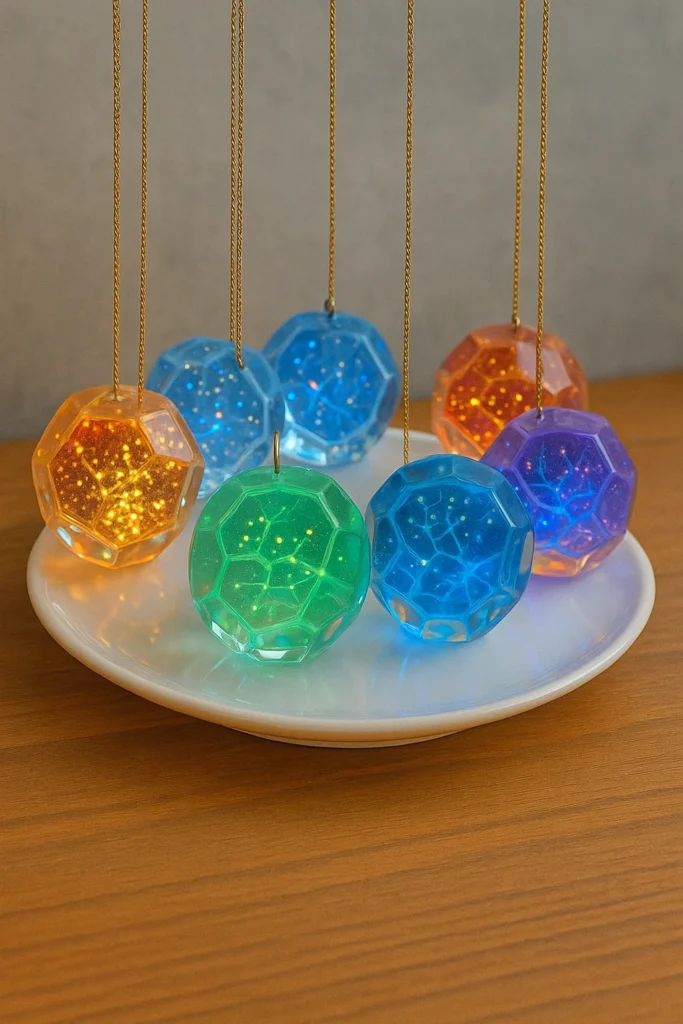
Ever stare into a lava lamp and get totally mesmerized? You’re not alone. These hypnotic swirls aren’t just fun to watch—they’re also a rad way to teach kids about density and creativity! In this DIY guide, we’re going to combine science and art with a fun project: Lava Lamp Suncatchers. Using stuff you probably already have at home, you’ll create something colorful, cool, and totally window-worthy. Whether you’re a parent looking for rainy-day activities or a teacher prepping for a classroom craft, this tutorial is equal parts fun and fascinating. Let’s light up your windows with science!

Supplies You’ll Need to Make Lava Lamp Suncatchers
Okay, let’s be real for a sec: I can’t count how many times I’ve overcomplicated a simple DIY craft for kids by trying to get all “Pinterest perfect.” Been there. Glue in my hair. Sequins on the cat. Not this time, though—this homemade project is low-mess, low-stress, and big on fun. Best part? You probably have most of this stuff hanging around already.
✨ Your Basic Arts and Crafts Supply List
When I first tried making these lava lamp suncatchers, I went hunting through my arts and crafts bin and surprise—it was all there. Here’s what you’ll need:
- Clear plastic lids – Think yogurt, takeout, or those salad bar lids. If you’re fancy, laminating sheets work too.
- White school glue – Not glue sticks, not hot glue. I mean the good ol’ Elmer’s-style stuff. You want a solid base for your colors to sit in.
- Food coloring – I love using neon shades. Electric pink and lime green? Yes, please.
- Vegetable oil or baby oil – This is where the science kicks in. It separates and swirls with the color in the coolest way.
- Toothpicks or cotton swabs – For swirling your colors into those lava lamp vibes.
- Glitter or sequins – Totally optional. But if you’re crafting with a kid who thinks everything needs glitter… well, you know what to do.
- Hole punch & string – So you can hang that masterpiece in a sunny window.
Quick tip: If you’re buying new, you can find a lot of these in budget-friendly kids science kits or educational activity bundles on Amazon. I once grabbed a classroom pack for $10 that had most of this stuff included. Worth it!
🧠 Why These Materials Work Together
Here’s the nerdy part I love—when you mix the oil with glue and coloring, they don’t blend. Instead, you get these big, bubbly swirls that totally mimic a lava lamp. It’s like a miniature science lab disguised as fun activities for kids. And because everything dries clear, the sunlight later turns it into this glowy, trippy masterpiece.
🚫 What Not to Use
I tried dish soap once instead of oil. Big mistake. It mixed too much with the glue and made a sludgy mess that never dried. Also: don’t use too much water-based paint—it just dilutes everything. Stick to food coloring or liquid watercolors designed for kids’ art.
Step-by-Step Instructions for Creating Your Lava Lamp Suncatcher
Alright, now we’re getting to the good stuff—time to make your DIY art project come to life! This part’s my favorite, because every suncatcher turns out a little different. It’s one of those easy crafts for kids that also secretly teaches them a thing or two about science. (Shh, don’t tell ’em it’s educational.)
🖌️ 1. Prep Your Surface
Start by laying down some newspaper or a tray. You might not think this gets messy, but if your 6-year-old is anything like mine… well, glue ends up in places it shouldn’t.
Put your clear plastic lid or laminating sheet on a flat, protected surface. I usually tape the corners down so it doesn’t slide around like it’s on ice.
🧴 2. Lay the Glue
Next, grab that white school glue and squirt a big ol’ puddle right in the center. Use enough to fully coat the surface, but not so much that it’s a glue tsunami.
Use a cotton swab or your finger to gently spread the glue out into an even layer. This is your canvas, so make it smooth!
🌈 3. Add the Color
Now comes the fun part—drop in the neon food coloring or liquid watercolors. Seriously, this is when the kids light up. Use 2–4 colors for the best effect. Any more and it starts to get muddy.
Just drip a few drops around. Don’t stir yet!
🛢️ 4. Drip the Oil
Here’s where the science magic kicks in. Add 3–5 small drops of vegetable oil or baby oil. You’ll start seeing those slick lava-like blobs forming on their own. (This part makes it one of my favorite STEM activities at home—you can talk about how oil and water don’t mix!)
🔁 5. Swirl the Lava
Now gently swirl the colors and oil using a toothpick or cotton swab. Don’t overdo it—too much stirring turns it into a brown blob. Think slow, hypnotic lava lamp vibes. I usually go in small circles and figure-eights.
Kids LOVE watching the colors dance and merge.
✨ 6. Add Extra Sparkle (Optional)
If your kid’s into glam (or you are), now’s the time to add glitter or sequins. Just sprinkle lightly over the top. A little goes a long way—and too much can sink into the glue and disappear.
⏳ 7. Let It Dry
This is the hardest part for impatient littles. Let it sit somewhere safe for 24–48 hours. Yes, that long. Don’t touch it until it’s totally clear and dry—no sticky spots at all.
Trust me, I peeled one too early once. It ripped like wet paper. Disaster.
🪟 8. Peel & Hang
Once it’s bone dry, gently peel your suncatcher off the lid or sheet. It should come off in one flexible piece. Use a hole punch at the top, thread some string through, and hang it up in a sunny window.
When that sun hits the swirls? It’s like your very own lava lamp on display. Kids will stare at it like it’s magic—which, let’s be honest, it kinda is.

Drying, Peeling, and Displaying Your Finished Suncatcher
So you’ve swirled, sparkled, and totally nailed your kids DIY project—now it’s time to let that baby dry and shine. But hold up! This part’s just as important as the making. Trust me, rushing it is the fastest way to wreck your homemade window decoration.
💤 The Waiting Game: Let It Dry
Here’s the deal: it needs at least 24 hours to dry—sometimes 48 if your glue layer was extra thick. I’ve made the mistake of peeling too early more than once. What I got wasn’t a glowing masterpiece. It was sticky mush. Not cute.
Place it somewhere safe and flat, away from little hands or curious cats. I usually put ours on top of the fridge or a bookshelf. You want airflow, but no wind or heat. Just let nature do its thing.
✋ How to Know When It’s Ready
Check for three things:
- It’s completely clear (no milky glue left).
- It peels off easily from the plastic.
- It’s dry to the touch—not sticky or tacky at all.
If it bends but doesn’t crack, you’re golden.
🫳 Peeling It Off (The Moment of Truth)
This is oddly satisfying. Start at one edge and slowly lift. Go slow. If it resists, give it more time. If it peels cleanly, congrats—you’ve officially made a legit window craft for kids that looks like it came from an art teacher’s Pinterest board.
🪟 Hanging It Up
Use a hole punch to make a small hole at the top. Thread some string, ribbon, or fishing line through. Then hang it in any sunny spot—a window, porch door, or even from a suction cup hook.
When sunlight hits it? Boom. Rainbow swirls. Glitter flashes. Pure sunlight craft joy. It actually looks like a tiny lava lamp floating on glass.
🔄 Bonus Tip: Rotate Them!
Make a few suncatchers in different color combos and switch them out depending on the day or season. We’ve made fall-toned ones with orange and gold, and bright summer ones with pink and teal. It’s like decorating with your kids’ art but make it ✨aesthetic✨.
Why This Craft is Perfect for Kids (and Adults!)
I’ll be real—some crafts are just for kids. You know, the ones where you’re mainly there to hold scissors and stop glitter from becoming floor confetti. But this one? Making lava lamp suncatchers is the kind of family craft you actually want to join in on.
👶 Teaches Without Trying
It’s sneaky-smart. Between swirling oil into color and watching how everything dries into glowing art, kids are learning about density, immiscibility, and light diffusion—without a single worksheet. It’s like science class, but they don’t even know it.
I once caught my daughter explaining to her little brother why the oil “floats on the glue” like she was Bill Nye. If you’re looking for kids learning activities that feel like play, this one checks every box.
✋ Great for Sensory Play
This project is a sensory goldmine. Gooey glue, dripping color, slippery oil—it hits all the textures. And swirling the colors? Oh, it’s got serious calming activity energy. My kiddo with sensory needs loves it. And honestly… so do I. Something about the swirling is just relaxing. Meditative, even.
So if your child needs tactile stimulation or calming visuals, these are perfect.
🧠 No Perfection Needed
You know what I love most? There’s no wrong way to do it. I’ve seen swirly masterpieces and total color chaos—both looked amazing in the sunlight. These are fun educational crafts that don’t require Pinterest-level skills. Even when my 4-year-old smeared everything into one big purple blob… it still looked kinda awesome in the window.
And honestly, that freedom to mess up is kinda the magic of it.
👨👩👧 Built-In Bonding Time
Some days, getting your kid to sit still for 10 minutes feels like negotiating with a tiny tornado. But when we do this together, we both get locked in. It’s a solid 20–30 minutes of actual creative bonding. We talk, we swirl, we laugh at the weird shapes that pop up.
I’ve even made these with my niece during a weekend visit, and she asked to make another as soon as she woke up the next day. That’s a win.

There’s just something special about a craft that actually works. These lava lamp suncatchers are the perfect blend of DIY kids projects, simple science, and glowing window art. Whether you’re homeschooling, rainy-day crafting, or just trying to avoid more screen time, this one’s got you covered.
It teaches, it entertains, and it sticks—literally and figuratively. I’ve watched my kids stare at their suncatchers with pride every time the light hits just right. It’s one of those creative learning activities they’ll remember, and honestly, I will too.
So go ahead—gather some glue, swirl up some magic, and turn your window into a lava-lit wonderland. If you give it a try, share your creations on Pinterest—I’d love to see how yours turned out! 🌈✨


