

Slime lovers, brace yourselves—because this Christmas, we’re adding a Grinchy twist to your favorite gooey craft! According to Pinterest trends, slime crafts continue to be one of the top holiday activities for families, and it’s no surprise why. They’re easy, hands-on, and downright satisfying to make!
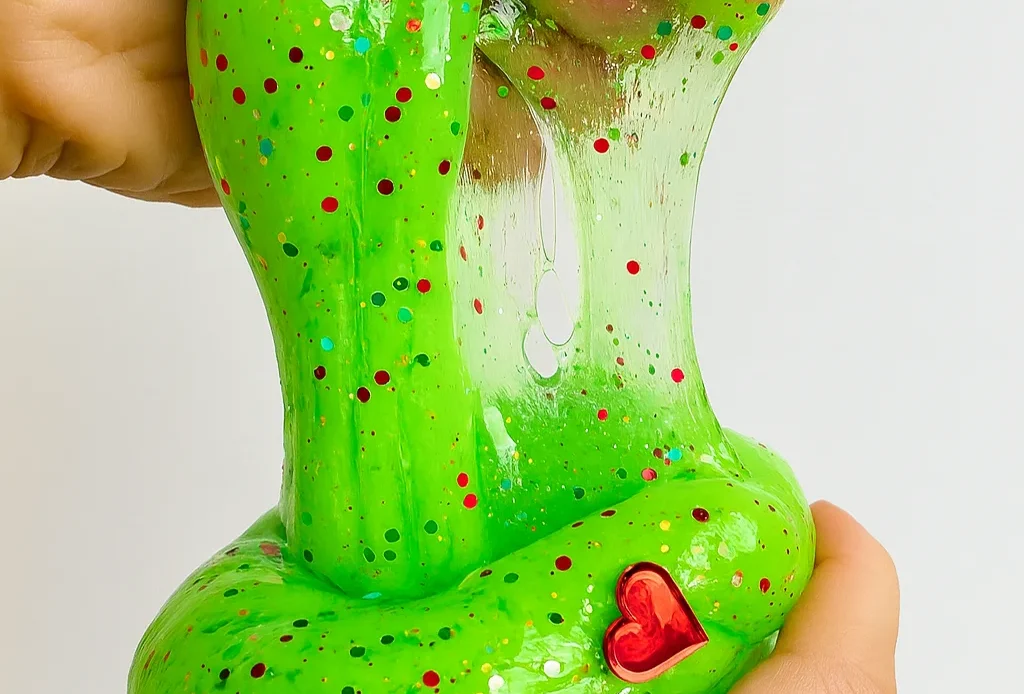
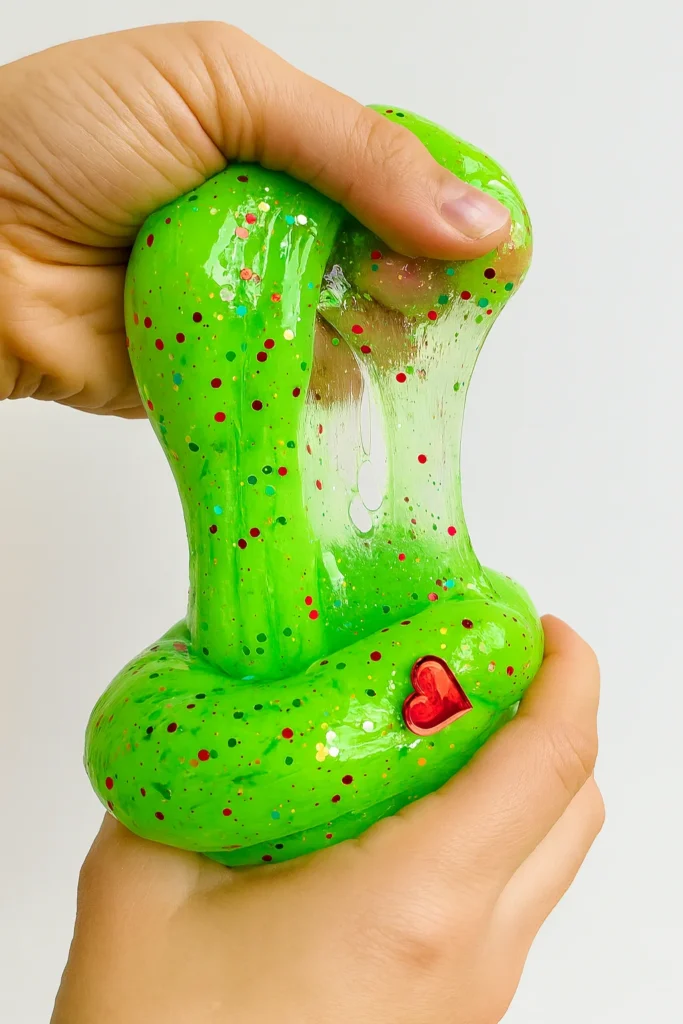
This year, let’s turn that love of green goo into something festive with Grinch slime—a stretchy, sparkly, and mischievous sensory play idea that kids absolutely adore. Whether you’re planning a Christmas party, winter break activity, or just want to spread some messy cheer, this DIY Grinch slime recipe is your go-to holiday hit.
So grab your glitter, gather the little ones, and let’s get slime-tastically Grinchy!
What You Need to Make Grinch Slime
Let me tell you, nothing makes me feel more like a holiday hero than pulling off a DIY slime kit at home that doesn’t end in a sticky disaster! I’ve made this Grinch slime about five times now—three with my niece, once with the neighbor’s twins, and once when I needed a stress-relief project of my own. (Yep. Slime’s not just for kids. Don’t judge.)
The secret sauce? Using the right stuff. I’m talking safe slime ingredients that won’t freak you out when they get on little hands or stuck in your favorite rug. Been there. Don’t want to go back.
My Go-To List for Grinch Slime:
1. White School Glue (non-toxic, always!)
You’ll want the classic stuff—no glitter or color already mixed in. I like Elmer’s, but anything labeled non-toxic slime glue usually works great.
2. Water – nothing fancy.
Just plain ol’ tap water. Mix it with the glue and it loosens it up just right.
3. Baking Soda – the slime activator base.
Don’t skip this. A teaspoon or two makes all the difference in how the slime forms.
4. Green Food Coloring – Grinchy green vibes only.
Start slow and build up! I’ve accidentally made Hulk slime before. Totally different holiday.
5. Glitter (Optional but totally festive)
My niece insists on red heart-shaped glitter because, as she says, “his heart grows three sizes.” Can’t argue with that logic.
6. Contact Lens Solution (must have boric acid or sodium borate)
This is the magic potion. Make sure the label lists boric acid. Otherwise? You’ll end up with a soupy mess and a cranky five-year-old.
7. Plastic Bowl and Spoon – nothing you eat with later.
Pro tip: don’t use your good dishes. I keep a slime bowl just for crafts now. Saves a lot of yelling.
8. Plastic Tray or Table Cover – trust me.
Even the most well-behaved kids go full chaos mode once slime forms. Cover the area. It’s not a suggestion. It’s a survival tip.
I once skipped the glitter and my niece legit pouted the whole time. Lesson learned: when making Christmas crafts for kids, don’t hold back on the sparkle. Go all in or go home.
Honestly, if you’re making this for a holiday party, you could even pre-pack the dry ingredients in little cups and set up your own DIY slime station. It’s cheaper than most party favors and way more fun. Plus, you get full credit for being the cool crafty adult.
Next up, we’ll get into the actual step-by-step guide to making Grinch slime—because it’s not just about the ingredients, it’s about getting that perfect gooey stretch without it sticking to everything in sight. And yeah… I’ve totally messed that part up before.
Step-by-Step Guide to Making Grinch Slime
Alright—let’s get into the good stuff. If you’re like me, you’ve tried at least one how to make slime at home tutorial that ended up either rock solid or a watery blob. (Shoutout to my first attempt: Grinch soup. 💚🥣)
But after a few tries, I’ve nailed the perfect, stretchy slime recipe—and I swear, it’s easier than baking cookies. Here’s exactly how I do it:
Step 1: Mix the Glue and Water
Start with 1 cup of white school glue in a bowl. Add 1/2 cup of water and stir until it’s smooth and fully combined. This is your base. If it’s too thick, add a little more water—tiny splashes. Don’t overdo it or it’ll get weird.
Step 2: Add the Baking Soda
Drop in 2 teaspoons of baking soda. This helps firm things up and gives your slime structure. Stir until it’s completely dissolved. No clumps, or it’ll feel gritty.
Funny story—one time I used baking powder by mistake and thought I made a chemical volcano. Didn’t end well. Double-check your box!
Step 3: Add the Grinchy Green
Time for the fun part: color! Start with 2–3 drops of green food coloring. Mix well and add more if you want it brighter. I go for that bold, “just stole Christmas” kind of green.
Want to take it over the top? Add red glitter or a tiny foam heart. Trust me, it’s a total hit with kids doing Christmas activities—they’ll think you’re a crafting genius.
Step 4: Glitter (Optional…but really, is it?)
Mix in 1 tablespoon of glitter. I say optional, but c’mon—it’s the holidays! I keep a stash of red and silver glitter just for slime season.
Step 5: Activate with Contact Lens Solution
Here’s the moment of truth: slowly pour in contact lens solution—about 1 tablespoon at a time. Stir constantly. The slime should start pulling away from the bowl almost right away.
Keep adding the solution a little at a time until the slime is no longer sticky. Usually takes about 1 cup total, depending on your glue. Don’t rush this part—if you over-activate, you’ll end up with a rubbery mess.
Step 6: Knead Like Dough
Once it clumps together, take it out and knead for 2–3 minutes. It’ll be sticky at first—just keep squishing. Your hands will warm it up and get it to the perfect consistency.
I always set a timer and put on Christmas music. Makes it more fun… and stops me from quitting too early when it feels like it’ll never stop sticking.
Step 7: Store It Right
Pop your slime into an airtight container or zip bag. If it starts to dry out, add a drop of water and knead it again. I’ve had some batches last over a week—bonus points for using it as an indoor holiday boredom buster.
So there you go: a foolproof, fun-as-heck, non-toxic slime DIY that’ll give your kids (or let’s be real, you) hours of squishy joy. And if you ever make a double batch? Freeze one as a surprise “snow day” treat.
Next, we’re diving into why this messy madness is actually good for your kids. Spoiler alert: slime isn’t just sticky fun—it’s educational.
Educational Benefits of Playing with Slime
Okay, so at first, I thought slime was just a messy way to keep kids busy. But after watching my nephew spend an hour squishing and stretching his Grinch slime like it was some kind of magic goo, I realized—this stuff’s low-key genius.
Slime isn’t just a craft. It’s one of those sneaky sensory activities for kids that teaches them without feeling like school.
Builds Fine Motor Skills
All that pulling, pinching, and poking? It’s gold for little fingers. Kids are working on fine motor skill development without even knowing it.
I saw my niece go from struggling with scissors to mastering them in just a few weeks—and I swear, the slime stretching and rolling helped. It’s like strength training… but for preschool hands.
Supports STEM Learning
Making slime is basically science class in disguise. Mixing ingredients? That’s chemistry. Observing textures? That’s sensory science. Asking “Why did this batch get stringy?”—welcome to hypothesis testing, my friend.
You don’t need to label it as a STEM craft for children, but the learning’s baked right in. Plus, it opens the door to talk about safe reactions, measuring, and consistency. I even started using words like “viscosity” and my nephew thought I was some kind of wizard.
Encourages Focus and Calms the Mind
This part surprised me. After some tough school days, my little ones just want to decompress—and slime does the trick. It’s rhythmic. Repetitive. Calming. I’ve even used it as a reset during chaotic family gatherings.
There’s something about squeezing a blob of green goo that takes the edge off. Way cheaper than therapy. 😂
Perfect for Educational Holiday Crafts
If you’re a parent or teacher looking for educational Christmas crafts, Grinch slime checks every box. It’s festive, interactive, and easy to slip into a lesson plan or home routine.
Last year, my friend made mini Grinch slime kits for her whole kindergarten class. They paired it with a reading of How the Grinch Stole Christmas, talked about emotions, and then made the slime as a group. Boom—social-emotional learning meets science and play.
Bonus: Teaches Responsibility
When kids have to clean up their slime area, store it properly, and follow instructions to keep it fresh, it’s a low-stakes way to build responsibility. My rule? If you make it, you clean it. Took a few messy tables to learn that one, but they got it.
So yeah—next time someone says slime is just a trend, feel free to hit ’em with the truth: it’s got serious learning power.
Ready to turn this gooey magic into a gift? Next up: how to make Grinch slime the star of your holiday party favors and Christmas gifts.
Grinch Slime Gift Ideas & Party Favors
I’ll never forget the year I brought Grinch slime jars to my daughter’s class party. I had ZERO expectations. But oh man—those kids lit up like I’d rolled in with a truck full of puppies. I became “that cool slime mom,” and not gonna lie… it felt pretty great.
If you’ve already made a batch of slime, turning it into adorable holiday party favors or DIY Christmas gifts for kids is the easiest holiday win ever. Plus, it saves you from buying last-minute trinkets that break in two seconds.
Pack It Up in Mason Jars
First up—slime in mason jars. These are my go-to for gifts because they look cute and keep the slime fresh. I grab the 4 oz. mini jars (Target usually has a pack), spoon in the slime, and twist the lid on tight.
Then comes the fun part—decorating!
Add Grinchy Tags & Ribbons
I usually print out little Grinch faces or “Merry Slime-mas!” labels and tape them on the jar. A red ribbon or a little felt heart glued on the lid makes it Pinterest-worthy. Honestly, I’ve had moms text me asking where I bought them. That’s when you know you crushed it.
Need to save time? Etsy has downloadable labels, or you can even get the kids involved with some crayon art. Homemade touches = extra charm.
Use Them as Party Activities Too
These slime jars don’t have to be just take-home favors—they make great Christmas party craft kits too. Set out bowls of pre-mixed glue, food coloring, and glitter, and let the kids make their own slime at the party.
I’ve done this twice and it’s always a hit. Just make sure you have wipes or towels handy. And maybe a tarp. Seriously. I learned that the hard way.
Stocking Stuffer Bonus
Tuck a mini jar into a stocking with a little tag that says “Squishy holiday hugs!” or “You’re a mean one… Mr. Slime!” It’s unexpected and hilarious.
Plus, slime lasts longer than candy. Just sayin’.
Sneaky Educational Gift
Parents will LOVE you for sneaking in some sensory learning. It’s one of those non-toy gift ideas that checks all the boxes—creative, interactive, and not screen-related.
And let’s be real, giving a kid a slime jar is way more fun than handing out pencils or candy canes.
So if you’ve already whipped up a batch of Grinch slime, you’re only a few ribbons and labels away from holiday gifting glory. Whether it’s for your kid’s class, cousins, or party guests, these festive jars are the ultimate combo of easy, affordable, and memorable.
Tips for Cleanup & Safe Slime Play
Okay. So you’ve made the slime. The kids are giggling. The glitter’s flying. Everything feels magical… until someone drops a glob on the carpet or smears it into the dog’s tail. 😅 Been there. More than once, actually.
Slime play is super fun, but let me tell ya—if you don’t prep your space and lay down some ground rules, it can go full chaos mode real quick.
Cover the Area Like You’re Painting a Wall
I always use an old plastic tablecloth or a baking tray underneath. If we’re doing it on the floor, I grab a shower curtain liner from the dollar store—cheap and lifesaving.
For younger kids (like, toddler age), I stick to safe slime play for toddlers with just a spoon and sealed bag version first. They still get to squish it without getting goo all over their onesie.
Keep Baby Wipes & Vinegar Spray Nearby
For hands and tables, baby wipes are a slime miracle. For tougher spots (like dried slime on wood or fabric), a little vinegar and warm water spray breaks it down fast.
I once found dried slime in the middle of a dining chair cushion and panicked. But a little vinegar soak, some gentle scraping with a spoon, and it was gone. Crisis averted.
How to Clean Slime Off Carpet
Yikes. If it’s fresh, don’t smear it—lift as much as you can with a spoon, then blot with warm water and vinegar.
For dried slime, mix baking soda with vinegar into a paste, spread it over the slime, and let it bubble. After 10 minutes, scrub gently with a brush and vacuum when it dries. Not perfect every time, but it’s saved my rug more than once.
I even have a “slime emergency kit” now. Just in case.
Supervise Young Kids (Yes, Always)
Even if you’re using non-toxic slime, little ones can still try to taste it (especially if it’s glittery… because glitter is basically edible unicorn magic to toddlers).
I keep an eye on them, and we talk about “slime safety rules.” Rule #1? Slime stays on the table. Rule #2? No slime in hair. Rule #3? We don’t eat the glitter, no matter how pretty it looks. (Seriously, it happens.)
Quick Clean-Up Routine
We finish every slime session with:
- A countdown: “5 more minutes of slime time!”
- A cleanup challenge: “Let’s see who can pack theirs up fastest!”
- Washing hands with warm water and a splash of dish soap.
Makes things smoother and teaches a little responsibility, too.
Honestly, once you get your slime setup dialed in, it becomes one of the easiest Christmas crafts for kids—messy enough to be fun, but not so wild that it wrecks your house.
And if something does get ruined? Well… it’s just another part of the holiday memories, right?
If you’ve stuck with me this far—first of all, you’re a holiday rockstar. Second, you now have everything you need to turn a simple batch of glue into the ultimate Grinch slime recipe that’ll light up your kids’ Christmas like a string of twinkle lights.
From mixing the gooey green to adding glitter hearts and crafting slime jars for gifts, this little DIY project checks every holiday box: creative, affordable, easy-to-do, and a total hit with kids of all ages. It’s not just a Christmas craft for preschoolers—it’s a full-on festive experience. (With a dash of learning. Shh, don’t tell them.)
And hey, if something goes a little sideways—like green slime in the dog’s fur or glitter in the toaster—just laugh it off. That’s what memories are made of. 🎄
So here’s my challenge to you: make a batch, snap a pic, and share your slime magic on Pinterest. You’ll inspire other parents, teachers, and Grinch-lovers out there who are looking for fun and meaningful DIY holiday activities.
Tag it. Pin it. Spread the gooey joy.
Because honestly? The Grinch’s heart isn’t the only thing that grows three sizes when you bring this kind of creativity and connection into your holiday.
