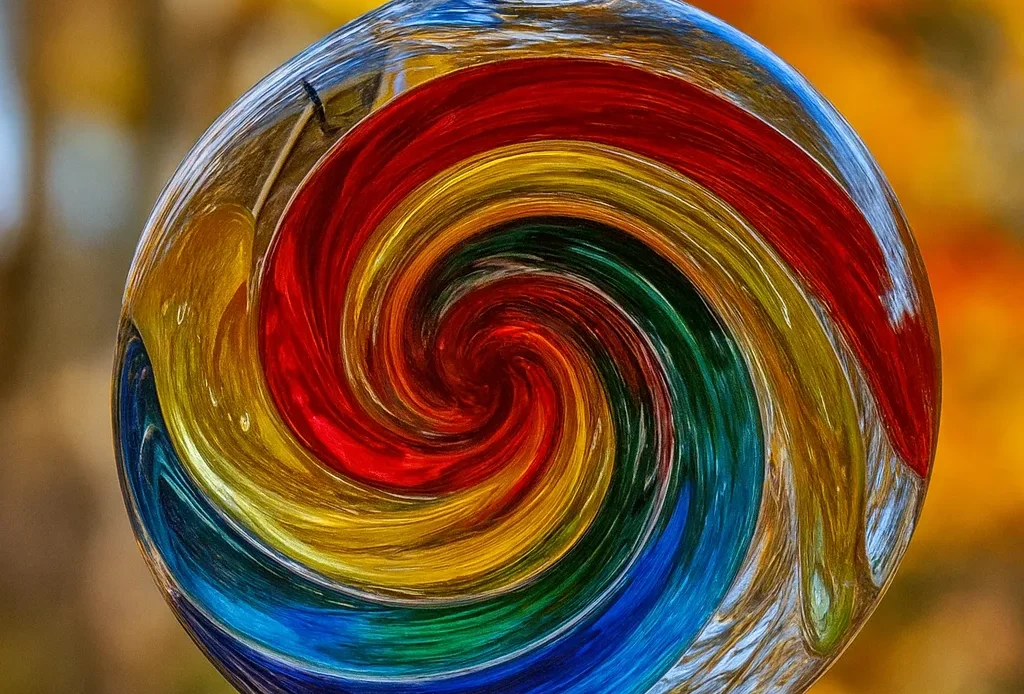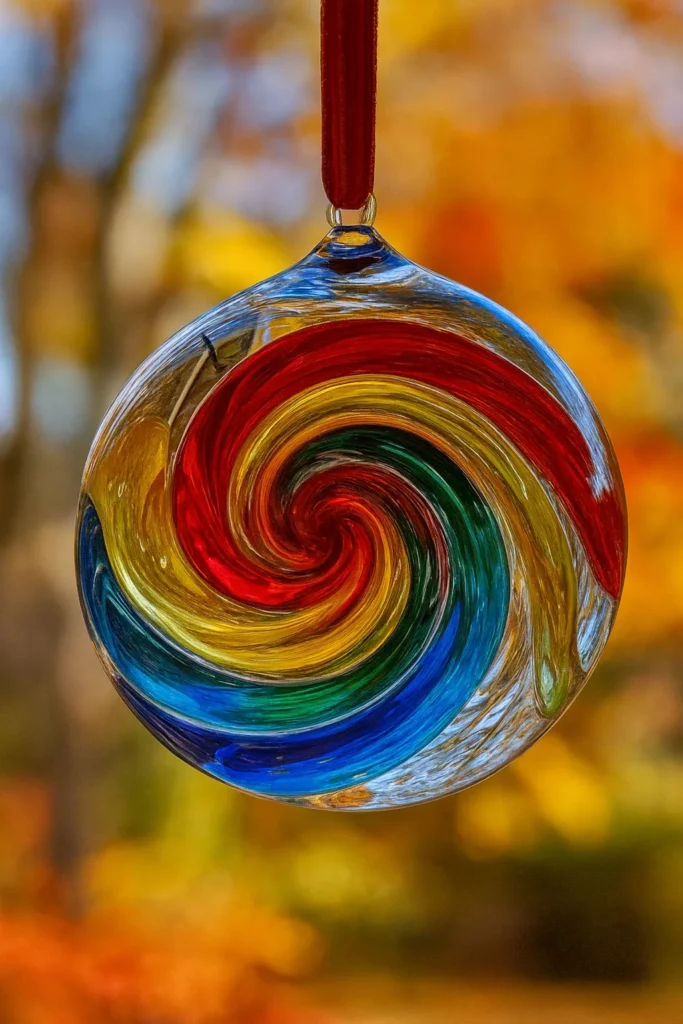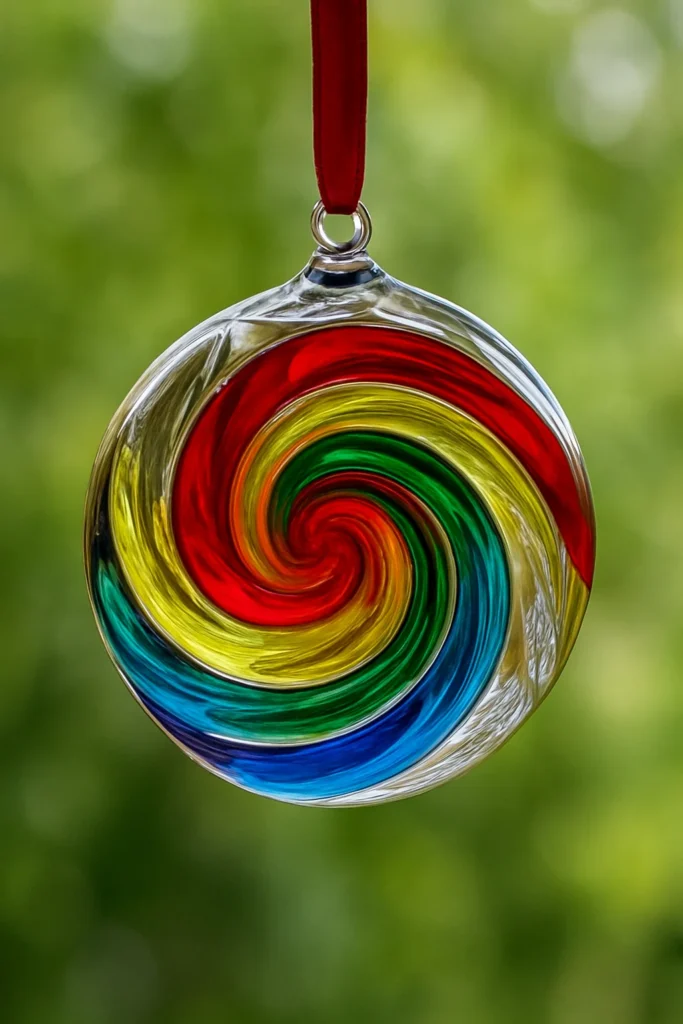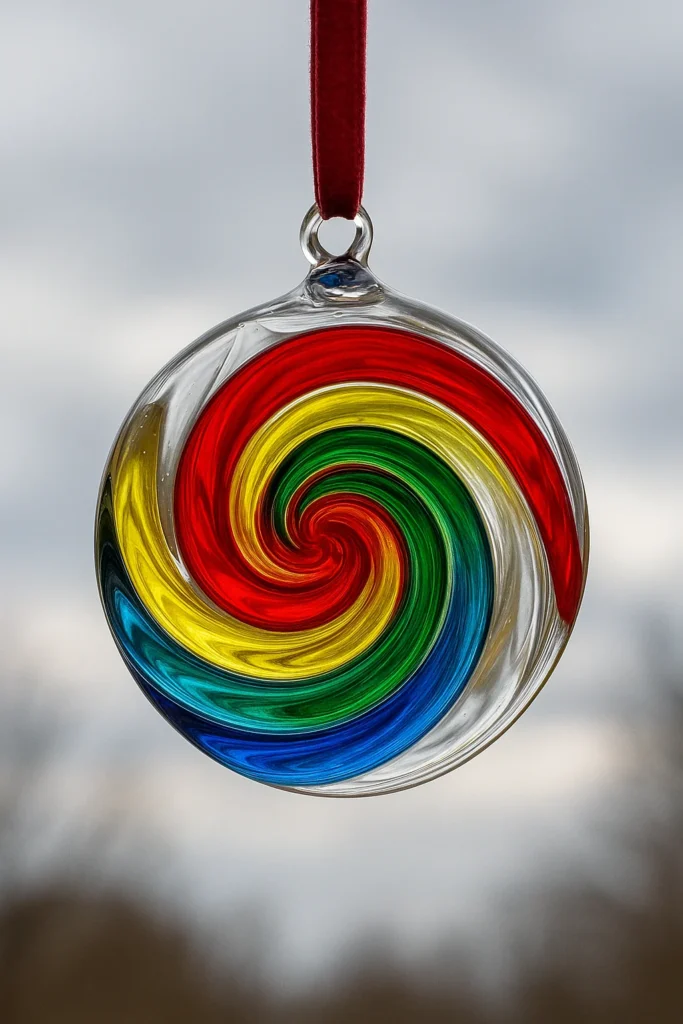
Ever looked at a sunlit window and wished it could sparkle with rainbows? You’re not alone! DIY Glue Suncatchers are one of those magical crafts that mix creativity with science—no fancy tools, just everyday items like glue and plastic lids. I still remember the first one I made; it dried unevenly, but the way it caught the light? Totally mesmerizing. Whether you’re crafting with kids, decorating your window, or just itching for a colorful project, these faux stained-glass creations are simple, beautiful, and totally addictive.

Materials You’ll Need for DIY Glue Suncatchers
Alright, let’s talk gear. When I first stumbled across glue suncatchers, I thought I’d need fancy art tools or some niche resin kit from the depths of the internet. But nope. Turns out this DIY craft for kids (and totally-for-grownups-too) uses stuff you probably already have in your kitchen junk drawer.
The Basics: Your Starter Kit
The real MVP here is Elmer’s glue. Not the gel kind—just the plain ol’ white liquid glue. Trust me, I once used a gel version and the thing dried looking like a cracked pancake. Elmer’s is hands-down the best glue for crafts like this. It dries clear, holds its shape, and plays nice with colors.
Now for the canvas: clear plastic lids. Think yogurt containers, deli trays, or sour cream tops. The smoother the better. I once used a textured lid and the glue dried all bumpy. Wasn’t the worst, but it didn’t catch light as nicely.
Optional but Fun Add-ons
Here’s where it gets magical. I love using biodegradable glitter—it gives that sparkle without the microplastic guilt. If you’re doing eco-friendly crafts, this little swap is a big win. You can also toss in pressed flower petals. My niece added tiny daisies from our backyard and it looked next-level gorgeous.
Oh, and don’t forget a Sharpie if you’re into that faux stained-glass look. I like outlining basic shapes like suns or leaves before I pour in the glue.
To mix things up (literally), grab a toothpick for swirling your colors. I’ve also tried skewers and the back of a paintbrush—whatever works.
And wax paper? That’s your drying surface. Don’t skip it. One time I dried a suncatcher on paper towels and it turned into a fuzzy nightmare.
Pro Tip: Use the Right Colorants
For color, go with liquid watercolors or food coloring. I dilute them with a teaspoon of water each—it helps the hues float on the glue instead of sinking like sad dye bombs. Tried acrylic paint once… big mistake. It clumped and cracked as it dried.
Also, if you’re searching for kids art supplies that won’t stain clothes or leave permanent streaks on your table, go for water-based options. My kitchen table learned this lesson the hard way.
For Hanging: Simple but Effective
After drying (more on that in the next section), punch a hole and use fishing line or ribbon. Fishing line gives that floating-in-the-air look. It’s kind of magical when the light hits just right. And yep, you’ll want to hang them in a sunny window—south-facing is gold.
Want to make this even more fun? Let the kids pick their color combos or add tiny beads. Just make sure you don’t overload it, or your design ends up looking like a toddler smoothie explosion (been there, done that).
Step-by-Step Instructions for Making Glue Suncatchers
Alright, now we’re getting to the fun part—how to make a suncatcher that actually works (and looks cute, not like a kindergarten mess… unless that’s your vibe).
I’ve messed up more than a few of these in my time, so let me walk you through the process with all the little lessons I learned along the way.
Step 1: Clean Your Lid Like It’s Surgery
Seriously, don’t skip this. Your DIY window art needs a squeaky-clean lid or the glue won’t stick properly. I use warm soapy water, rinse it off, then dry it completely. I once got lazy and just wiped it down—bad move. The glue lifted weird, and the whole thing curled at the edges.
Step 2: Outline if You Want That “Stained Glass” Look
Use a black Sharpie to draw out your shapes. You can freehand flowers, hearts, or even try mandala-style patterns if you’re feelin’ artsy. This step gives it a faux stained glass vibe and helps the colors pop once it’s all dry. Plus, it makes it look like you spent hours crafting when it only took 15 minutes.
Step 3: Pour the Glue
Time to bust out the Elmer’s glue—this is where the magic begins. Fill the lid about a ¼ inch thick. I usually start in the center and swirl outward, then gently tilt the lid to get even coverage. Don’t pour too thin or it’ll dry all brittle and peel like old paint.
And don’t even try shortcuts with other glues—this is one of those Elmer’s glue projects where off-brand just doesn’t cut it.
Step 4: Add Your Colors
Here’s the moment that makes your homemade suncatcher really come alive. Drop in a few spots of color—either liquid watercolor or food coloring diluted with a teaspoon of water.
Then, use a toothpick (or a skewer, or even a butter knife if you’re desperate) to swirl, zig-zag, or draw mini spirals. I usually go for a marble pattern because it feels forgiving. If you overdo it, the colors turn into a brown mush. I’ve made more than one that ended up looking like pond water. Don’t be me.
Step 5: Time to Get Fancy
Sprinkle some biodegradable glitter if you’re feeling flashy, or press in some tiny flower petals if you’re going for that soft, artsy Instagram vibe. But remember—less is more. I used to go full glitter bomb, but it drowned out the colors.
Step 6: Let It Dry (Patiently… No, Really)
Set your lid on wax paper or a silicone mat and leave it completely undisturbed for 48 to 72 hours. No peeking. No poking. No lifting it up to “just check.” Every time I got curious too soon, I ruined the whole thing. I usually pop it on a shelf and forget about it for two days.
Once the edges start to lift from the lid, you’ll know it’s ready.
Step 7: Peel & Hang
Gently peel it out of the lid—this part is weirdly satisfying. Punch a small hole with a needle or hole punch, thread some ribbon or fishing line, and hang it up where the sun hits. Voilà! Instant recycled craft masterpiece.
And hey, if your first try’s a little wonky? That’s part of the charm. These are supposed to be fun, imperfect, and creative. Plus, if the kids helped, the goal was entertainment—not perfection.
Next thing you know, your windows will be covered in rainbow-y, swirly awesomeness. And people will be like “You made that?!”
Yep. You did.

Creative Variations to Try
So, once you’ve nailed the basic glue suncatcher—trust me, it’s hard to stop at one. That first burst of sunlight hitting your window? Feels like a mini rainbow high. But if you’re like me and always itching to level things up, here are a few creative twists to keep the sparkle going.
Seasonal Color Combos (Because Why Not?)
One of my favorite things is changing suncatchers with the seasons. For winter, I used icy blues and silvers—totally felt like a frozen lake. Spring? Go with pastels: lilac, mint, soft yellow. Summer screams bold neons. And of course, red and green for December is a holiday craft for kids slam dunk.
I once made a Halloween version with orange, black, and purple swirls. My daughter called it “sun witch magic.” Still proud of that one.
Add Some Nature (Pressed Flower Magic)
Want to make something that looks straight out of an Etsy shop? Press tiny flowers or leaves into the glue before it dries. I’ve done little violets and ferns from our backyard, and they looked so elegant. It’s the perfect pressed flower art trick for those doing eco-friendly DIY projects. Plus, the texture adds depth when sunlight shines through.
Pro tip: Flatten flowers between two books for a week before using them. Don’t ask me how I know this, but fresh petals turn into mushy regret inside glue.
Glitter Without the Guilt
I’ll admit it—I used to be a glitter snob. But once I found biodegradable glitter, I went full sparkle again. It catches the light like crazy and doesn’t shed microplastics into the world. Use just a pinch over the swirls or outline certain shapes. Great for glitter crafts for kids, especially if you’re doing this as a weekend project with your crew.
I once overdid it and the whole suncatcher looked like a disco pancake. Not ideal. Keep it light.
Draw on Some Personality
If you’ve got a steady hand (or a stencil), you can sketch out little shapes with a Sharpie before you pour in the glue. I’ve done stars, smiley faces, and even our dog’s face. Okay, it kinda looked like a potato, but the kids knew it was him.
These look amazing as seasonal window decorations. Imagine fall leaves in September or hearts for Valentine’s Day—cute and easy.
Go Glow-in-the-Dark (Seriously)
I didn’t think this would work, but I mixed in a little glow-in-the-dark paint with some white glue and…wow. It doesn’t glow like neon, but at night it’s just enough to make the suncatcher look magical. Perfect for bedroom windows or kid rooms. And let’s be honest—glow stuff is just plain fun.
The best part? Every single one of these can be mixed and matched. Pressed flowers and glitter. Holiday colors with sharpie outlines. You get to play.
And when the sun hits those windows just right, each suncatcher becomes its own little masterpiece. Trust me, your windows will thank you.
Tips for the Perfect Dry & Display
Alright, I’ll be real with you—this is the part where I used to mess up the most. I mean, it’s glue, right? How hard can drying be? Spoiler: a lot harder than I thought. So if you’re like me and want your DIY light catcher to actually look as magical as you imagined, here’s what I’ve learned (sometimes the hard way).
Flat Is Your Friend
First tip: keep that lid dead flat while it dries. I once put one on top of a folded towel and it dried lopsided like a mini ski slope. Now I always lay my lids on a flat tray lined with wax paper or a silicone mat—way more stable, and no sticking drama.
This step alone makes or breaks your sunlight craft ideas. Uneven glue dries weird and bends the whole thing outta shape. Trust me, no amount of ribbon can fix that.
Hands Off! Seriously.
This is probably the hardest part—leaving it alone. Like, fully alone. No poking, no tilting to “check if it’s dry,” no showing it off before it’s ready. I ruined one after 30 hours because I got impatient and pulled it out too soon. Still bitter.
You need a good 48–72 hours depending on how thick your glue layer is. The edges will naturally start peeling up when it’s done. That’s your sign. No guesswork.
Dry Somewhere Dust-Free (Yeah, Right)
Okay, I know your house isn’t a clean room lab. Mine sure isn’t. But I try to keep the drying tray away from vents, fans, or curious cats. I’ve had glittery fur embedded in my crafts that sparkle more times than I care to admit.
You could even set a mesh colander or laundry basket over it. Keeps it breathable but safe from flying crumbs, fuzz, or tiny hands.
Let the Light Do the Work
Once your homemade suncatcher is fully cured, pop it out of the lid (gently, always gently), and punch a little hole near the top. I use a thumbtack and twist it in slow. Then string up some fishing line or a cute ribbon—whatever suits your vibe.
Hang it in a south-facing window if you can. That’s where sunlight hangs out the most during the day. These make for super affordable and beautiful indoor window decor, especially in rooms that need a little cheer.
Pro tip: Don’t hang them right on glass if you live somewhere hot. That glue can soften again if it gets too warm. I lost one that literally slid down the window one July afternoon. R.I.P.
The display is really where your recycled craft turns into room magic. When that sun hits the colors and sparkles just right? Man, it looks like you spent hours on it—even if the whole thing took 10 minutes and a half a bottle of Elmer’s.

And there you have it—your complete guide to making glue suncatchers at home! Honestly, few things make me as happy as seeing those swirling colors dance across the floor when sunlight hits just right. Whether you’re doing this as a rainy day project, a DIY craft for home decor, or just to keep the kids entertained without screen time, this little glue trick delivers every single time.
The best part? You don’t need to be an artist. You just need some glue, color, and curiosity.
These are more than just crafts—they’re mini mood boosters stuck to your window. They brighten up any room, they’re great for gifting, and they’re a sweet reminder that simple stuff can still be magical. So try different designs, play with textures, mess up, try again. That’s half the fun.
Got a few made already? Snap a pic of your creative window art and share it on Pinterest. Seriously. People love seeing these—plus, your version might just inspire someone else to make their own. Tag it with your favorite Pinterest craft ideas hashtags and get those rainbow vibes circulating.
Who knew a little lid and some glue could turn into something so dang pretty?


