

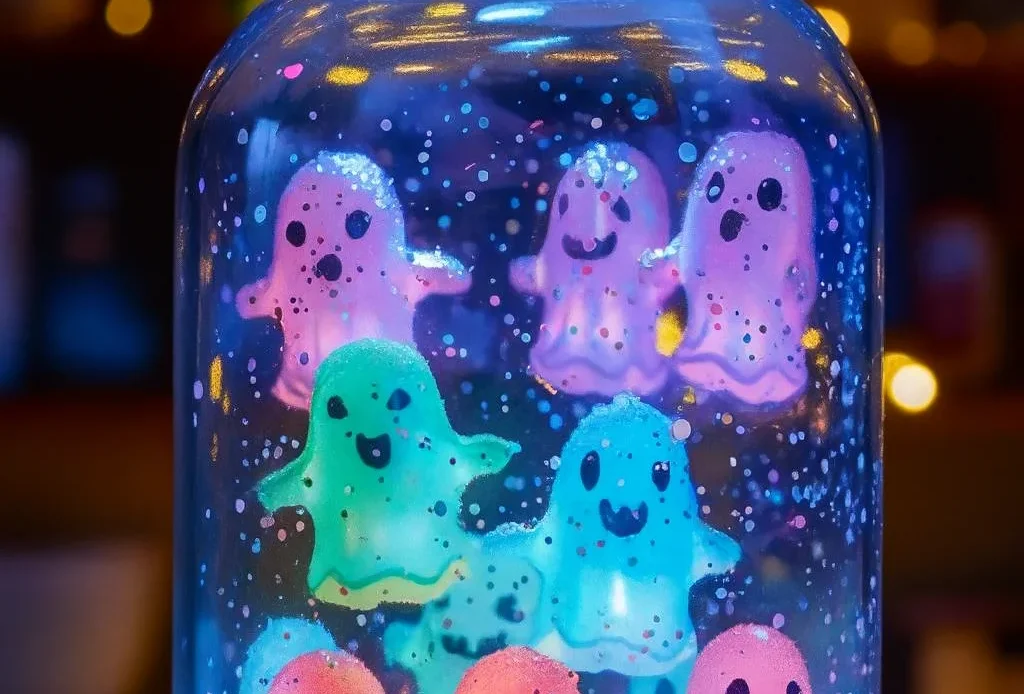
Ready to light up your Halloween with something spooky and science-y? This Glowing Ghost Snow Globe Jar isn’t just cute—it fizzes, sparkles, and glows in the dark! According to Pinterest trends, glow-in-the-dark crafts are up 120% this year—and it’s easy to see why! This simple, eerie DIY combines fun chemistry with enchanting Halloween vibes. Whether you’re a craft newbie or a DIY ghost pro, you’ll love watching your ghostly creations bubble to life under the eerie glow. Let’s dive into the spooky magic!
Materials You’ll Need for Your Glowing Ghost Snow Globe Jar
Don’t wing it—get your ghost gear in order 🎃
Okay, real talk: the first time I tried making one of these glowing ghost snow globe jars, I thought I could just throw in some glitter and baking soda and call it a day. Nope. What I got was a foamy mess that looked more like ghost barf than a magical Halloween centerpiece. Lesson learned—prepping your materials ahead of time is half the magic!
The Must-Haves:
- Clear mason jar – Go for glass if you want a brighter glow, but plastic works if kids are involved.
- 1 cup baking soda – This is your “snow” and the secret behind the fizz. It’s cheap, non-toxic, and found in every pantry.
- ½ cup white vinegar – Optional but highly recommended if you want that bubbly effect. Think science experiment meets haunted house.
- 1 tablespoon clear dish soap – It helps the fizz last longer and adds those satisfying bubbles that float up like spooky spirits.
Glow-Up Time:
- Glow in the dark paint or powder (1–2 tsp) – This is where the magic kicks in. I’ve used both, but honestly, glow powder is way brighter—just make sure to “charge” it under a light for a few minutes. If you’re shopping online, look for non-toxic, kid-safe options.
- Small ghost cutouts or ghost stickers – These are the stars of your jar. I made mine with cardstock and a glow marker one year. Another time I got lazy and slapped in stickers—worked like a charm.
Light It Right:
- LED tealight or mini glow stick – A solid LED tealight makes this project Pinterest-worthy. I’ve even tucked fairy lights around the base once for that cozy haunted vibe.
- Glitter (optional) – I said optional, but come on—it’s glitter. It catches the light and adds this magical twinkle like ghost snow falling.
A Few Extras I Learned Along the Way:
- Use warm water, not cold, when stirring things together. It helps everything dissolve better and makes the glow stronger.
- Stir with something disposable. Glow paint and vinegar aren’t kind to your favorite spoons—I ruined one and got a serious side-eye from my spouse.
- Don’t overfill! Leave space for fizz and foam or it’ll overflow. Ask me how I know…
My Personal Go-To Kit:
When I’m making these for a Halloween party or with the kids, I keep everything in a little bin labeled “DIY Halloween Decorations.” Saves me from digging around last minute and keeps glitter from showing up in weird places months later.
Step-by-Step Guide to Crafting Your Glowing Ghost Jar
Creating your own glowing ghost jar is way easier than it looks—and twice as fun. Follow these steps for a Halloween craft that bubbles, glows, and totally wows!
1. Pour in the Snowy Base
Grab your clean mason jar and pour in 1 cup of baking soda. This forms your “snow” and reacts with vinegar later to create that fizzy ghost magic. Don’t pack it down—keep it light and fluffy.
2. Mix in the Glow
Add 1–2 teaspoons of glow-in-the-dark powder or paint. Stir gently so it blends evenly with the baking soda. If you’re using powder, make sure it’s charged under a bright light first—it’ll glow like crazy when the lights go out.
3. Add Your Ghosts
Now for the spooky stars of the show—ghosts! Stick ghost cutouts or stickers to the inside of the jar. If they won’t stay put, use a little clear tape. I’ve even used tiny tissue ghosts for a homemade touch.
4. Sprinkle Some Glitter
Toss a pinch of glitter over the base for extra shimmer. Iridescent or silver glitter works best—it’ll reflect light beautifully and add a magical twinkle.
5. Prepare Your Potion
In a separate cup, mix ½ cup white vinegar with 1 tablespoon clear dish soap. This combo is key to getting long-lasting fizz. Want to level it up? Add a drop of green or purple food coloring for a more haunted look.
6. Pour the Magic and Watch it Fizz
Slowly pour your vinegar mix into the jar. As it hits the baking soda, the jar will come alive with bubbles and fizz. Ghosts rise through the foam, and the glow starts to peek through. It’s like a bubbling haunted cauldron!
7. Light It Up
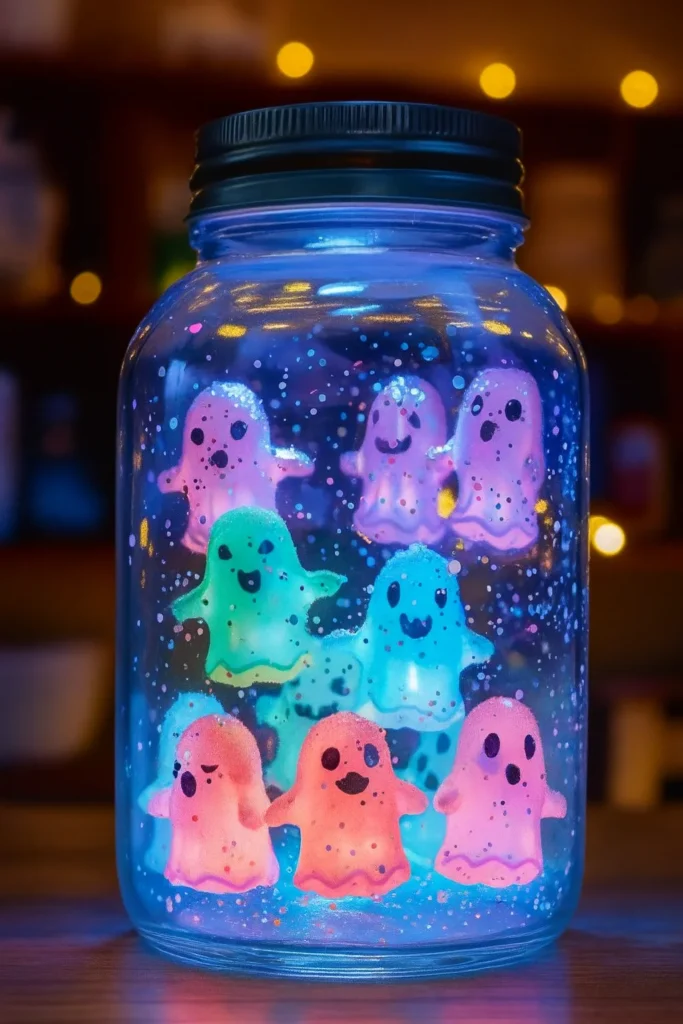
Once the fizz settles, slide a mini LED tealight or glow stick behind or under the jar. Turn off the lights and enjoy your creepy creation. I like using a puck light underneath—it makes the whole jar glow from the bottom up, kind of like a ghostly snow globe.
Making these is honestly addictive. I did one just for fun and ended up making three more because I couldn’t stop tweaking the glow color and ghost shapes. It’s one of those DIY Halloween crafts that mixes creativity with just enough science to feel like you pulled off something magical.
Tips to Customize Your Halloween Ghost Jar
Want to take your glowing ghost jar from fun to flat-out legendary? Here are my best tips to personalize your jar and make it the star of your Halloween décor. Whether you’re planning a party, decorating a spooky porch, or just keeping the kids entertained, these customizations let you add your own eerie flair.
Add Other Halloween Characters
Ghosts are awesome, but don’t stop there. I’ve added tiny bat cutouts, mini pumpkins, and even little black cat stickers to my jars. They turned out super cute and gave the jars a more complete Halloween centerpiece vibe.
Switch Up the Glow
Not all glow is created equal. I tried non-toxic glow paint one year that was super weak—even after charging it under a light for hours. Now, I stick to high-quality glow powder, especially the kind made for resin art or fishing lures (yes, seriously). It glows hard and lasts longer in the dark.
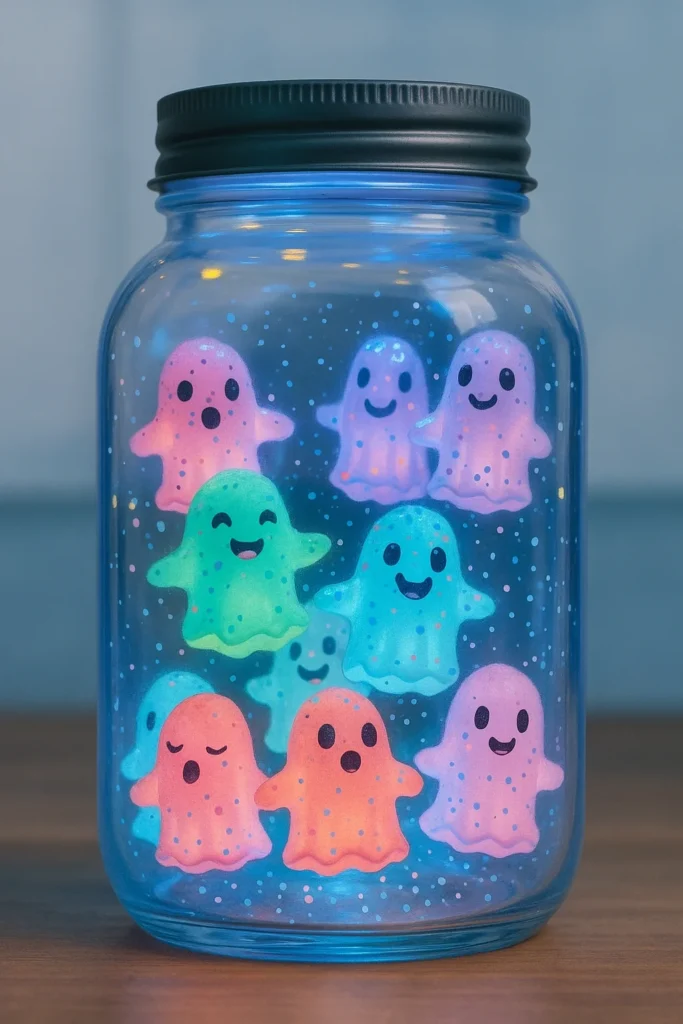
You can also experiment with glow colors. Green is classic spooky, but blue and purple give off a ghostly ice queen feel if you’re going for something more whimsical.
Layer Your Jar for Depth
One trick I’ve learned is to create layers in the jar. Start with glow powder mixed into baking soda, add a thin layer of black glitter, then a few stickers, and repeat. It gives the illusion of depth—like your little ghosts are floating in a foggy dimension. Kinda freaky. Kinda fabulous.
Play With Lighting
Instead of a basic glow stick, try placing a small LED puck light under the jar. They’re cheap and reusable, and the upward glow looks chef’s kiss under glass. You can even get ones that change color with a remote—talk about glow-in-the-dark decorations with style.
Add a Spooky Scent
Want to really sell the creepy vibe? A few drops of Halloween-scented essential oils (like cinnamon, clove, or pumpkin spice) mixed into the vinegar potion add that cozy haunted house smell. It’s a fun sensory layer that’s great for spooky crafts for kids.
Theme Your Jars
If you’re doing a Halloween party, make a set of jars with different themes: one with ghosts, another with spiders, another with mini eyeballs (yes, they exist). Line them up as a glowing, fizzing DIY Halloween centerpiece that looks like a mad scientist’s collection.
Use Color-Changing Light
I once tucked a small color-changing LED light inside the base. With the lights off, the jar went from green to purple to red, making the ghosts look like they were shifting between ghost realms. The kids lost their minds over it. Total win.
Keep It Kid-Safe
If you’re crafting with younger kids, use plastic mason jars and skip glass altogether. Also, double-check that your glow materials are labeled non-toxic and safe for handling. You still get all the wow factor—just with fewer worries.
Honestly, once I started customizing, I couldn’t stop. It became a mini obsession. These tips turned a simple Halloween jar into the coolest thing on my mantel. Try a few or mix and match—you’ll end up with a one-of-a-kind glowing ghost jar that’s equal parts creepy and creative.
Science Behind the Magic – What Makes It Fizz and Glow?
Ever wonder what’s actually going on inside that spooky glowing jar? I did too—until I realized this wasn’t just a Halloween craft… it was a full-blown DIY science experiment for kids disguised as ghost fun. The best part? You don’t need a lab coat, just stuff from your kitchen.
Baking Soda + Vinegar = Ghostly Fizz
Let’s start with the classic fizz. When you mix baking soda and vinegar, you’re triggering a chemical reaction. Baking soda is a base. Vinegar is an acid. When they combine, they create carbon dioxide gas—hello, bubbles! That fizzy foam that looks like ghost breath? Totally real science.
I once dumped in too much vinegar at once and the jar overflowed like a haunted volcano. Learned my lesson: slow pour, steady hands. The bubbles are what make the ghosts “come to life” and float in all that fizzy chaos.
Why It Glows in the Dark
Now here’s where the glow-in-the-dark chemistry kicks in. That magical glow comes from phosphorescent materials—aka glow powder or glow paint. They absorb light (like sunlight or a lamp), store it, and slowly release it in the dark. It’s kind of like a spooky battery.
Pro tip? The brighter the light you charge it under, the brighter the glow. I hold mine right up to a desk lamp for about five minutes before I show it off. Looks way more impressive that way.
The Dish Soap Trick
The clear dish soap isn’t just for fun. It actually traps the carbon dioxide bubbles, creating thick foam that lasts longer. Without it, the fizz dies out quick. With it? You get those big, satisfying bubbles that rise like ghostly ectoplasm. Yes, I just said ectoplasm.
It also helps suspend glitter and glow particles in the foam so everything looks like it’s floating in spooky starlight. When I skip the soap, the reaction is boring. When I use it? Chef’s kiss.
Perfect Halloween STEM Activity
What I love most is how this turns into a sneaky STEM Halloween activity for kids. They get to mix ingredients, observe chemical reactions, and ask questions—all while thinking they’re making ghost potions. It’s like science wrapped in a Halloween party.
You can even get nerdy and turn it into a lesson. One year I had the kids guess what would happen if we changed the amounts of baking soda or vinegar. We did a few test jars and compared the fizz. Felt like Bill Nye… with glitter.
Science doesn’t have to be boring—and this jar proves it. You’re teaching chemistry, experimenting with light, and creating an epic decoration all in one go. Glow, fizz, and fun? That’s a win in my book.

So there you have it—your own bubbling, glowing, spooky little ghost world in a jar. From fizzing science reactions to eerie glow-in-the-dark effects, this Halloween DIY project checks every box: fun, simple, educational, and totally Pinterest-worthy.
I’ve done a lot of spooky crafts over the years, but this one gets the most oohs and ahhs every single time. It’s the kind of thing that kids want to make again and again, and adults can’t believe was homemade. Plus, it’s budget-friendly and easy to customize, which makes it perfect whether you’re prepping for a party, a classroom activity, or just a chill Halloween night at home.
If you make one—and I seriously hope you do—snap a pic and show it off. Share it with friends, post it on social, and definitely save it to your Halloween board on Pinterest. Trust me, these glowing ghost jars deserve the spotlight.
Now go light up Halloween with fizz, fun, and a little ghostly glow. 👻
