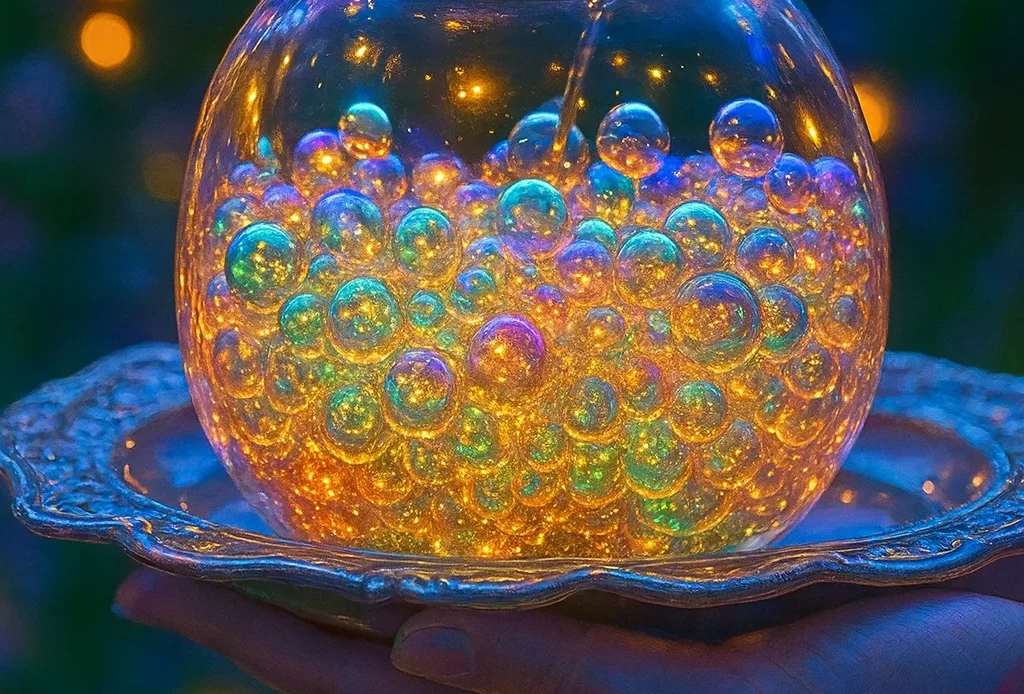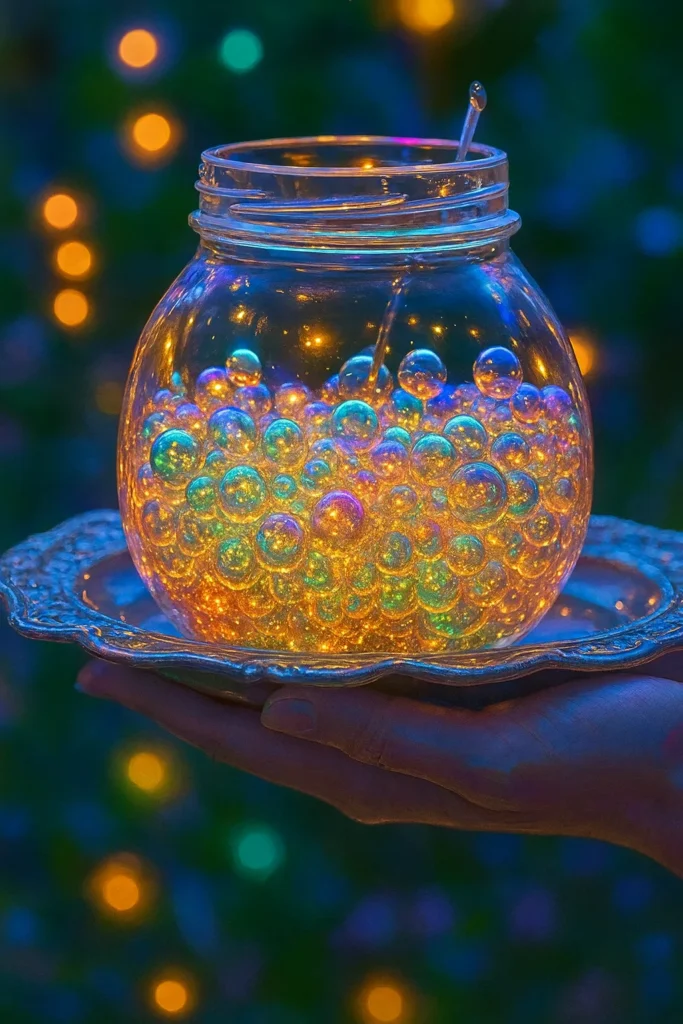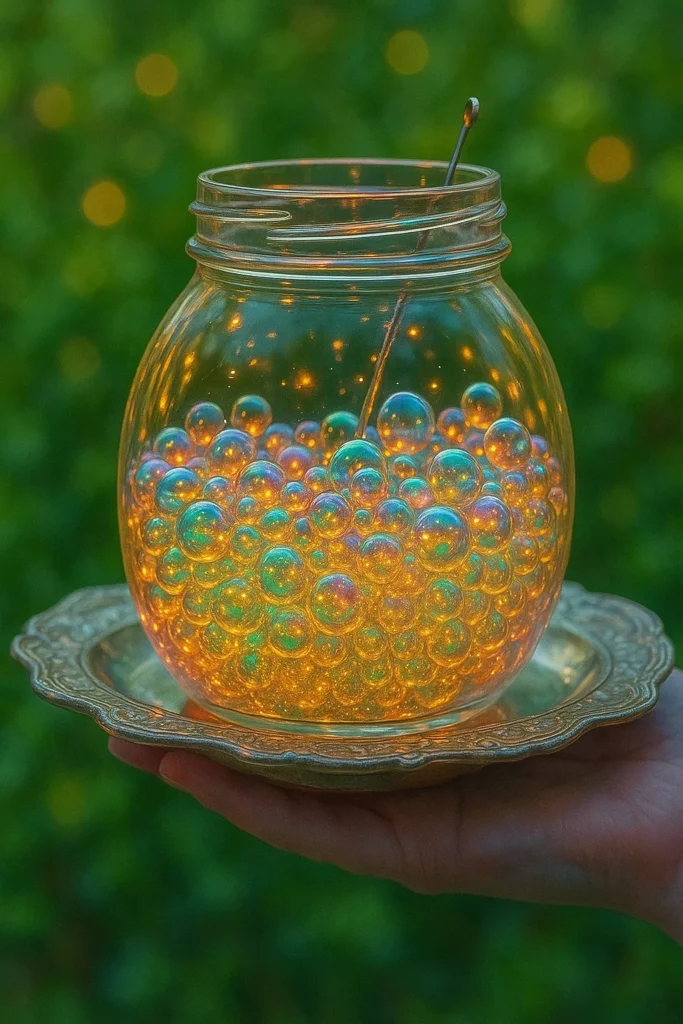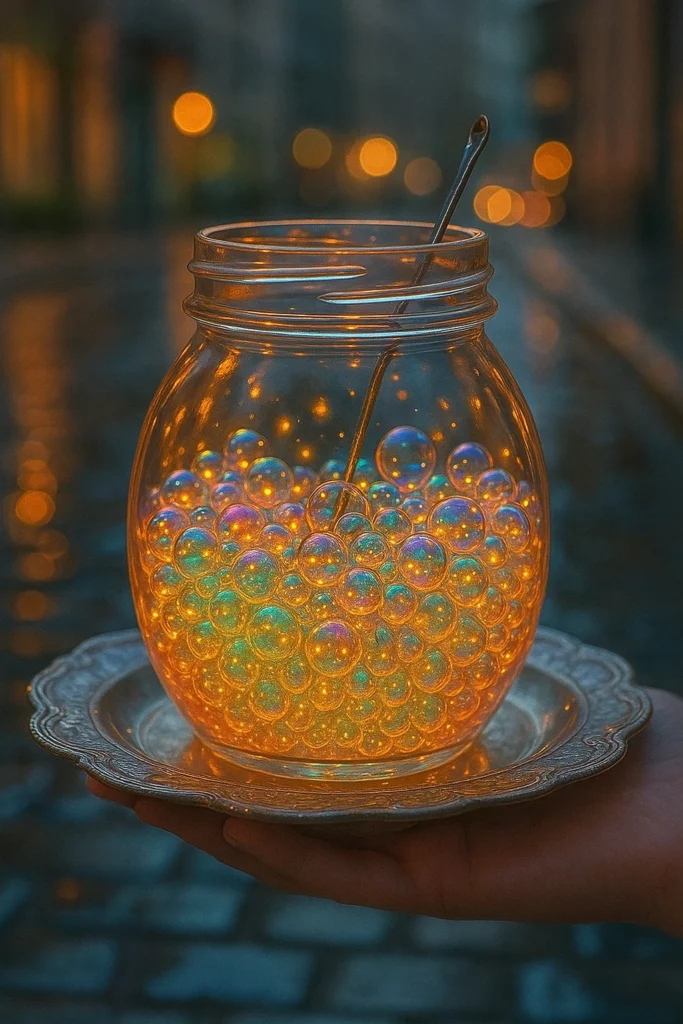
Have you ever wished your backyard could sparkle like the night sky? ✨ With glow-in-the-dark bubbles, it can! These aren’t your average soap bubbles — they’re luminous, long-lasting, and totally magical under a black light. Whether you’re throwing a glow party or just looking to add a little nighttime sparkle to your life, this guide shows you exactly how to make glow-in-the-dark bubbles from scratch. You’ll need simple ingredients like dish soap, tonic water, and corn syrup — and a few clever tweaks to get them glowing! Let’s light up the night with some bubbly science fun.

What Makes Bubbles Glow? (The Science Behind It)
Okay, I’ve got to admit — the first time I saw glow-in-the-dark bubbles, I thought it was some fancy chemical trick. Turns out? The real “secret sauce” is something you probably already have in your fridge: tonic water. Yeah, the kind you mix with gin. Wild, right?
The Quinine Trick
So here’s what’s going on: tonic water contains quinine, a naturally occurring compound that’s actually fluorescent. Under regular light, it looks like plain old water. But hit it with a black light (aka UV light), and boom — it glows a crazy cool blue.
I didn’t believe it till I tried it myself. I spilled a little tonic water while mixing and noticed it lighting up like neon when I flipped on the UV lamp. That’s when I knew this DIY project was gonna be a winner.
UV Light = Instant Glow
Here’s the deal with UV light: it’s not visible to the naked eye, but when it hits certain materials (like quinine), it excites their molecules and makes them emit visible light. It’s kinda like how those invisible ink pens work — only way cooler when you’re blowing bubbles under the stars.
Honestly, without the black light, the bubbles won’t really glow much. So don’t skip that part. You can grab a cheap handheld UV flashlight online for like 10 bucks, and it works wonders for all kinds of glow in the dark experiments. Trust me — it’s worth it.
Are Glowing Bubbles Safe?
That was one of my first questions. I mean, tonic water’s technically edible (bitter, but safe), and we’re just using a few spoonfuls. But I wouldn’t go letting the kids drink the bubble mix, obviously. Keep it to play only. As long as you’re using non-toxic dish soap and basic kitchen ingredients, you’re good to go.
Pro Tip
Don’t use highlighter ink or glow sticks — I’ve seen that floating around online and it’s NOT safe. Stick with tonic water. It’s cheap, accessible, and it reacts perfectly to black light.
Ingredients You’ll Need for DIY Glow Bubbles
I’m not gonna lie — the first time I tried to make glow in the dark bubbles, I totally messed up the mix. Too much soap, not enough glow. The bubbles popped before they even had a chance to shine. After some trial and error (and maybe a little frustration 😅), I finally nailed the perfect DIY bubble solution that actually works and glows beautifully under black light.
Here’s What You Need (and Why):
1 cup of dish soap
You need a good base, and regular dish soap (like Dawn or Palmolive) does the trick. It gives the bubbles their form. If you use a cheap one, they’ll pop fast. Learned that the hard way.
1 cup of water
Seems boring, but trust me — the right ratio of soap to water matters. If it’s too concentrated, you’ll just get a gooey mess.
2 teaspoons of baking powder
This is the game-changer I didn’t expect. It gives your bubble mix some stability, making the bubbles stronger and more floaty. Think of it like giving your mix a little backbone.
1 tablespoon of corn syrup
I was skeptical about this one too, but it makes a huge difference. The corn syrup thickens the mix just enough so your bubbles don’t pop as soon as they leave the wand.
2 tablespoons of tonic water (with quinine)
This is where the glow magic comes in. Make sure it actually says “contains quinine” on the label. No quinine = no glow. I accidentally grabbed a zero-calorie tonic once… didn’t glow at all.
Optional: Food coloring & essential oils
If you wanna get fancy, you can add a drop or two of food coloring to make colored bubbles — they’ll still glow under UV light, just with a cool tinted effect. And a touch of lavender oil? So relaxing.
A bowl and a bubble wand or straw
I’ve even used pipe cleaners shaped into wands. Whatever gets the job done!
Quick Tips
- Use warm water — helps the ingredients blend better.
- Stir gently — don’t whip it like cake batter or you’ll get foam instead of bubbles.
- Let the mix sit for 30 minutes before using — helps the ingredients settle and mix properly.
Honestly, once you’ve got this bubble recipe down, you’ll never go back to store-bought mixes. It’s cheaper, way more fun, and you can tweak it however you like. Plus, you’ll know exactly what’s in it. Safe, glowy fun for the win.

Step-by-Step Instructions to Make Glowing Bubbles
Alright, let’s get into the fun part — actually making these bad boys glow! ✨ This DIY bubble recipe is seriously simple once you get the hang of it. But if you’re like me, you might mess it up the first time by stirring too hard or using the wrong kind of water (yes, I once tried sparkling water… don’t ask 😂).
1. Mix Your Base – Gently Does It
Start with 1 cup of warm water in a bowl. The warmth helps everything mix easier. Slowly stir in 1 cup of dish soap. Do not whisk it like a lunatic — I did that once and ended up with a bowl of suds instead of bubble mix. Stir slowly, like you’re folding pancake batter.
2. Add Structure – The Secret Ingredients
Next, sprinkle in 2 teaspoons of baking powder. Don’t just dump it — sprinkle while stirring to avoid clumps. Then add 1 tablespoon of corn syrup. This combo gives your mix extra elasticity and keeps the bubbles from popping too fast. It’s basically the difference between a bubble that floats for 3 seconds vs. 30.
3. Add the Glow – Light It Up
Now pour in 2 tablespoons of tonic water with quinine. This is the magic ingredient that makes it glow in the dark under UV light. Just make sure your tonic isn’t sugar-free — the quinine content is usually lower, and it won’t glow as bright (ask me how I know 😩).
Give everything one final gentle stir. Let it sit for 20–30 minutes to fully combine. The wait is totally worth it — trust me.
4. Time to Blow Some Bubbles
Grab a bubble wand, straw, or even a DIY wand made from a pipe cleaner. Dip it in and blow gently. If you want the bubbles to really pop (pun intended), head into a dark room or step outside after dusk with a black light. Once you shine that UV light, the bubbles will shimmer with that eerie blue glow. So satisfying.
Troubleshooting Glow Bubbles
- Bubbles popping too fast? Add a little more corn syrup.
- Not glowing enough? Check your tonic water — must contain real quinine.
- Foamy mess? Stir more gently next time and avoid shaking the bowl.
These UV light bubbles are such a hit at parties or late-night backyard hangouts. I brought them to a birthday party once, and the kids went absolutely nuts. Glow stick necklaces + glow bubbles = instant rave vibes.
Tips & Variations to Customize Your Bubbles
Once you’ve got the basic glow mix down, it’s hard not to start experimenting. I went full-on mad scientist mode in my kitchen, tweaking the mix for stronger bubbles, brighter glow, and wild color combos. That’s the fun part of making a custom bubble mix — you get to play around!
Add a Splash of Color
If you’re going for wow-factor, toss in a few drops of neon food coloring. Pink, green, or blue work best, especially if you’re using a black light. Just be aware: it might stain clothes or walls if you’re blowing bubbles indoors (been there, scrubbed that). I recommend doing this outside or laying down an old sheet.
One time, I mixed orange food dye into the tonic water and the bubbles glowed a weird, almost fiery hue under UV light — super cool Halloween party trick.
Make It Smell Awesome
I tried lavender essential oil once and now I’m low-key addicted. Just a drop or two goes a long way. Kids love peppermint or citrus, and honestly? It makes the whole thing feel like a spa-day meets science project. Just don’t overdo it — oils can mess with the bubble structure if you go overboard.
Glow Party Ideas
If you’re planning a glow party, these glowing bubbles are a total show-stealer. I like to pair them with black light-reactive face paint, glow sticks, and dark curtains to really make everything pop. One parent at our party called it “the coolest thing since slime,” which is basically a gold medal in kid world.
You can even set up a “bubble bar” with different colored glow mixes in mason jars. The kids went nuts blowing different colored bubbles into the air. Some floated so long, they drifted across the yard like tiny glowing UFOs.
Storage Tips
If you’ve got leftovers (rare, but it happens), pour the mixture into a sealed jar or bottle. Stick it in the fridge and give it a gentle stir before the next use. It’ll keep for up to a week, though the glow fades a bit over time.
Quick Do’s and Don’ts
✅ DO:
- Use tonic water with quinine
- Mix slowly to avoid foam
- Try different colors and scents
❌ DON’T:
- Add glow stick fluid (seriously, it’s toxic)
- Shake the mix
- Expect it to glow without a black light
These little tweaks make your DIY glow in the dark crafts way more exciting. And honestly? Half the fun is seeing what works and what totally doesn’t. Like the time I tried adding glitter… great idea in theory, total disaster in practice. 😂

And there you have it — your step-by-step guide to making glow-in-the-dark bubbles that’ll wow everyone from toddlers to grandparents. Seriously, these things are the highlight of any backyard bash or late-night hangout. Not only are they a blast to make, but they’re also an awesome way to sneak a little science into playtime.
Whether you’re throwing a full-on bubble party, or just looking for some last-minute DIY glowing activities with the kids, this recipe is the kind of simple magic that turns an ordinary evening into something unforgettable. There’s just something wildly satisfying about watching those glowing orbs float through the dark, dancing in the black light.
If this post sparked some glow in your life, go ahead — pin it to your favorite DIY or party board on Pinterest. Trust me, your future self (and your party guests) will thank you. ✨
Now go light up the night — one glowing bubble at a time.


