

Ever stared up at the night sky and wished you could bottle that beauty? Well, now you can—kind of. Making Galaxy Ornaments at home is a dazzling blend of science, creativity, and cosmic magic. With just a few everyday supplies and a pinch of imagination, you can create swirling universes in a bulb—perfect for kids, holiday decor, or just a relaxing afternoon. Did you know that combining baking soda with paint can create a soft, cloud-like galactic effect? Yep, it’s like science meets sparkle.
This DIY project is ideal for parents, teachers, or anyone wanting to mix fun with a little STEM education. Get ready to swirl, shake, and sparkle your way to the stars!
Supplies You’ll Need for Galaxy Ornaments
I’ll be honest—half the fun of making galaxy ornaments is just gathering the supplies. It’s like prepping for a little space mission! And don’t worry, you won’t need anything fancy from a craft galaxy far, far away. Most of this stuff is probably already in your craft bin (or hiding in that junk drawer we all pretend doesn’t exist).
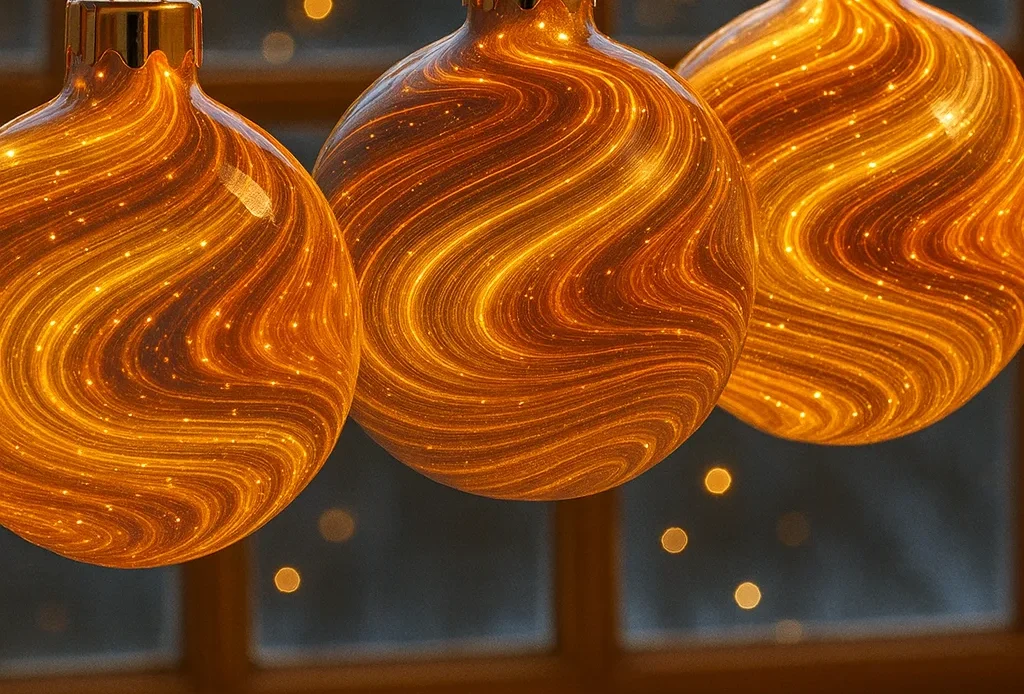
Clear Ornaments are the Real MVP
Start with clear ornaments—glass or plastic both work. I used plastic because, well… I have kids, and let’s just say we’ve had some “ornament casualties” in the past. You want the kind that either opens completely or has a removable top. These things are a blank canvas for your mini universes!
👉 Tip: If you’re shopping online, look for “fillable clear ornaments”—super popular around the holidays and perfect for DIY Christmas decorations.
Baking Soda: The Magic Texture Creator
Here’s the weird trick that makes the galaxy effect pop—baking soda. I know, sounds random, but it gives your paint that dreamy, cloudy swirl that makes the whole thing feel like a nebula. Just a teaspoon or two does the trick.
First time I tried this, I dumped in too much. Big mistake. It turned into some gloopy mess that looked more like a Pinterest fail than outer space. Start small and shake it up!
Cosmic Paint Colors (You’ll Want These Specific Ones)
Go with acrylic paint in:
- Deep black (for space)
- Cobalt blue
- Electric purple
- Hot pink
- Metallic gold
Honestly, don’t skip the gold—it adds that “star dust” glow that makes everything shimmer. Use the tiny bottles from any craft store. You don’t need a lot.
Glitter—But Not the Messy Kind
You have to use fine glitter here. The big chunky stuff just floats to the bottom and looks like glitter soup. I use holographic and silver—it gives that perfect starry sparkle inside the bulb.
Quick story: one year, I used kid glitter from a dollar store and it clogged up the whole ornament. Swirls didn’t swirl. Lesson learned. Get the good glitter, y’all.
Small Tools for Big Results
Don’t forget the little tools:
- Small funnel (or a rolled-up paper works in a pinch)
- Cotton swabs or mini paintbrushes
- A spoon for scooping baking soda
And if you want the paint to stay put long-term? Add a couple of drops of Mod Podge or clear craft glue inside before sealing it up.
So there you have it—your galaxy ornament supply checklist. The beauty is in the simplicity. Whether you’re doing this as a kids craft, a classroom STEM project, or just need some cosmic flair for your DIY Christmas decorations, these tools make it stress-free.
Next up, we’ll actually make the magic happen. And yes, it’s as fun as it sounds. 😍
Step-by-Step Guide to Make Galaxy Ornaments
Okay, so now that your table looks like a craft store exploded (in the best way), it’s time to make some galaxy magic happen. Trust me, this part is super satisfying—even if you’re not a “crafty” person. Here’s how to make Christmas ornaments that look like they were plucked straight from the Milky Way.
1. Start with a Clean Slate
Wipe down your clear ornaments. I skipped this once and, uh… found fingerprints and dust swirling around inside like space junk. Gross. Just rinse and dry them real quick—makes a world of difference.
2. Scoop in the Secret Ingredient
Drop in about 1–2 teaspoons of baking soda. This is what gives the paint that cloudy, otherworldly swirl. I always use a funnel, but you could MacGyver it with a folded paper if needed. Don’t pack it in—just a soft pour will do.
3. Add the Paint Like You’re Dripping in Stars
Here’s where it gets fun. Pick 3–4 acrylic paint colors and add a few drops of each. Start with dark colors like black or navy, then add purples and pinks. A touch of gold last. Don’t shake it yet—just let them settle. I know it’s tempting to go wild, but trust me: less is more or you’ll end up with gray sludge instead of galaxies.
4. Shake, Swirl, and Be Amazed
Cover the opening with your thumb (or plastic wrap and a rubber band if you’re fancy) and gently shake or swirl the ornament. This is where the magic happens. The paint blends, the baking soda puffs things up, and suddenly—boom—you’ve got a galaxy in your hand.
Every time I do this part, I feel like Bob Ross in space.
5. Make it Shine (Literally)
Now’s the time to sprinkle in that fine glitter. Go light—too much and it clumps. Shake it one more time so it sparkles like stars in a nebula.
✨ Pro tip: If the swirl isn’t giving what it needs to give, tap the sides or twist slowly. You’ll see new patterns form. It’s weirdly meditative.
6. Let Them Dry Like a Pro
Remove the caps and let the ornaments dry open-side up for a few hours. I leave mine overnight on an egg carton or paper cup. If you’re in a hurry, a low fan helps. Just don’t close them too soon or the moisture will trap and mess with your galaxy.
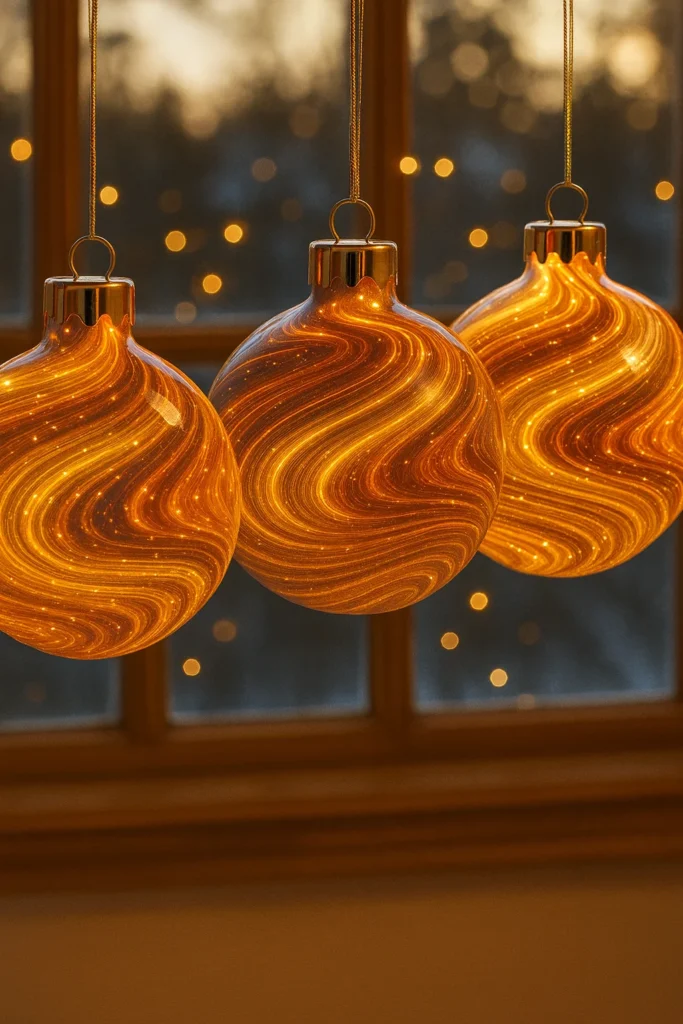
Once dry, pop the top back on, add a pretty ribbon or metallic hook, and admire your little pocket universe.
And that’s it! A mess-free-ish, fun-as-heck project that’s part science, part art, and totally holiday magic. Whether you’re into DIY holiday crafts, making easy kids crafts, or just trying to impress Grandma with your ornament game, this one delivers.

Tips for the Perfect Swirl Effect
Alright, confession time: my first attempt at a galaxy ornament looked more like mud soup than outer space. 😂 I thought I could just dump in a bunch of paint and shake like a maniac. Spoiler alert: that’s not how you get those dreamy cosmic swirls.
So let me save you the heartache (and the glitter-covered kitchen) with these tried-and-true swirl hacks that’ll level up your paint swirl ornament game.
Use Bold Contrasts, Not Similar Shades
This one changed everything for me. If you use colors that are too close—like blue and dark purple—it all just mushes together. But if you use contrasting colors like black and bright pink or blue and gold? Whoa. The depth is chef’s kiss. You want those swirls to pop, not blur.
🎨 I usually go with 3 colors max. More than that and it starts looking chaotic. Think “galaxy,” not “oil spill.”
Don’t Overdo the Shake
Seriously. I know it’s tempting to shake it like a snow globe, but be gentle. Swirling slowly makes the colors marble beautifully. Shaking too hard blends everything into gray. Been there. Done that. Regretted it.
Instead, try:
- Slowly rolling the ornament in your hands
- Tipping it back and forth like a lava lamp
- Tapping it lightly to move paint in specific directions
This is where the art happens. You’re not just making a DIY ornament—you’re painting space inside a bauble.
Fix Oopsies with a Q-tip or Brush
Got a weird clump or blank spot? Dip a cotton swab or tiny brush inside and gently move the paint around. This trick saved me more than once when I had a huge empty patch that made my ornament look half-finished.
✨ Bonus Tip: Want the swirls to stay put and not shift later? Add a drop of clear glue or Mod Podge to “freeze” the pattern once you love it.
Go Light on the Glitter
It’s called accent glitter for a reason. Too much and it hides your beautiful swirls. I use a pinch—literally a pinch—of ultra-fine holographic glitter. If you’re using metallic paint like gold or silver, sometimes you don’t even need glitter.
🎄This part is where your Christmas craft hacks skills really shine. (Pun fully intended.)
Bottom line? Swirling is an art and a science. Don’t rush it. These little tweaks helped me go from “meh” to OMG did you MAKE that?!
Ready to get a little nerdy in the next section? Let’s break down the science behind why these ornaments look so dang cool.
Fun Science Behind the Craft
Okay, so real talk: these galaxy ornaments aren’t just cute—they’re secretly STEM crafts for kids in disguise. I didn’t realize it at first, but the moment I saw my 8-year-old asking why the glitter floated differently than the paint, I knew we were onto something.
Let me break it down for you like I would at our kitchen table with a cup of cocoa and some glue on my sleeve.
Baking Soda + Acrylic Paint = Texture Magic
The star of the show here is baking soda. When you mix it with acrylic paint, you’re not just adding texture—you’re messing with the paint’s viscosity. That thicker, more cloud-like consistency helps the colors float next to each other instead of blending into a big blob.
That’s what creates that soft, ethereal nebula look. It’s kinda like watching fog form in space. And the best part? You can explain it to kids in a way that makes them feel like junior scientists.
📚 This little moment is why I now call this our “Christmas science experiment disguised as a craft.”
Light + Glitter = Diffraction Fun
Let’s talk glitter. Besides making everything fabulous, fine glitter plays with light in a way that’s actually scientific. Depending on the type—silver, holographic, iridescent—it diffuses light in different directions. That’s why it sparkles more in sunlight or under tree lights.
Wanna sneak in a mini-physics lesson? Ask your kid why they think the ornament sparkles from different angles. Boom—you’re officially a holiday science teacher.
Color Mixing in Action
This one’s super fun: use your ornaments to teach color theory. What happens when blue and red swirl together? Purple, right? Let them predict the result, test it, then see if their theory holds.
🎨 I used this last year to sneak in some homeschooling during winter break. Bonus: the kids didn’t even know it was educational.
Sensory Learning Without the Screens
What I love most is how this DIY balances hands-on learning with creativity. No tablets. No apps. Just glitter, goo, and imagination. My youngest even wrote about it for a school project under “fun things that taught me stuff.”
So yeah, these aren’t just holiday baubles—they’re science Christmas crafts with serious learning potential. If you’re a teacher, homeschooler, or just a parent who wants more screen-free creativity, this one’s a win.
Decorating with Your DIY Galaxy Ornaments
Once you’ve finished your mini galaxies and they’re all dry and sparkly, comes the best part—showing them off! These things are too pretty to just toss in a box. Trust me, once you’ve made one, you’ll want to hang them everywhere… and then make ten more.
Here’s how I’ve used them to jazz up the house with a little cosmic flair—and a few ways I wish I had thought of sooner.
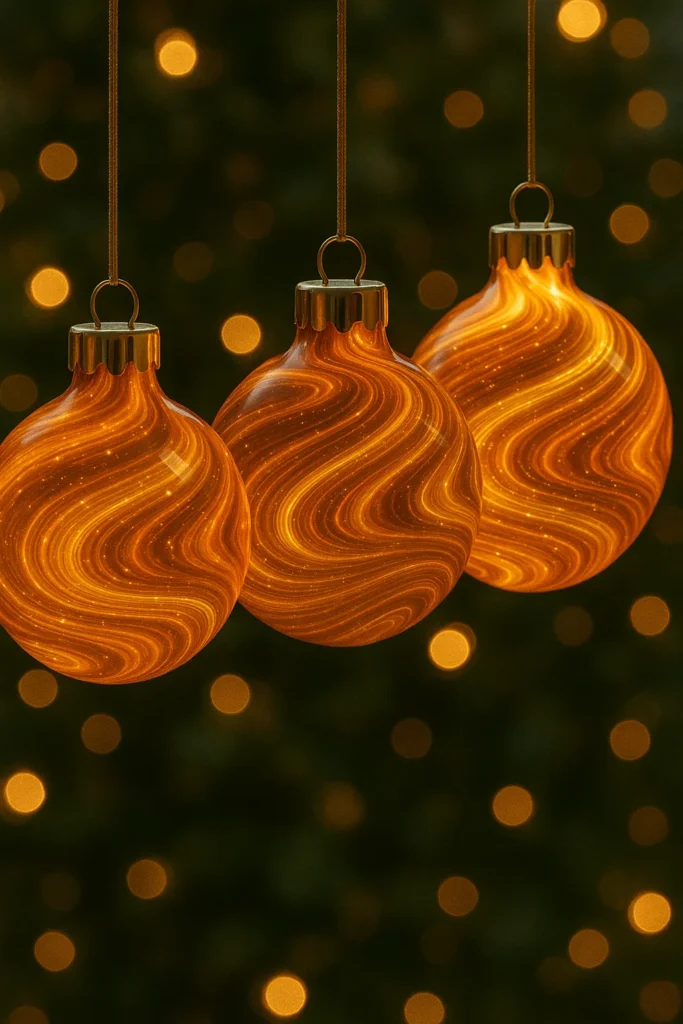
1. Dress Up the Tree (Obviously)
Your Christmas tree is begging for these. They add the perfect pop of color, especially if you’ve got a dark green or white tree. I love tucking them into the deeper branches so the lights make them glow from behind—almost like tiny glowing planets.
🎄 For a real statement, cluster 3 together on one branch. I call it the “mini solar system” effect.
2. Window Magic
Stick a few of your DIY galaxy ornaments in the window with transparent fishing line or clear thread. When the sunlight hits them just right? 😍 Instant sparkly space vibes.
I hung some in the kitchen window last December and my neighbor legit texted, “How did you get those stars in a ball?” — I mean… that’s the dream, right?
3. Holiday Garland Glow-Up
Have a pine garland draped across your mantle or staircase? Nestle a few galaxy bulbs in there for a pop of handmade ornament charm. Bonus points if you throw in some fairy lights—it gives this moody, magical twinkle that screams Pinterest goals.
✨ I even added a string of them across my headboard one year. Cozy AND galactic? Yes please.
4. Party Favors or Gift Toppers
These make killer DIY Christmas gifts too. Wrap one up with a little note about how you made it, or tie it onto a gift box as a topper. Everyone loves getting something handmade, especially when it looks like you bottled a piece of the cosmos.
I gave one to my niece’s teacher last year and she literally cried. Boom. Nailed it.
5. Classroom or STEM Fair Display
If you’re a teacher or homeschool parent, these ornaments double as both decoration and science display. Set up a tree with space-themed bulbs at your STEM fair or holiday open house. It’s eye-catching and educational.
So there ya go—more than just a pretty craft, these ornaments are ready to shine all over your holiday space. Whether you’re decking the halls, spicing up your gift wrap, or turning your living room into a planetarium, these little guys do it all.
So there you have it—everything you need to know to make DIY galaxy ornaments that look like tiny universes caught in a globe. It’s one of those crafts that’s way easier than it looks and twice as rewarding. You get to swirl paint, add glitter, and teach a little science along the way. Honestly, what more could you want from a holiday decoration?
Whether you’re doing this as a weekend project with your kids, adding some cosmic flair to your Christmas tree decorations, or just need a break from screen time, these ornaments are the kind of low-effort, high-wow craft that never disappoints.
🎁 Don’t forget to share your creations!
Post them on Pinterest, tag your pics, or even send them to friends and family. Handmade crafts have that extra sprinkle of holiday magic—and people love seeing the process. If you’re proud of your galactic globes (and you should be!), pin this guide and inspire someone else to give it a try.

Do you add the glue or mod podge in with the paint then swirl, I know this is a silly question but I want to make sure, lol?