

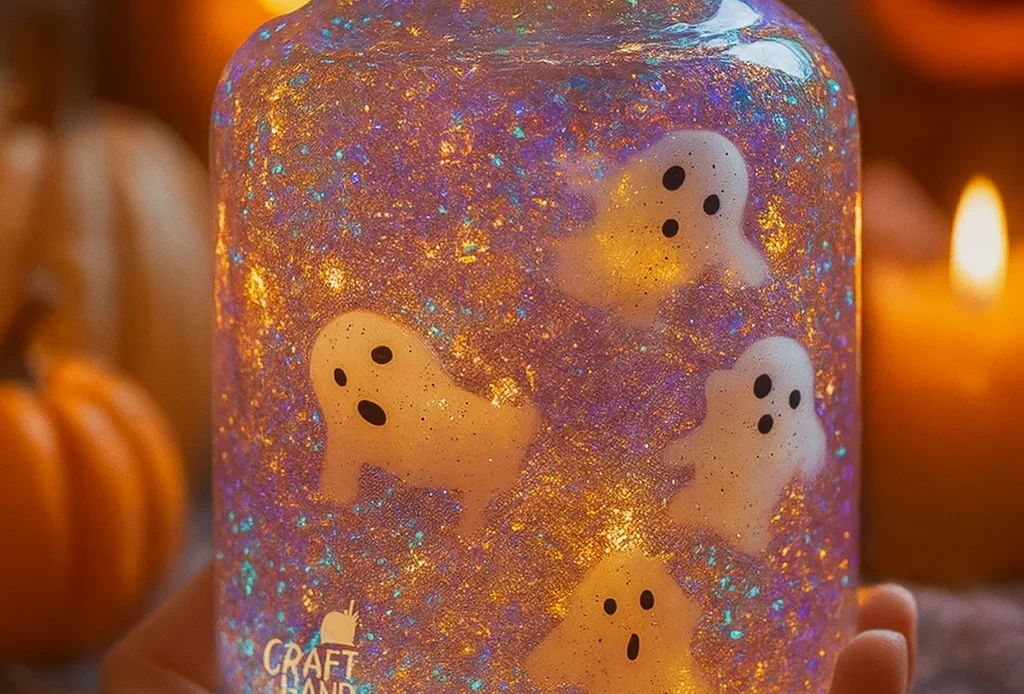
Ever wanted to bottle up Halloween magic? 🎃 Well, here’s your chance! With just a few simple materials, you can create a swirling, ghostly world right inside a jar. Floating Ghost Sensory Jars aren’t just a cute craft — they’re a fun blend of spooky science, creative play, and calming visuals that kids absolutely love. Studies show sensory play can help children regulate emotions and explore their creativity. So let’s get hands-on with this spellbinding activity that brings science, art, and Halloween thrills together in one jar!
Materials You’ll Need to Make a Ghost Sensory Jar
You know what’s wild? I once ran all over town looking for “Halloween jar craft supplies” the night before a school party. Not my finest moment. Since then, I’ve kept a go-to list taped inside my craft cabinet—and lemme tell you, it’s saved my butt more times than I can count.
Don’t Skip These Essentials
First off, you need a clear jar or plastic bottle. Go with plastic if you’re doing this with little kids—trust me, you don’t want glass shattering mid-craft. I’ve used everything from empty Voss water bottles to dollar store jars. As long as the lid screws on tight, you’re golden.
Then comes the glue. I’m all about clear glue, but if you want extra sparkle, grab some glitter glue. It makes everything shimmer like a witch’s brew. Toss in warm water—yep, warm. Not cold. The glue mixes better, and you don’t get those clumpy floaties. Been there.
The Magic Touch: Glitter & Ghosts
This is where it gets fun. Go for white or iridescent glitter. It gives that ghostly sparkle, kinda like moonlight on a foggy night. Don’t go too heavy—just enough to dance when you shake it.
As for the ghosts? You’ve got options. I’ve cut ‘em from foam sheets, laminated some printable designs, even used little ghost confetti I found on Etsy. Pro tip: laminating makes them last longer and float better without getting soggy.
Optional, But So Worth It
Want to make your jar pop? Add a drop or two of glow-in-the-dark food coloring. You can also use regular black dye for that haunted fog vibe. My kiddo swears by the glow stuff—turn off the lights, and BAM! Instant Halloween magic.
Don’t forget super glue or hot glue for sealing the lid. One time I skipped this step, and, well… there’s still glitter in my car. Two years later.
Step-by-Step Instructions to Create Your Jar
Okay, so let me be totally real for a second—I’ve definitely messed up a few sensory jars in my day. Like, added way too much glitter one time and it looked like a disco exploded. Another time, I forgot to stir the glue in properly… and it just sat there like a sad, gloopy blob. 😅 But hey, mistakes teach us, right?
Here’s the actually tested way to make your Floating Ghost Sensory Jar look amazing every time.
1. Start with Warm Water—Not Cold!
Fill your jar halfway with warm (not boiling!) water. This helps the glue mix in smooth. Cold water? Nah. It makes the glue clump and ruins the whole spooky vibe.
2. Stir in That Glue Like a Potion
Add about half a cup of clear or glitter glue. Use a chopstick, butter knife—whatever works—to stir until it’s fully mixed. You want that slow, floaty movement, and glue is what gives you that. Too much? It’ll move like syrup. Too little? Everything drops to the bottom.
3. Add That Ghostly Sparkle
Now for the glitter. I sprinkle in maybe a teaspoon of white or iridescent glitter—just enough to catch the light. You want it to shimmer, not blind anyone. Swirl it a bit and you’ll start seeing the magic happen.
4. Drop in the Ghosts
Add your ghost cutouts next. You want ‘em to float like little spirits, not sink like stones. Foam works well here—light and buoyant. Laminated paper works too. I once tried using confetti ghosts… they disintegrated. Lesson learned.
5. Optional Color: Go Spooky or Glow
If you’re feeling fancy, this is where you add a drop of black or glow-in-the-dark food coloring. Go easy—just a drop or two. Stir gently and watch the color swirl in like fog creeping over a haunted graveyard.
6. Fill It Up—But Leave Some Wiggle Room
Top off the jar with more warm water. But—and this is big—don’t fill it all the way. Leave a little air at the top so the ghosts can dance when you shake it.
7. Seal It Tight (Because Glitter. Everywhere.)
Hot glue or super glue the lid shut. Please. I once forgot and handed it to a toddler. Five seconds later, glitter tsunami. Never again.
8. Shake & Watch the Magic
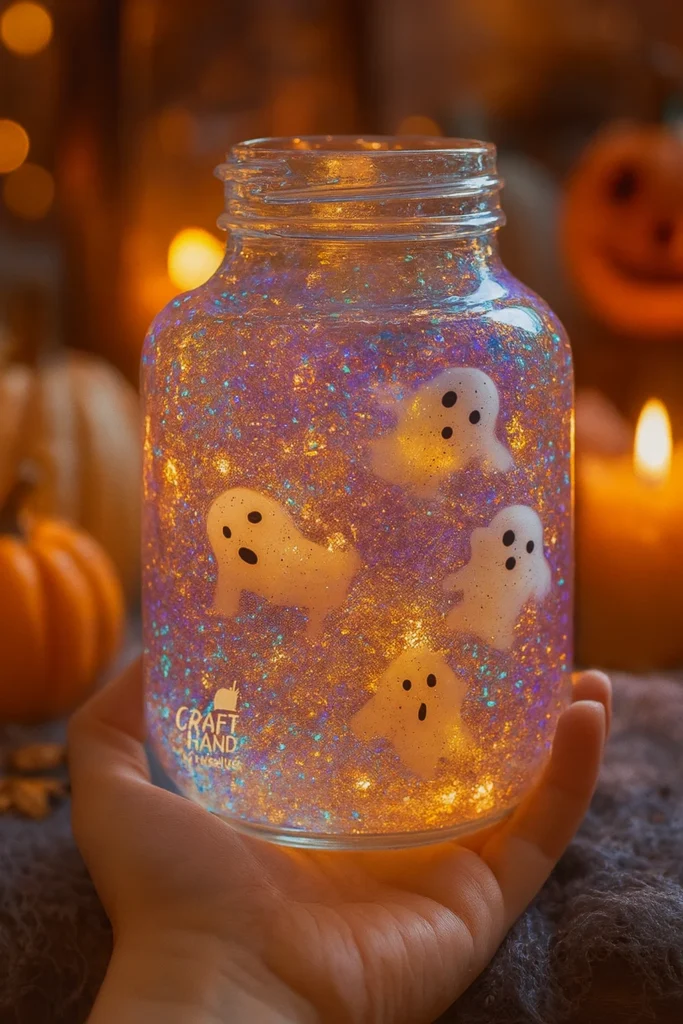
Now for the best part. Flip it, shake it, swirl it slowly… and just watch. The ghosts float like they’re alive, drifting through a sparkly fog. Kids stare at it like it’s real magic. Honestly? Adults do too.
The Science Behind the Ghostly Swirls
Alright, confession time—I used to think these jars were just pretty to look at. Like, glitter + glue = cute. End of story. But then my 6-year-old hits me with: “Why do the ghosts float like that?” And I was like… uhh… witchcraft? 😂
Nope. Turns out there’s actual science happening here, and it’s kinda awesome.
Glue = Slow Motion Magic
So here’s what’s really going on: when you add glue to warm water, you’re changing the water’s viscosity. Basically, you’re thickening it up. The glue slows everything down, so instead of your ghosts and glitter sinking straight to the bottom, they move gently. Like a slow-motion snow globe, but Halloween-style.
Think of it like syrup vs water. Syrup moves slow, right? That’s what your jar becomes—a spooky syrup swamp where ghosts float like they’re on a haunted carousel.
Glitter Suspension = Sparkle Physics
Now glitter… that’s a whole other story. Ever dump glitter in plain water? It drops faster than candy disappears on Halloween night. But in glue-thickened water? It gets suspended. That means it floats for longer, catches the light better, and drifts around like creepy little stars.
And if you’re using iridescent glitter (which I totally recommend), it reflects light at different angles. That’s why it almost looks like the ghosts are glowing from within.
Why the Ghosts Float
Lightweight materials like foam or laminated paper have just the right buoyancy to hover in that thickened goo. Not too heavy, not too light. They drift. They swirl. They look… kinda alive. One time I used paper ghosts that weren’t laminated and they sank like sad little ghost pebbles. So yeah—laminate, folks. It makes all the difference.
Add Color for Even More Visual Vibes
That drop of food coloring? It doesn’t just make the jar look cooler. It actually helps you see the movement of the water better. You’ll notice the currents more clearly, especially when you swirl it. Want it to be next-level spooky? Glow-in-the-dark coloring under a blacklight = chef’s kiss.
Tips to Customize Your Halloween Jar
You know how no two jack-o’-lanterns look the same? Same deal with these ghost sensory jars. Once you’ve nailed the basic steps, you can seriously go wild with the customizations. I’ve made these for parties, school crafts, even one for my spooky-loving aunt (she keeps it on her work desk year-round 😆).
So here are the best ways I’ve found to trick out your ghost jar and make it really stand out.
Swap the Ghosts for Other Ghouls
Sure, ghosts are classic. But have you tried tossing in mini foam bats, pumpkins, or spiders? You can find little Halloween confetti packs online or at craft stores. Just make sure they’re waterproof. Trust me, paper + water = mushy horror story.
Glow It Up
This is my kid’s favorite tweak—glow-in-the-dark paint or food coloring. Just a drop or two and BAM, your jar lights up like a haunted lantern. I once did a batch for a night party and lined them up like glowing spirit lights. Looked cooler than anything I saw on Pinterest that year.
Bonus tip: Shine a blacklight on it and watch it go full ghost rave.
Try Themed Glitter
I’ve used orange and black glitter for a true Halloween vibe. One time, I did purple glitter and green dye—it looked like a witch’s brew. So good. You can even find chunky glitter shaped like moons and stars. Just don’t overdo it, or it’ll clog the swirl.
Add a Label or Tag
This is where you get crafty with it. I made labels like “Ghost Juice,” “Witchy Whirl,” and “Haunted Swamp Vibes.” Tie them on with twine or stick them on the jar. Makes ‘em perfect for Halloween party favors, or even a sensory gift for a friend who loves quirky stuff.
Use Plastic Bottles for Little Ones
If you’re doing this with toddlers or younger kids, ditch the glass jars and go with plastic. Voss bottles work great, but even plain water bottles do the job. Safer, lighter, and no risk of spooky shattered glass.
Layering Colors (If You’re Brave)
This one takes patience, but I’ve seen people do layers of colored glue and glitter. Like black at the bottom, then purple, then orange. You gotta let each layer settle first though, or it just turns into a glitter soup. I only did it once… and it kinda looked like a swamp threw up. But hey, Halloween, right?
Why Sensory Jars Are Great for Kids
I used to think sensory jars were just a cute Pinterest thing. You know—pretty, sparkly, probably ends up on a shelf somewhere collecting dust. But after making a few with my kid, I totally get it now. These things are magic for little brains (and honestly, big ones too).
Calm in a Jar
Ever watched a toddler meltdown because their sock felt “too weird”? Yep. Been there. That’s where these jars come in. Just shaking it and watching the glitter swirl can seriously calm nerves. I’ve used it after tantrums, before dentist appointments—you name it. It works like a reset button for overstimulated little ones.
Experts even say sensory bottles help with emotional regulation. Which is a fancy way of saying: kids chill out when they focus on slow-moving sparkles and floating ghosts.
Sneaky Learning Tool
You want them learning something without even realizing it? This jar’s got you. Between the glue, glitter, and ghosty swirls, they’re actually absorbing basic science: viscosity, density, buoyancy—all while thinking they’re just playing. I call that a win-win.
I even turned it into a mini STEM lesson during a homeschool week. “Why do the ghosts float slow?” led to a whole convo about molecules and resistance. It was honestly one of our best school-at-home moments.
Improves Focus & Fine Motor Skills
Younger kids get practice with pouring, squeezing, stirring, and placing tiny shapes inside the jar. These little movements? Huge for fine motor development. It’s basically occupational therapy disguised as Halloween fun.
And watching the jar slowly swirl helps build focus. I’ve used them during quiet time, and even my most wiggly kid zones out for a few peaceful minutes.
Great for All Ages & Needs
I’ve seen teachers use sensory bottles in special ed classrooms, therapists use them with kids on the spectrum, and moms use them just to grab 5 minutes of silence. These jars meet kids where they are—whether it’s for fun, calm, or learning.
Heck, I made one for myself. No shame. It sits on my desk. Bad email? Shake the jar. Boom. Mood improved.
So, now you know how to whip up a jar full of swirling ghosts, shimmering glitter, and spooky calm vibes. Whether you’re a Halloween fanatic, a teacher looking for a hands-on science lesson, or just a parent trying to keep the kids busy without screens, this craft seriously delivers.
It’s cheap, it’s easy, and it checks all the boxes: creative play, science exploration, emotional regulation… and just plain cool to look at. I’ve made dozens of these over the years, and no two ever turn out the same. That’s the best part—it’s a craft and an experience rolled into one.
And hey, if you found this guide helpful, don’t keep it to yourself—pin it! Share it with your teacher friends, crafty moms, or anyone who’d love a little floating ghost action in their life. Let’s spread the Halloween magic, one glowing jar at a time. 🎃
