

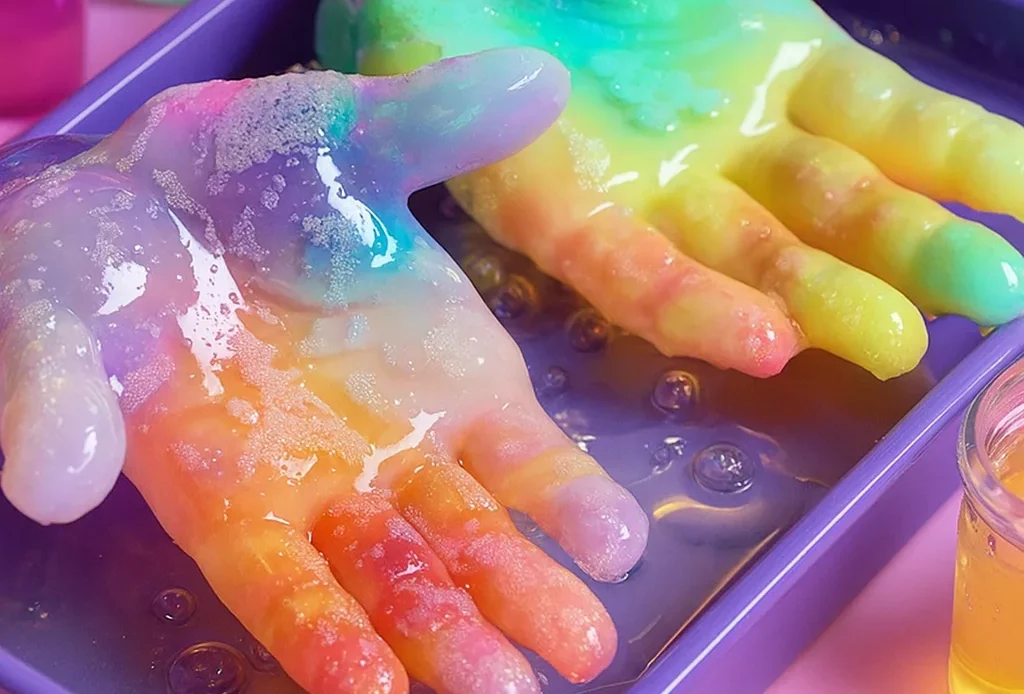
Have you ever wanted to mix a science experiment with sensory play and a dash of spooky fun? Well, fizzing frozen hands are the answer! They’re chilly, colorful, and absolutely magical. I first tried these during a rainy weekend with my niece, and let’s just say, it quickly became a favorite! With a simple combo of baking soda and vinegar, you get fizzy, bubbly reactions that melt through colorful ice hands—plus, you can hide tiny toys inside for a surprise reveal. It’s science that kids can see, hear, and touch—and it’s guaranteed to spark curiosity!
Supplies You’ll Need for Fizzing Frozen Hands
You ever dive into a science experiment with your kids only to realize you’re missing half the stuff? Yep—been there. The first time I tried making fizzing frozen hands, I had the vinegar and baking soda, but I forgot the gloves. Let’s just say the blobs I ended up with weren’t exactly “hand-shaped”… more like science soup. 😂
So, learn from my chaos and get your supplies sorted before the fun starts. Here’s what you really need for this fizzy, freezing adventure that doubles as a budget-friendly STEM toy alternative.
🔍 Must-Have Items for This Science Experiment
- Disposable gloves: Go with latex-free if allergies are a concern. Clear ones make the fizz more visible!
- Baking soda: This is your fizz fuel. Stock up, because kids love a good over-pour.
- Water: Just enough to make a thick paste. Think toothpaste, not soup.
- Vinegar: White vinegar works best—cheap and super reactive.
- Food coloring: Totally optional, but kids go bananas for it. Primary colors = big visual impact.
- Plastic cups or jars: You’ll mix your colored vinegar in these. I re-use baby food jars. Eco-win!
- Droppers or spoons: A dropper gives kids more control, and it feels like real “science.” If not, a spoon’ll do.
- Tray or baking dish: Keeps the mess contained. Trust me, vinegar rivers on the counter are no joke.
- Optional: tiny toys or glitter: Hide them inside for a preschool science kit surprise twist.
If you want to turn this into a full-blown educational activity, label your jars, color-code the vinegar, or even challenge your kid to predict what color combo fizzies the most. My nephew guessed purple + red = “lava power.” Honestly, he wasn’t wrong.
🎓 Tip from a Teacher-Mom Friend
She swears by prepping the gloves the night before during screen time—she lets her son help scoop the baking soda paste in, drops in a few STEM toys (think plastic bugs or LEGOs), and seals them up for the freezer. The next morning? BOOM. Instant excitement before breakfast.
Oh, and if you’re doing this with multiple kids, prep extras. They will want to do it again. And again.
Step-by-Step Instructions for Creating Frozen Hands
Okay, so once you’ve got your supplies ready to go (no glove mishaps this time, please 🙃), it’s time to dive into the hands-on magic. This is one of those STEM activities for kids that’s equal parts educational and hilarious. The first time we did it, my niece called it “frozen zombie hands” and insisted on using green food coloring. Needless to say, it got spooky real fast.
Here’s the exact process we follow now—fewer messes, more fizz, and max giggles.
✋ Step 1: Make Your Baking Soda Paste
Dump about 1 cup of baking soda into a mixing bowl and slowly add water. Stir it until it’s a thick, gooey paste—kind of like pancake batter that went rogue. If it’s too watery, toss in more baking soda.
Pro tip: If you add glitter or sequins here, the hands sparkle when they melt. 👀 Science meets glam.
🧤 Step 2: Fill the Gloves
This is the slightly messy bit—spoon your baking soda paste into the gloves. Stretch the glove wide and scoop in, or use a piping bag if you’re fancy. Leave a little space at the top so you can tie it off. Want to level up? Drop a mini toy into each finger for a cool surprise.
🧊 Step 3: Freeze ‘Em
Tie the gloves at the top (a rubber band or twist tie works fine), then lay them flat on a baking tray. Pop them in the freezer overnight. We’ve rushed it before with just 4 hours, but trust me, full freeze = better fizz.
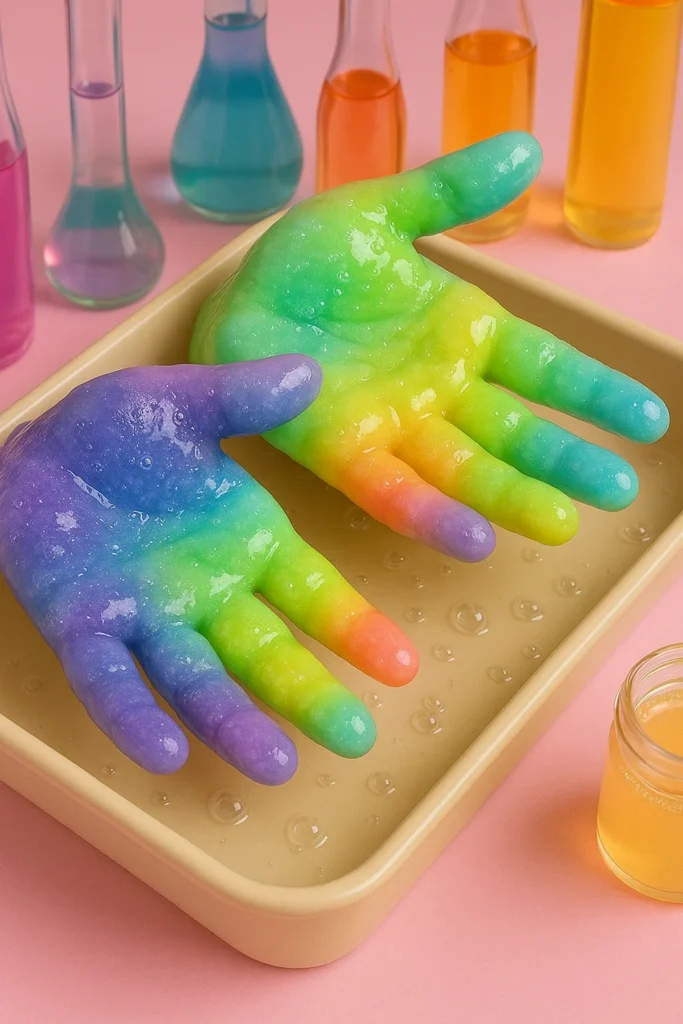
✂️ Step 4: Unveil Your Frozen Hands
Once they’re solid, peel off the gloves carefully—sometimes they stick, so go slow. You’ll end up with creepy-cool ice hands that are ready for fizzy action. I usually do this over the tray to catch drips.
🧪 Step 5: Fizz Time!
Pour vinegar into cups and add a few drops of food coloring to each. Grab a dropper or spoon and let the kids go wild. As the vinegar hits the baking soda in the ice, it fizzes, bubbles, and makes those hands melt like something out of a mad scientist movie.
It’s not just fun—it’s a real science experiment at home. You’re teaching about chemical reactions, states of matter, and cause-and-effect… but your kids just think it’s cool.
⚠️ Don’t Forget
- Put a towel under the tray—seriously, it’ll overflow.
- Remind the kiddos not to eat anything. Vinegar + glitter = not snackable.
- Snap pics and turn it into a mini project for early childhood education or homeschool portfolios.

Add a Colorful Twist with Food Coloring
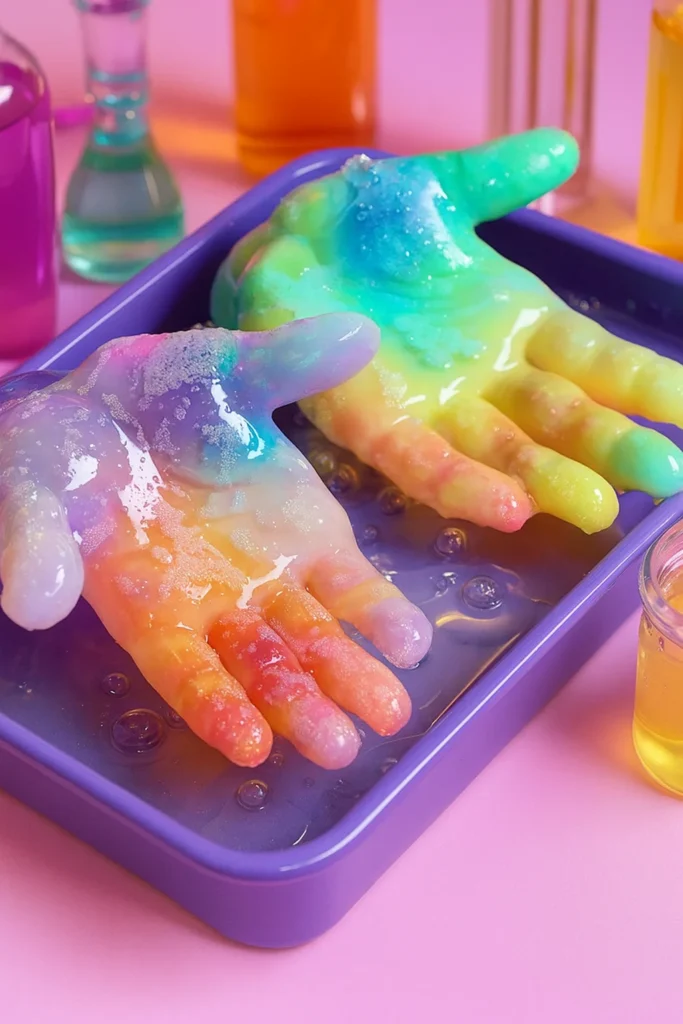
Okay, this is where the fizzing frozen hands go from cool to straight-up epic. Adding food coloring to your vinegar turns a simple science experiment into a full-blown educational sensory play experience. I didn’t expect the color part to matter much at first… until I saw my kid mix blue and yellow vinegar and scream, “I made green magic!”
Now it’s a non-negotiable step in our STEAM activities lineup.
🧪 Step 1: Set Up Your Color Station
Grab a few clear cups or jars (we reuse baby food jars—perfect size). Fill each about halfway with white vinegar. Then add a few drops of food coloring to each one. Go bold—red, blue, yellow, even black for spooky vibes.
If you want to go full mad scientist, throw in neon or glow-in-the-dark food coloring. It’s weirdly easy to find around Halloween.
🖌️ Step 2: Let Kids Mix Their Own
Hand each kid a dropper or spoon and let them play scientist. I give them a mini color wheel I printed off Pinterest, and they start mixing primary colors to make secondaries. It’s real-life color mixing for kids—and way more engaging than coloring worksheets.
🫧 Step 3: Drizzle the Colors Over the Hands
Start slowly and watch their faces light up. The vinegar hits the baking soda, and BOOM—colorful fizz erupts. We like to do color layers: red on one finger, blue on another, green down the palm. Watching the colors blend as the hands melt is mesmerizing.
One time, my daughter accidentally dumped two whole cups at once. Total chaos. But hey, it turned into a spontaneous lesson in cause and effect… and clean-up skills.
💡 Learning Through Play
What’s wild is that they’re learning while they play—about acid-base reactions, temperature, density, and art concepts like hue and saturation. It’s learning through play at its best, and they don’t even know they’re doing “school stuff.”
Honestly, this part makes me feel like a wizard-teacher hybrid. Add a lab coat, and you’re ready for homeschool Hogwarts.
Bonus Fun: Hide Toys for a Surprise Inside
Alright, I’ve gotta admit—this is my favorite part. Hiding little toys inside the frozen hands turns this whole fizzy experiment into a full-blown surprise toy activity. Think mini science-meets-treasure-hunt. My nephew once found a tiny glow-in-the-dark dinosaur and immediately started calling the experiment “Jurassic Fizz.” We still laugh about it.
If you’ve got a STEM subscription box lying around, repurpose those tiny components—plastic gears, fake gems, or whatever trinkets came last month. Or just hit up the dollar store. I’ve stashed everything from googly eyes to plastic bugs to LEGO heads inside these hands.
🧸 How to Add the Surprise Element
Before tying off the glove, drop your mini toy into the palm or even down into the fingers if they’re small enough. You can push them deeper with a straw or the handle of a spoon. Then freeze as normal.
When the hand starts fizzing and melting, the toys start to peek through. There’s something so satisfying about watching little eyes light up as they dig through fizzing foam to uncover the “hidden treasure.” It’s interactive learning in the sneakiest, most delightful way.
🌈 Use It for Themed Learning
Wanna take it a step further? Build a theme around it:
- Bug Hunt: Hide plastic bugs and talk about habitats
- Ocean Adventure: Use mini sea creatures and blue food coloring
- Space Mission: Glow-in-the-dark stars + black glitter = intergalactic fizz
I’ve even seen some teachers use this as part of their preschool STEM curriculum—they pair it with a story or vocabulary cards, turning it into a whole day of sensory exploration.
Just a heads-up: Don’t use toys with holes unless you want baking soda paste permanently embedded. Learned that one the hard way.
🧼 Clean-Up Is a Breeze
Since everything is water-based, clean-up’s usually just a quick rinse. We keep a towel nearby to mop up splash zones and dump the leftover vinegar fizz in the garden. Bonus: apparently, the soil loves it.
So yeah—if you’re not hiding something inside the frozen hands, you’re totally missing out. The surprise factor cranks up the excitement, and honestly, it buys you at least 15 more minutes of focused play. I call that a parenting win.
The Science Behind the Fizz
Okay, so here’s the part where I get to nerd out a little—because this fizz isn’t just fun, it’s full-on science in action. When I first did this with my niece, she asked, “Why does it fizz like a soda?” And I realized… this is a golden opportunity for early STEM learning.
🧪 The Chemistry: Acid + Base = Fizz
At its core, this is a chemical reaction experiment. You’ve got baking soda (a base) and vinegar (an acid). When the two mix, they create carbon dioxide gas—same stuff that makes soda fizzy or bread rise.
The gas bubbles up through the water, making all that bubbling, fizzing, and foaming we love. It also causes pressure in the ice, which helps it crack and melt faster. It’s literally science you can see happening in real time.
🧊 Changing States of Matter
Kids also get to see how ice (solid) turns into water (liquid), and eventually gets soaked up by the tray (and their shirts 😅). It’s a perfect intro to physical science—without a textbook in sight.
We turned it into a mini lesson one time. I printed off some visuals about states of matter, and my kiddo ended up explaining it to her grandma over FaceTime like a mini professor. Big proud parent moment.
🧠 Teaching Critical Thinking
I like to ask questions while the fizz is happening. Stuff like:
- What do you think will happen when we pour more vinegar?
- Why do the fingers fizz faster than the palm?
- What color fizzed the most?
Even preschoolers can get into that level of interactive science if you prompt them. It’s simple stuff, but it starts building curiosity and confidence around asking questions—and that’s what science is really about.
Side note: This is also a sneaky way to build vocabulary. “Reaction,” “carbon dioxide,” “dissolve”—they’ll start using these words casually, and it’s wild.
🔬 For Older Kids or Homeschool
You can even take it a step further and make it more official. Have older kids record their predictions and results, graph the speed of melting, or test how long it takes different sized hands to fizz out. We once used different acids (lemon juice vs. vinegar), and the kids were shocked that lemon fizzed less. Hello, science fair project idea.
🧯 Safe and Engaging
No flames, no stinky chemicals, no explosions—just bubbly fun. It’s one of the few science activities for kids that’s genuinely exciting and mom-approved.
And that’s a wrap—literally, if you’re peeling off those gloves one more time! From tiny hidden toys to fizzing color chaos, these frozen hands are a hit every single time we break them out. Whether you’re a parent trying to sneak a little STEM for preschoolers into playtime, or a teacher looking for a classroom crowd-pleaser, this activity seriously delivers.
It’s not just about fizz (although that part is ridiculously fun). It’s about hands-on discovery, questions that spark more questions, and watching your kid’s eyes light up as the “magic” of science unfolds right in front of them. The best part? You don’t need a fancy science kit or classroom lab—just a glove, some baking soda, and a splash of vinegar.
And let’s be real—when a learning activity keeps them entertained for more than 10 minutes? That’s parenting gold. 🥇
So next time you’re looking for creative learning at home or a weekend boredom buster, give fizzing frozen hands a try. You might just find yourself having as much fun as the kids.
📌 Share the Science on Pinterest!
If this experiment brought some fizz and fun to your day, don’t keep it to yourself—pin it! Inspire other families, teachers, and homeschoolers looking for Pinterest science activities or fun experiments for kids.
Let’s make the world fizz one hand at a time. 💥🖐️✨
