

Who knew that science could be this bouncy? Whether you’re a parent looking to spice up a rainy afternoon, a teacher planning a classroom experiment, or just a curious soul, making DIY super bouncy balls is a hands-on activity that’s as educational as it is fun. With just a few kitchen staples like borax, glue, and food coloring, you can whip up stretchy, squishy spheres that bounce off the walls (literally).
Science meets craft in this exciting project that shows off real-life chemical reactions. And the best part? You’ll end up with colorful, custom-made toys! So let’s roll up our sleeves and mix up some magic — because bouncing science is the best kind of science.
What You’ll Need to Make Super Bouncy Balls
Alright, before you dive into the gooey, bouncy fun, let’s talk supplies. Don’t worry — you probably already have most of these in your kitchen cabinet or junk drawer. Making homemade bouncy balls is one of those DIY toys for kids that doesn’t require a shopping spree (thank goodness).
My First Supply Fail (Yep, It Happened)
So the first time I tried this? Total disaster. I grabbed cold water, thinking it wouldn’t matter. Big mistake. The borax didn’t dissolve right, and the ball turned out weirdly crumbly. Lesson learned: warm water really does make a difference.
Anyway, here’s what you actually need if you want those satisfying, springy results:
- ½ cup warm water – Not hot, just warm enough to help the borax dissolve.
- 1 tablespoon borax powder – You can usually find this in the laundry aisle.
- 2 tablespoons white school glue – Go for Elmer’s. If you want see-through bouncy balls, use clear glue.
- Food coloring – Totally optional, but trust me, the kids lose their minds over neon swirls.
- 1 tablespoon cornstarch – This little bit adds a squishier texture.
- Two small bowls – One for the borax mix, one for the glue mix.
- Spoon or craft stick – Don’t use your good silverware unless you love sticky regrets.
I usually set everything up on a plastic tablecloth or baking tray. That way, cleanup’s a breeze (especially when your kid inevitably dumps a cup of glitter mid-stir).
Quick Tips for Setup
- Label the bowls if you’re working with multiple kids. Saves arguments later.
- Wear gloves if your little one has sensitive skin. Borax can dry it out.
- Pre-measure everything. Kids have the patience of a squirrel on espresso.
Honestly, this is one of those easy crafts for children that feels like magic. It’s educational, tactile, and actually pretty mess-friendly if you prep right. Next up — the part where everything starts to get gooey and exciting…
Step-by-Step Instructions to Make Your Bouncy Ball
Alright — let’s get messy in the best way. This part is where your kitchen turns into a mini science lab. If you’re looking to make bouncy balls at home that actually work, you’ve gotta follow these steps closely. Don’t skip around unless you’re cool with a blob instead of a bounce.
Step 1: Mix the Magic Water
In the first bowl, pour ½ cup of warm water and stir in 1 tablespoon of borax powder. Keep stirring until it disappears completely. This is your borax solution, and it’s the secret sauce to making your ball, well, bouncy.
Side note: I once used cold water in a rush — the borax didn’t dissolve and the result looked like soggy scrambled eggs. Gross.
Step 2: Stir Up the Goo
In your second bowl, combine:
- 2 tablespoons of glue
- 1 tablespoon of cornstarch
- A few drops of food coloring (optional but highly encouraged)
Mix it up until it’s smooth and goopy. This is your base — kind of like the dough of the bouncy ball world.
Step 3: Time for the Science
Now comes the fun part! Pour 1 tablespoon of your borax solution into the glue mixture and stir fast. You’ll see it start thickening right away, almost like a mini slime. This is where that DIY science experiment comes to life. The borax is linking up with the glue’s molecules to create stretchy polymers.
Translation? It’s turning from goo to bounce.
Step 4: Shape the Ball
As the mixture starts sticking together, grab it with your hands (yep, it’s okay!) and start rolling it between your palms. At first, it might feel slimy or stringy — but keep going. After about 30 seconds of rolling and squeezing, it becomes a proper little ball.
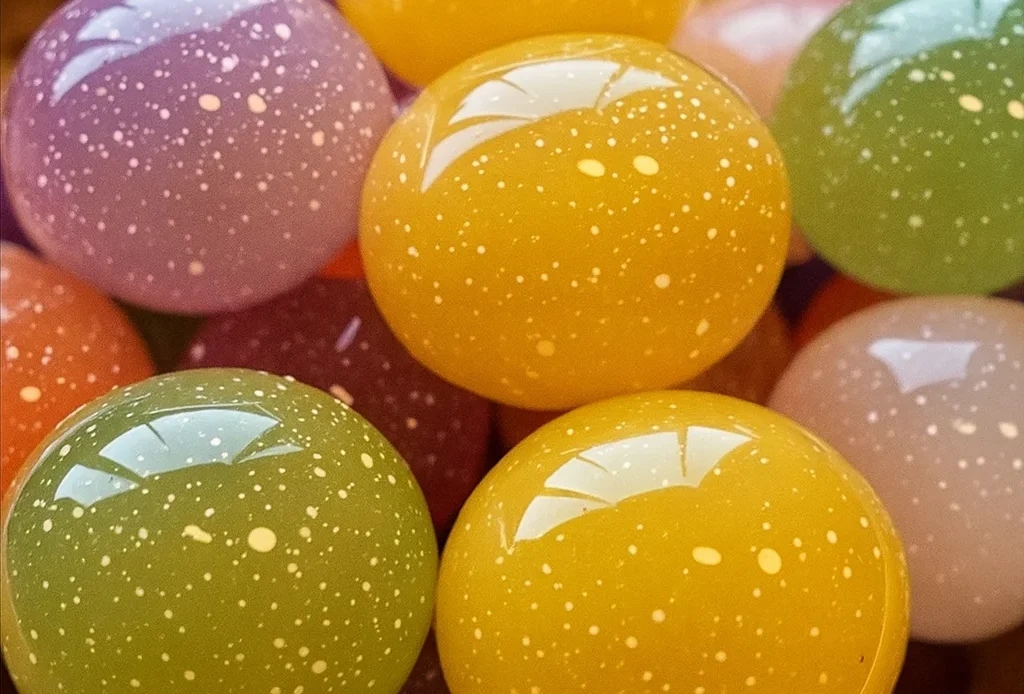
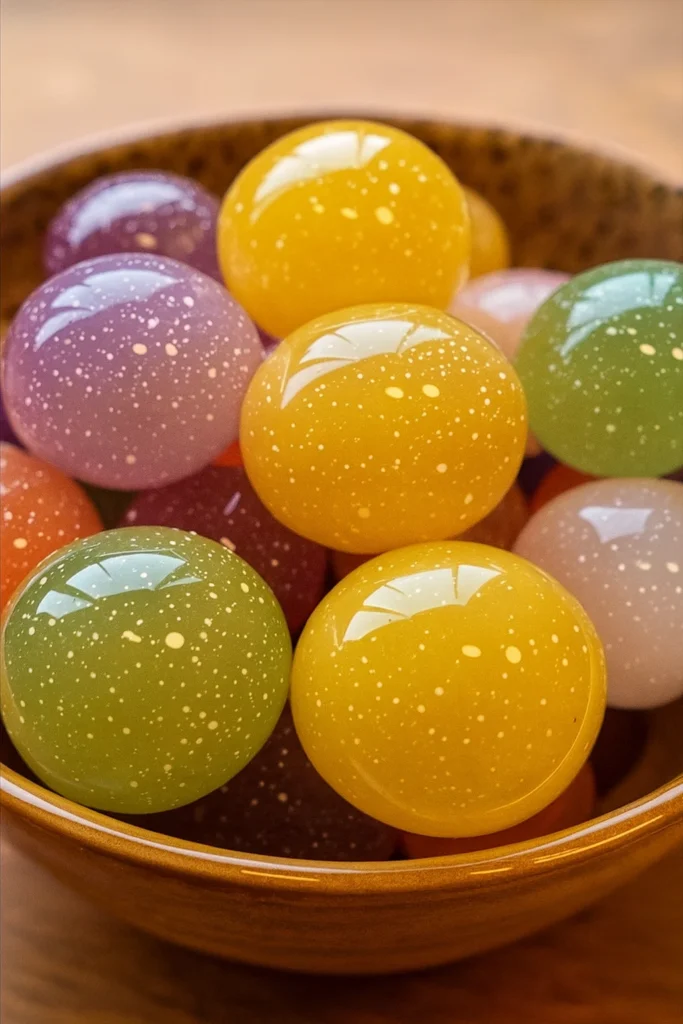
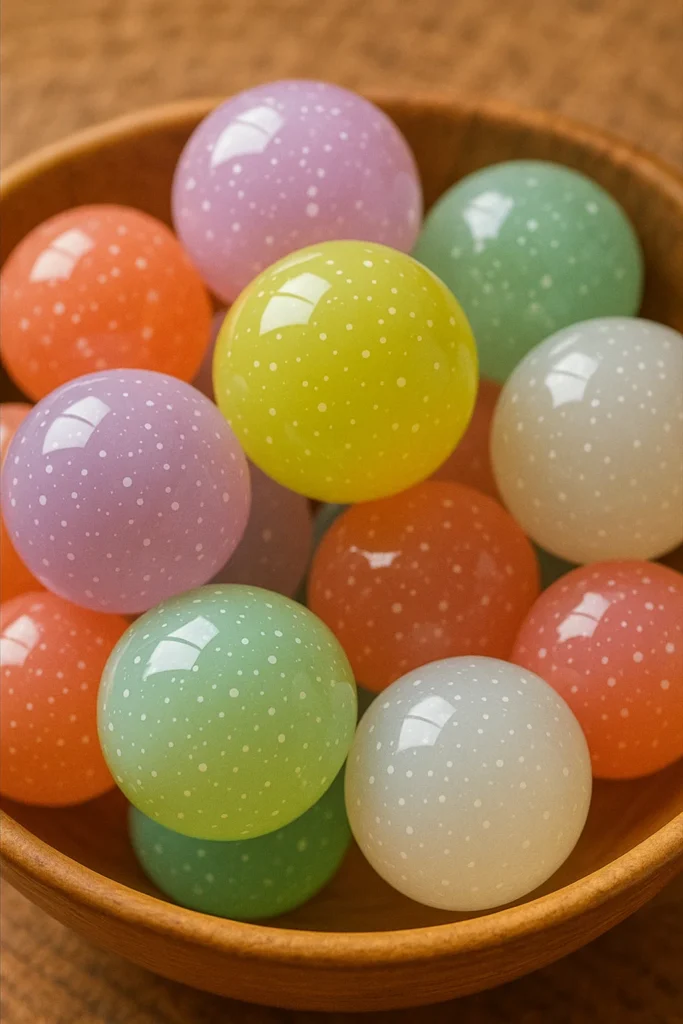
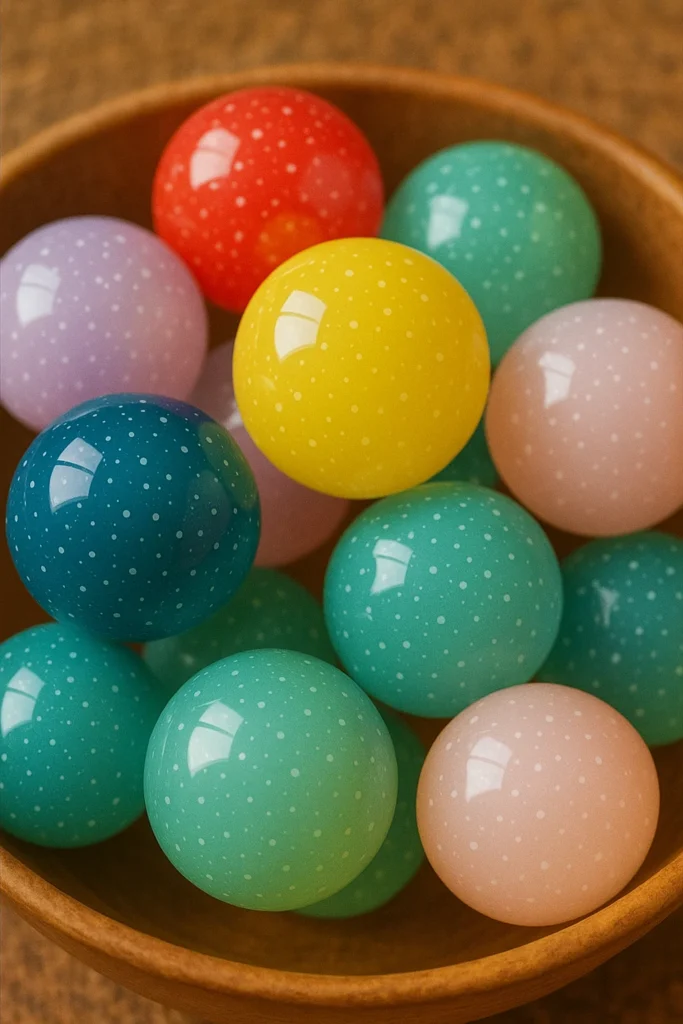
Mine usually ends up looking like a speckled marble, especially if I mix colors.
Step 5: Bounce Test!
Once it feels firm and no longer sticky, it’s time to test it out. Drop it on a hard surface like a countertop or the floor (avoid grandma’s vase area). If you followed the steps, it should bounce like a dream.
Real Talk: First-Timer Mistakes
The biggest issue? Stirring too slowly. You’ve got to be quick or the mixture sets weird. Also, don’t add too much borax — it’ll turn rubbery and crack. This is a kids craft project, not a cement recipe.
Pro tip: Store finished bouncy balls in sandwich bags. They tend to dry out after a day or two.
The Science Behind the Bounce
Okay, so now that you’ve made your very own bouncy ball, let’s geek out a little. Ever wonder what’s actually happening in that bowl of goo? This isn’t just play — it’s a chemical reaction experiment in action. And yeah, it’s cooler than it sounds.
Why Glue + Borax = Bounce
Here’s the short version: glue contains a polymer called polyvinyl acetate. It’s basically a long chain of molecules that slide around — think cooked spaghetti in a pot. When you stir in the borax solution, something awesome happens.
The borax acts like a molecular matchmaker. It links all those slippery glue chains together, kind of like friendship bracelets made from spaghetti. This linking process is called cross-linking, and it turns your goo into a stretchy, semi-solid substance that has bounce.
What Does Cornstarch Do?
Ah yes, the cornstarch. That dusty white stuff isn’t just filler. It makes the final texture smoother and slightly firmer. Without it, the ball is more slimy than springy. With it? You get a more rubber-like feel.
Think of it like adding breadcrumbs to meatballs — better structure, less mess.
It’s a Polymer Party!
The final product is a polymer ball, and polymers are everywhere: slime, silly putty, rubber bands, and even your shoelaces (well, if they’re stretchy). That’s why this makes such a great polymer activity for kids — it’s hands-on science that feels like magic.
Honestly, I wish I’d learned chemistry like this back in school. I probably wouldn’t have zoned out so much if we were making bouncy toys instead of memorizing the periodic table.
Bonus Fact for the Curious
Temperature affects bounce. Warm bouncy balls bounce higher because the polymers are looser and more flexible. Try putting one in the freezer for 10 minutes, then drop it — it won’t bounce nearly as high. Kids love testing this, and it makes the project double as a DIY science for children experiment.
Tips for Customizing Your Bouncy Balls
Alright, now that you’ve mastered the basic bounce, let’s take it up a notch. One of the best parts of making custom DIY toys is turning something simple into something totally you. Whether you’re crafting with a group of kids or just want to jazz things up a bit, these little tweaks make a big difference.
Glitter Bomb? Yes, Please.
My daughter is obsessed with glitter, so of course we had to try it. Here’s the thing: mix in fine glitter during the glue stage — not after. Otherwise, it just flakes off like sad confetti. You’ll get that cool galaxy swirl effect, which makes it one of our favorite creative kids activities ever.
Go Glow-in-the-Dark
Want to really impress your kids (or your inner child)? Use glow-in-the-dark glue instead of regular glue. You don’t even need a blacklight — just charge the ball under a lamp and turn off the lights. Boom. Instant spooky fun. Great for Halloween crafts or sleepovers.
Mix and Marble Your Colors
Food coloring is where you can get wildly creative. I like to add 2-3 colors and barely stir them to get that awesome marbled look. It kind of reminds me of jawbreakers or mood rings from the ’90s. Just don’t go overboard — if you use too much dye, it’ll stain your hands like you’ve been finger painting in a rainbow.
Add Tiny Surprises Inside
Here’s a weird but fun one — try adding tiny beads or sequins into the mix before it sets. The texture changes a bit, but it’s like a surprise party in every bounce. Just keep the pieces small so the ball stays rollable.
Shape Experiments (That Didn’t Go as Planned)
Okay, so I once tried to mold the mix into a cube. Why? No idea. But let me tell you, it didn’t bounce — it thudded. Stick with the ball shape unless you want to teach your kids about gravity and disappointment at the same time.
Pro Tips from the Craft Trenches
- If your ball feels sticky, roll it longer. Patience = smooth finish.
- Want a softer ball? Add slightly more glue.
- Want it to bounce higher? Use a little less cornstarch.
These tweaks make this project feel brand new every time. Honestly, it’s one of the few DIY kids crafts we’ve done over and over — and each time, they want to try a new combo. The possibilities? Basically endless.
Safety and Clean-Up Tips
Let’s be honest — the fun part of any craft is watching it come to life. The not-so-fun part? The mess. And when kids are involved, things tend to spiral fast. But don’t worry — with a few smart moves, this easy clean-up craft can stay stress-free and totally safe.
Borax Is Great… But Respect It
Let’s start with the obvious: borax is safe in small quantities and with proper use, but you don’t want your toddler eating it like sugar dust. I always make sure to:
- Have the kids wash their hands after handling the mix.
- Use gloves if they have sensitive skin (my youngest gets red patches).
- Remind them it’s not edible — even if it looks like a squishy snack.
This is one of those safe kids science projects if you’re supervising and keeping it out of mouths.
Protect Your Workspace
If you’ve got a favorite table, protect it. I’ve learned (the hard way) that glue will find a way into every corner. Here’s my go-to setup:
- A plastic tablecloth or old baking tray
- Paper towels for quick spills
- A damp cloth nearby for glue fingers
Bonus tip: skip fabric surfaces. Cornstarch and carpet do not get along.
Store Like a Pro (or At Least Not in Your Pocket)
These bouncy balls dry out if left in the open air. Been there, done that — found a rock-hard glitter lump two days later. Keep them:
- In a zip-top bag or small plastic container
- Away from heat (they melt into weird blobs in the sun)
- Labeled if you’ve got multiple kids — because yes, they will fight over whose is whose
What to Do with the Leftovers?
Got extra slimey bits that didn’t quite form a ball? Toss them. They’re fun to poke, but they don’t bounce and they start to smell after a day. Trust me — that weird vinegar-glue smell is not what you want lingering in your house.
Mistakes I’ve Made (So You Don’t Have To)
One time, we did this in the living room. With a rug. During snack time. Yeah — never again. Another time, I let the kids clean up themselves and they washed the leftover glue mix down the sink. Clogged the drain. Rookie move.
Now, we always do non-toxic DIY experiments in the kitchen or outside and clean up together. Makes it part of the fun and keeps the chaos contained.
And there you have it — your very own homemade bouncing ball, straight from a few pantry staples and a little science magic. Whether you made one or ten, these squishy little spheres are proof that a good DIY science activity doesn’t need to be complicated or expensive.
What I love most about this project? It’s not just about the final product. It’s the hands-on learning, the messy laughs, and that aha moment when the ball finally bounces across the floor. That’s the good stuff. It’s why we keep coming back to this as one of our favorite fun crafts for kids.
Plus, it’s a great way to sneak in some science without anyone noticing they’re learning — win-win!
So if your bouncy ball turned out amazing (or hilariously lumpy), I’d love to see it. Snap a pic, pin it, and share your DIY super bouncy balls on Pinterest to inspire other crafty families. Who knows — your creation might be the next viral bounce star.
Now go on — give that ball a bounce and see just how far your creativity can go.
