

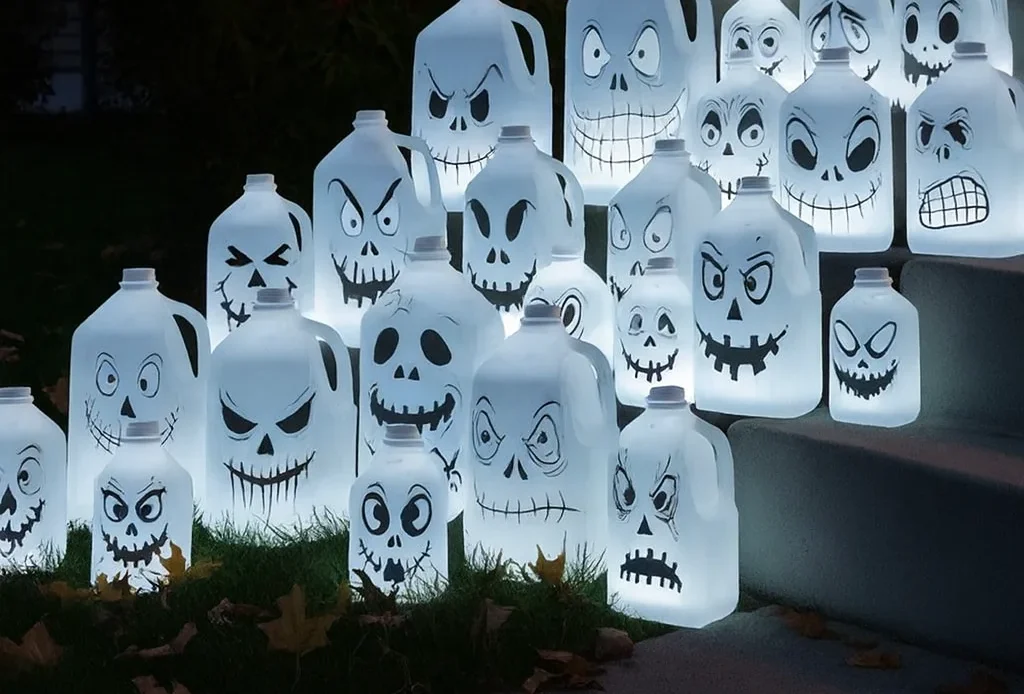
Who says Halloween decor has to break the bank? If you’re anything like me, you’re always hunting for clever, low-cost ways to spook up your space. Well, here’s a frightfully fun project that’s perfect for crafters of all ages: Spooky Glow Jugs for Halloween! These glowing ghouls are made from recycled jugs and a bit of creative flair. It’s a perfect mix of creepy and cute — and yes, your neighbors will totally be jealous. So grab those empty milk jugs, and let’s light up the night with something handmade and haunting!
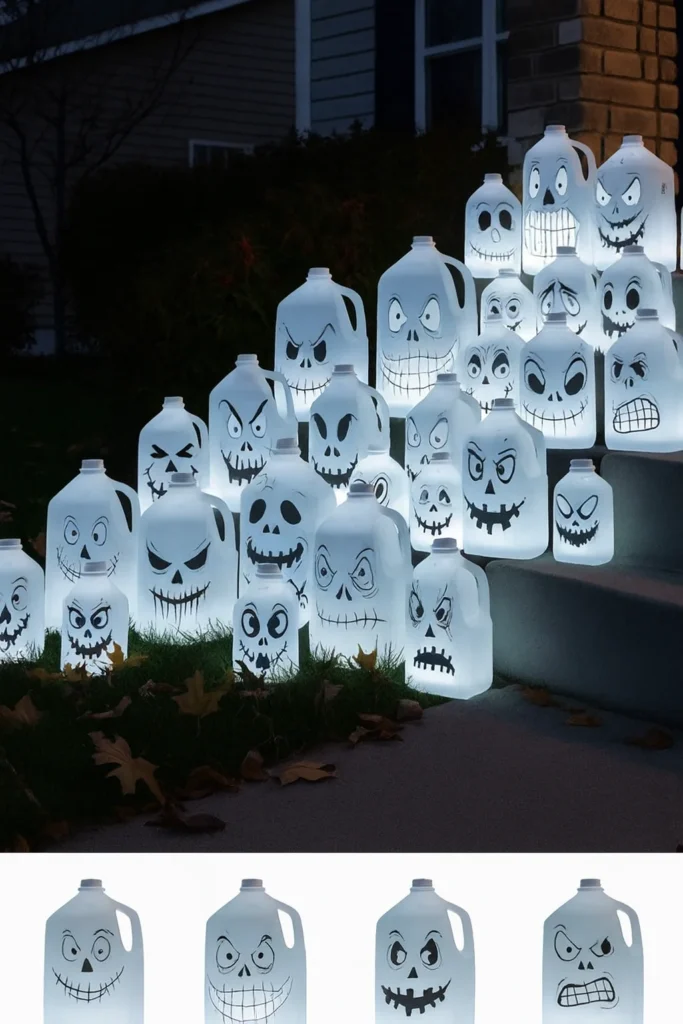
Gather Your Supplies: What You’ll Need
Alright, before we dive into the fun part — designing our spooky glow jugs — let’s talk supplies. The best part? Most of this stuff you probably already have lying around the house. It’s a classic win for budget Halloween crafts, which I’m all about.
Start With the Jugs
You’ll need some empty plastic jugs. Think milk jugs, juice containers, even those big water jugs. Honestly, I started hoarding these in September one year and ended up with a whole army of glow ghosts. Just make sure they’re rinsed out and dry — leftover milk funk is not the kind of scary we’re going for here.
Light It Up Safely
Next up, lighting. This is where the magic happens. I highly recommend LED tea lights or battery-operated string lights. Flameless is the way to go here — trust me, I once tried using a candle and melted a whole corner of my masterpiece (plus, total fire hazard). LED options are safer, brighter, and super affordable now.
Add a Little Spooky Flair
You’ll also need a black permanent marker or some black acrylic craft paint. Markers are quicker, but if you’re the artsy type, painting gives a nice bold finish. If you want to level up your DIY Halloween decorations, grab some tissue paper in orange, green, and white. That’s your pumpkin, monster, and ghost color palette right there. Wrap the jugs or glue the paper on with a simple glue stick or mod podge.
Tools to Make It Work
Last, grab a pair of scissors or a craft knife (adults only on this one, please). You might need to snip a small hole in the back of the jug to fit your lights inside. I usually cut near the base so the jug sits flat even after lighting it up.
Design Your Spooky Faces
Okay, this is where it gets seriously fun. You’ve got your clean jugs and lights ready — now it’s time to bring those suckers to life! I’m talkin’ creepy, goofy, or full-on nightmare fuel. That’s the beauty of DIY Halloween crafts — you can get as weird or as traditional as you want.
Choose a Halloween Vibe
Are you going for classic jack-o’-lantern? Cute ghost? Bug-eyed monster? I like to mix it up. One year I did all jack-o’-lantern jug faces with crooked grins and triangle eyes, and my nephew made one that looked suspiciously like SpongeBob. There’s no wrong way to do it, honestly.
Marker vs Paint — The Face-Off
If you’re short on time or crafting with kids, grab a black permanent marker. It’s quick, easy, and pretty smudge-proof. But if you want bolder lines or more creative freedom, go with black craft paint and a detail brush. I usually do a base outline with marker and then fill it in with paint for a cleaner look. Just let it dry before adding lights — learned that the hard way with smudgy ghost eyes one year.
Stencils or Freestyle?
Totally up to you. If you’re not confident drawing freehand, print out a few Halloween face stencils. Tape them inside the jug so you can trace from the outside. Freestyle is great too — especially for kid-friendly Halloween decorations. The wonkier the face, the better it glows at night!
Pro Tip: Less Is More
I’ve found that too much detail gets lost once the jug is lit. Stick with bold, simple shapes for the best glow. And don’t forget — the glow from inside makes everything look spookier, even a lopsided smile.
Add Color for Extra Pop
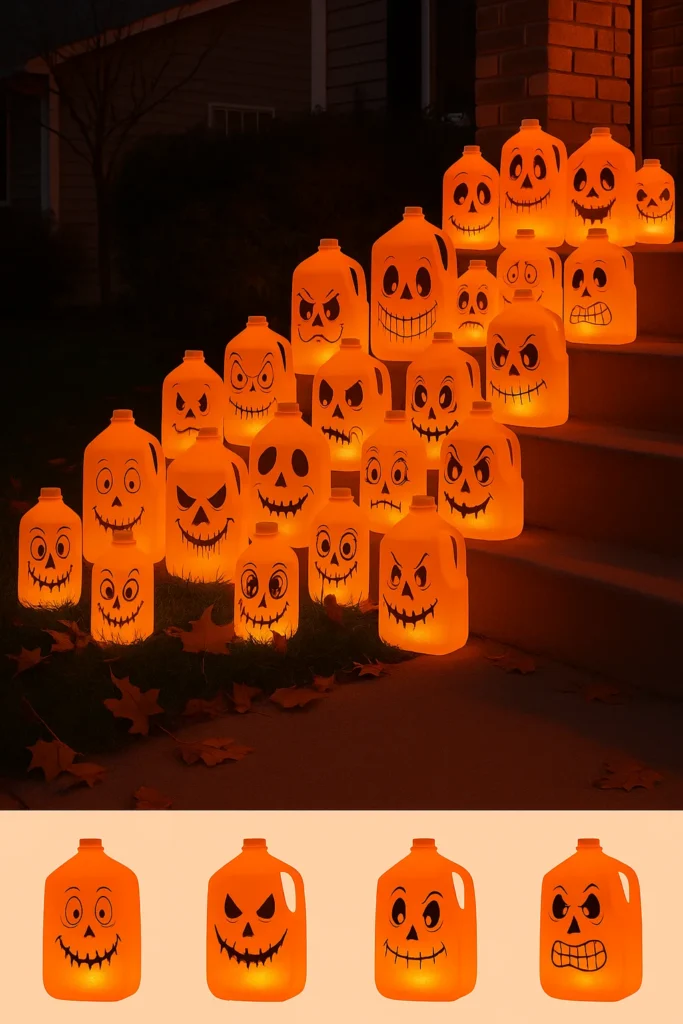
Alright, if you’re like me and want your porch to pop at night (and on Pinterest), this step’s for you. Adding color to your jugs gives them that extra oomph and makes your Halloween jug decorations stand out from all the basic white ghost faces.
Tissue Paper Trick
The easiest way to add color? Colored tissue paper. It’s cheap, cheerful, and gives off a cool glow when the lights are inside. I like using orange for pumpkins, green for monsters, and white for ghosts — but you can go wild with purple, red, or even glow-in-the-dark paint if you’re feelin’ bold.
Just wrap the jug like a present and smooth the tissue with a glue stick or mod podge. Don’t overdo the glue — it’ll crinkle. Learned that lesson the hard way when one of mine looked like a soggy raisin.
Paint It Up
If you want something more durable (especially in humid areas), go for acrylic paint. I usually mix white with a bit of yellow to get a nice glowy pumpkin shade. The trick is to keep it light enough for the LED tea lights to shine through. You don’t want to block the glow — this is still about DIY Halloween lighting, not blackout jugs!
Mix & Match Themes
Get creative with your combo. I love doing a Frankenstein-style jug in green with zigzag scars, then lining it up next to a ghost and a jack-o’-lantern. It creates a whole creepy cast of characters for your porch display. You could even let each family member design one and turn it into a Halloween tradition.
Light ‘Em Up
Alright, you’ve drawn your creepy faces, added color, and now it’s time for the part that makes these jugs really shine — literally. This step turns your craft into legit glow in the dark Halloween decor. And trust me, once the sun goes down and those spooky faces light up, it’s next-level Halloween magic.
Go Flameless, Always
Let me say this louder for the folks in the back: never use real candles in plastic jugs. It’s a melt-fest waiting to happen. I learned the hard way years ago — lit a votive, turned my back, and came back to a collapsed ghost puddle. Stick with LED Halloween lights or battery-powered tea lights. They’re cheap, safe, and last all night.
LED Tea Lights vs String Lights
Both work great. LED tea lights are my go-to — just pop one inside the jug and boom, glowing ghost. For bigger jugs or more intense glow, wrap a few battery-powered string lights and drop them in. I’ve even stuffed in fairy lights I had from last Christmas. It’s all about that eerie vibe.
How to Insert the Lights
Most jugs have a lid, so you can usually drop the lights through the top. If it’s tricky, cut a small flap in the back with a craft knife — somewhere low so the jug still sits flat. I tape the flap shut after inserting the lights to keep bugs and weather out.
Test Your Glow
Turn off the lights and admire your work. If it’s too dim, try brighter LEDs or use thinner tissue paper next time. I usually give my jugs a test run the night before Halloween to make sure they look killer in the dark.
Display Your Halloween Masterpieces
Now for the grand finale — setting the scene. You’ve crafted, colored, and lit up your spooky glow jugs. Don’t just plop them anywhere. A good setup turns your front yard into a mini haunted attraction! This is where those Halloween front porch ideas come to life.
Walkway of Doom
One of my favorite ways to show off these glowing ghouls is lining the walkway or driveway. Space them out a few feet apart and angle them slightly inward. It creates a glowing path for trick-or-treaters. Add a few fake cobwebs between them or scatter plastic spiders for extra creepy points.
Porch Perfection
Cluster them on the steps or corners of your front porch with pumpkins, straw bales, or a Halloween wreath. I usually group my ghost jugs near the door so they glow like they’re waiting for guests. And yeah, I’ve definitely caught people taking pictures — totally worth the effort!
Yard Vibes
If you’ve got a yard, scatter them among the bushes or flower beds. I even tried hiding one behind a potted plant with just the glowing face peeking out — super eerie! With some fake tombstones or skeleton arms poking out of the ground, you’ve got full-on glow in the dark yard decor.
Indoor Magic
Rainy Halloween? No problem. Set them up inside your front window or on a windowsill facing the street. That warm, spooky glow still gets attention — plus your house smells like cinnamon candles instead of soggy leaves.
Bonus: Photo Ops!
Your DIY Halloween display is now officially Insta-worthy. I always snap a few pics after dark, especially if I’ve let the kids make their own. Each jug kind of has its own little personality. It’s fun, festive, and you didn’t drop $100 at the party store.
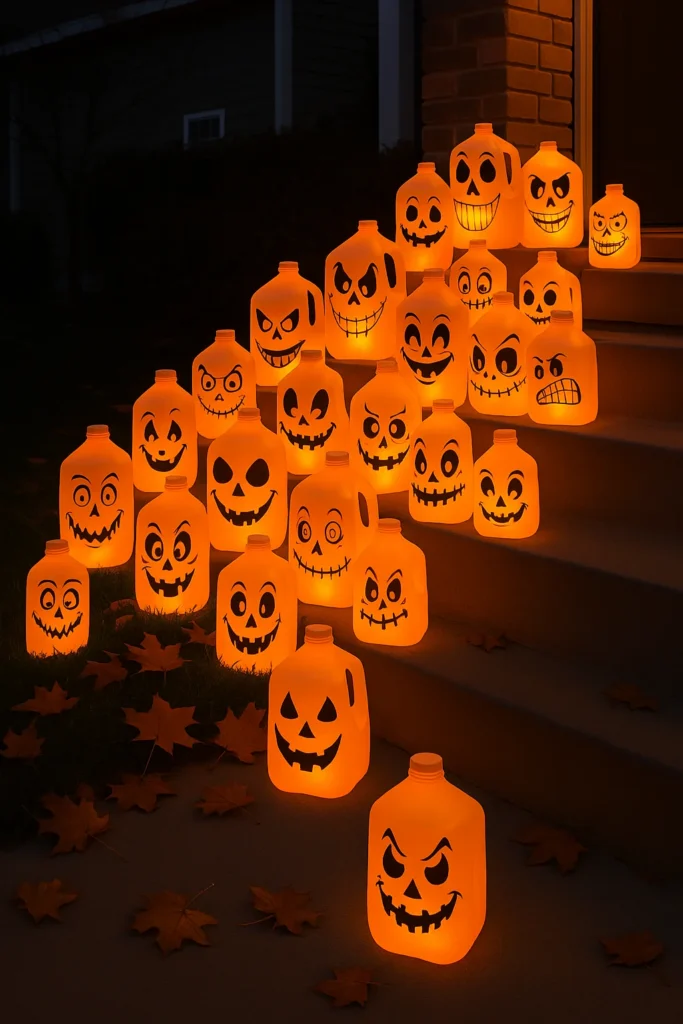
And there you have it — your own spooky little squad of Halloween glow jugs, glowing bright and creepy on your front porch. This project hits all the Halloween must-haves: it’s fun, it’s cheap, and it’s a great way to upcycle those old milk jugs into something seriously cool. Honestly, few things beat the satisfaction of turning trash into DIY Halloween porch decor that your neighbors will actually compliment.
Whether you went full jack-o’-lantern army or mixed it up with ghosts and monsters, your display is going to shine (literally) on Halloween night. Plus, these are the kinds of recycled Halloween crafts you can make with kids, friends, or even solo with your favorite spooky playlist in the background.
So grab your phone, take some night shots, and don’t forget to share them on Pinterest! Tag your creations with #HalloweenGlowJugs or make a board of your spooky setup. Let’s fill the neighborhood — and the internet — with homemade Halloween magic!

