

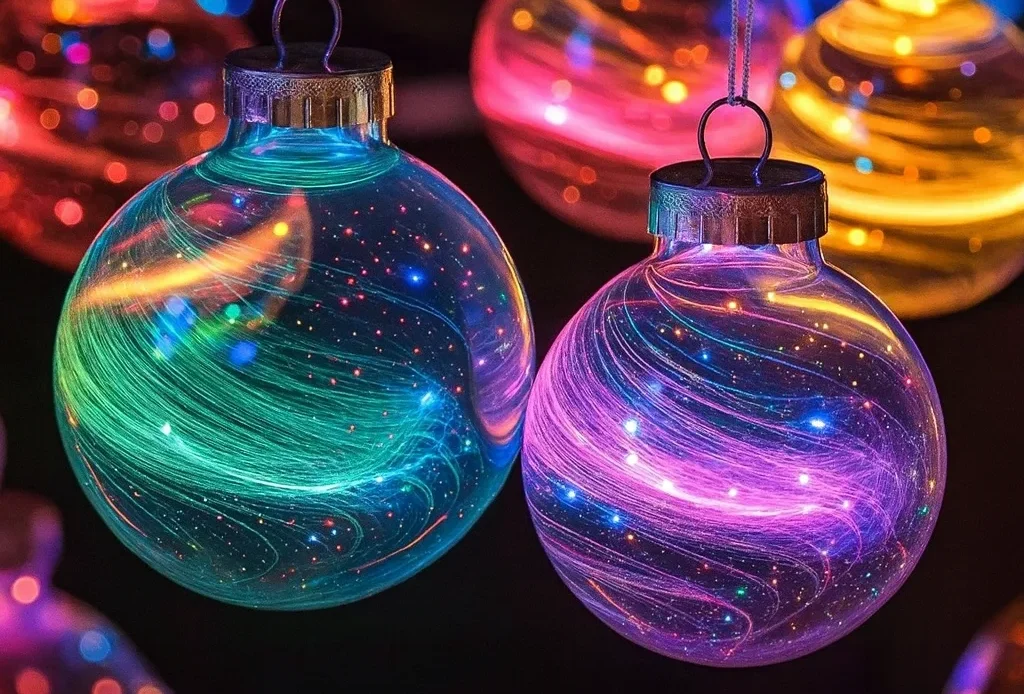
Ever stared up at the night sky and wished you could capture that galactic beauty in your home? Same here! I’ve always been obsessed with the cosmos—stars, swirls, and all that glow. That’s why DIY Nebula Glow Ornaments instantly became a holiday must-do for me. They’re not just crafts; they’re tiny galaxies in a globe, and best of all—they glow in the dark! Whether you’re jazzing up your Christmas tree or want to hang one by your window, this fun and easy craft combines art and science into something truly out-of-this-world.
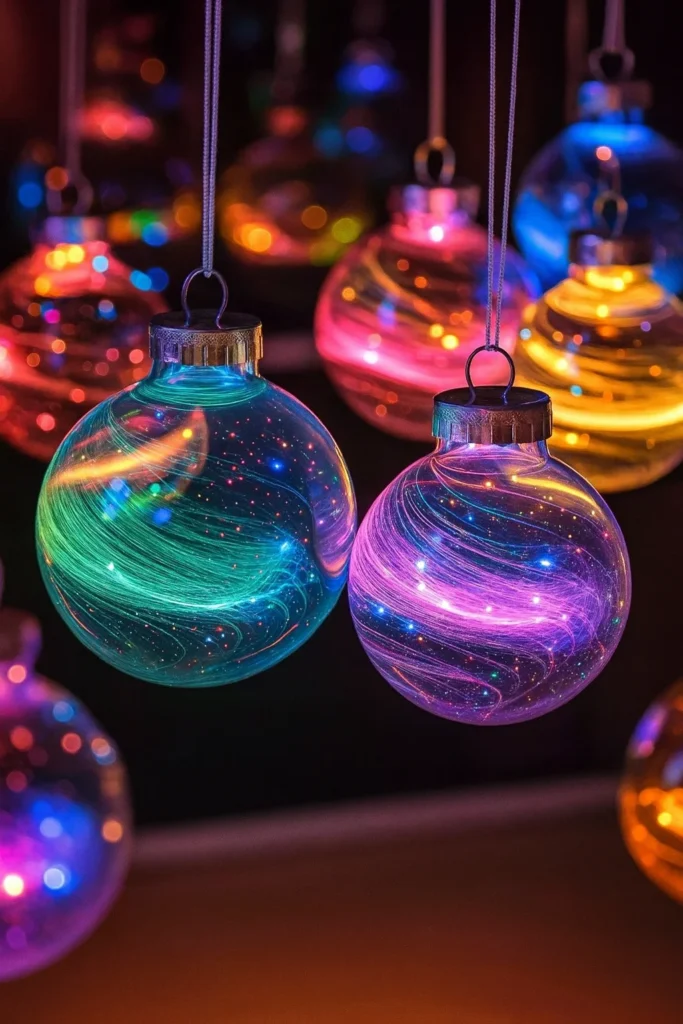
Supplies You’ll Need for Nebula Glow Ornaments
Let me just start by saying: the first time I tried making nebula ornaments, I went full chaos mode. No gloves, no plan, and I ended up with glow paint in my eyebrow. So… learn from my mess. 😂 The secret to keeping this DIY fun and not a cosmic disaster? Having the right supplies ready before the paint starts flying.
Clear Plastic or Glass Ornaments
These are your galaxy capsules. I always go for the clear plastic ornaments (less breakable), but glass ones give a beautiful shimmer too. Get the ones that open from the top—not the ones you have to cut open (trust me, been there, sliced that). Round or teardrop shapes work best for getting those galaxy swirls.
Acrylic Paint Set in Nebula Colors
This is where you can get wild. Think deep space: midnight blue, hot pink, electric purple, metallic gold. A solid acrylic paint set will have all these. I mix mine with a touch of water so it flows better inside the ornaments—like actual star clouds.
Pro tip: metallic shades pop like crazy against the glow paint. Don’t skip them.
Glow in the Dark Craft Supplies
This is what turns your ornament from “cute” to “whoa, that’s magic.” You want a good-quality glow in the dark paint—not the cheap ones that stop glowing after one minute. I use the kind that charges under LED or sunlight, and seriously, when the lights go out? These things look like mini supernovas.
Paint Brushes or Toothpicks
Okay, I messed up here my first go. Thought I could swirl with a spoon handle. Nope. Brushes or toothpicks give way more control, especially if you want those wavy, nebula-looking streaks. Get a small brush set from the craft aisle—it’s cheap and makes a big difference.
Mixing Bowl and Water
Don’t skip this. You’ll need a small bowl for blending colors and thinning the paint. Too thick? It clumps. Too thin? It puddles. I’ve found a splash of water per drop of paint works best for swirling.
Gloves and Table Covering
Unless you want glow fingers for a week—wear gloves. I always think I’ll “be careful,” and I never am. Use newspaper, a drop cloth, whatever. You’re gonna drip.
String or Twine
Once they’re dry, you’ll want a cute way to hang ’em. I use rustic twine for that handmade feel, but shiny ribbon works if you’re going glam. Just make sure it’s thin enough to fit through the ornament top.
This whole list might seem long, but honestly? Most of these are cheap, especially if you hit up a craft store with coupons. And once you have your holiday decoration supplies lined up, the rest is a breeze. You’re literally creating glowing, swirling space magic that’ll look amazing on your tree—or even just hanging in a bedroom window.
Next up, I’ll walk you through the actual steps (and mistakes to dodge). You’ll love how easy it is to pull off that epic nebula look.
Step-by-Step Instructions to Create Your Cosmic Ornament
Alright, now that your supplies are locked and loaded, it’s time to get your hands dirty—literally. Making DIY glow in the dark ornaments might sound tricky, but once you nail the swirling technique, it’s actually kinda therapeutic. Like galaxy ASMR. Here’s how I do it, with a few hacks I wish I knew sooner.
1. Prep Like a Pro
Start by covering your workspace. I’m not just saying that to sound responsible—I once splattered glow paint on my cat (he was fine, but now glows under blacklight). Newspaper, cardboard, even old pizza boxes work. Just protect your table and wear gloves unless you’re going for space hands.
2. Remove Ornament Tops Gently
Most clear plastic ornaments have little metal caps. Pop those off carefully and set them aside. You’ll need these again, and if you’re anything like me, you’ll probably lose one unless you put it in a dish right away.
3. Mix Your Paint Just Right
In a small bowl, mix a few drops of acrylic paint with a tiny splash of water. You want the texture just thin enough to drip and swirl, but not so watery it becomes translucent. I always test mine on a napkin first—learned that the hard way after making one that looked more like fog than space.
4. Pour and Swirl Your Base Colors
Use a dropper, spoon, or just drizzle straight from the bowl. Add your base color to the inside of the ornament and swirl slowly. Don’t shake. You’re not making a smoothie. You want that dreamy cosmic flow. Let it coat part of the inside, then add another color. Keep rotating the ornament like you’re painting a marble universe.
Tip: leave some clear gaps. It makes the glow pop more later.
5. Add the Glow-In-The-Dark Magic
Now for the best part. Add a few streaks of glow in the dark paint and give it a final gentle swirl. I’m telling you—this is where the magic happens. Use a toothpick to stretch the glow streaks if you want that shooting star effect.
I once went a little too heavy-handed and the whole thing glowed like a green blob. Less is more here, trust me.
6. Dry Them Upside Down
This part takes patience (ugh). Place each ornament upside down in a paper cup or egg carton and let it drain and dry completely. I leave mine overnight. If you rush it, you’ll end up with drippy globs that ruin the swirls.
7. Finish and Hang
Once dry, reattach the tops and thread your twine or ribbon through. Boom—you’ve got yourself a handmade ornament that literally glows like a nebula. I usually test mine by charging them under a flashlight. Watching them light up is seriously the best part.
And there you have it—a glow paint craft tutorial that even beginners can rock. Honestly, once you’ve done one, it’s hard to stop. I ended up making a dozen and gifting them to family last year. My cousin thought I bought them at a fancy craft store. Nope—just some paint, patience, and a little holiday hustle.
Tips to Get That Perfect Nebula Effect
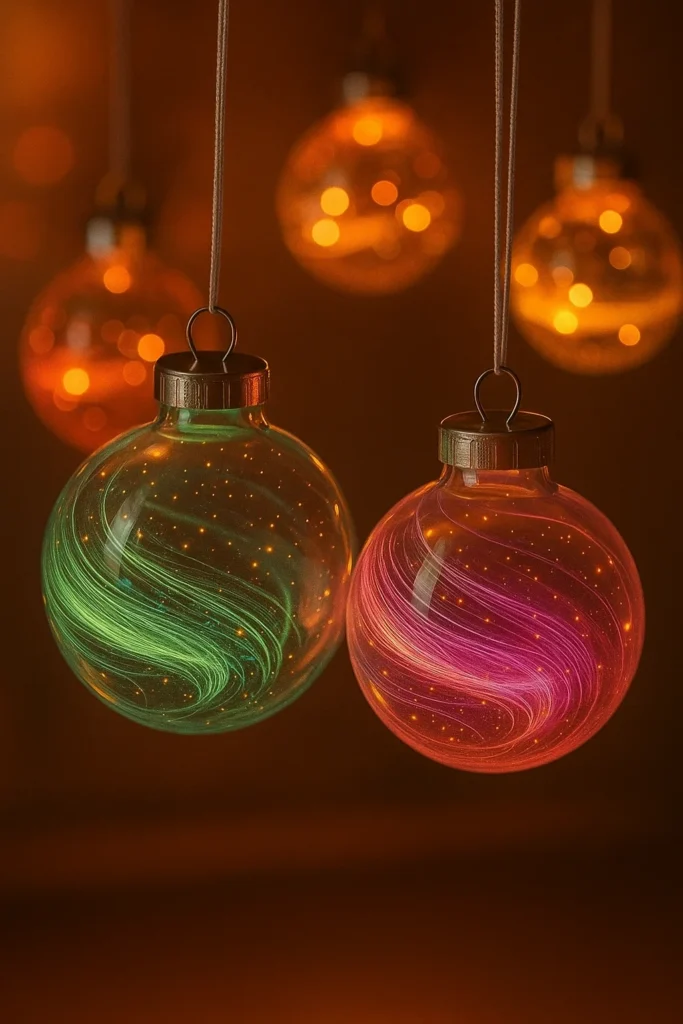
Alright, this is the part that separates “cute DIY” from jaw-dropping space art. I’ve messed up enough ornaments over the years to know exactly what not to do. If you’re aiming for that dreamy, swirling nebula swirl effect, these tips will save you a ton of frustration (and paint).
Don’t Overmix Your Paints
Seriously. The first time I made one of these, I thought the more I swirled, the better it’d look. Nope. What I got was a muddy mess that looked like a bruised peach. Instead, pour your colors in layers and tilt the ornament slowly. Let gravity do the work. You want to see each color—those distinct waves are what give it that DIY galaxy ornament vibe.
Pick Your Color Combos Wisely
Not all paint colors play nice together. I learned that red + green = weird brown sludge. My go-to combo? Deep navy, bright violet, electric blue, and a splash of metallic gold. Looks like a Milky Way exploded in there. Oh, and use white or silver for light “starlight” accents—it makes the whole thing pop under the glow.
Layer Glow Paint Strategically
A rookie move? Dumping glow paint in first. It ends up stuck behind darker colors and doesn’t show. Instead, drizzle it in last and only in certain areas. This gives it that glow starburst look when the lights go out. I like using a toothpick to “draw” little trails or dots—it mimics stars!
Test the Glow Before It Dries
Sounds weird, right? But I always shine my phone flashlight into the ornament before it’s fully dry. That way I can spot dead zones (aka spots that won’t glow later). It’s also just super satisfying to see that glow start to charge while you work.
Metallic Accents Are a Game-Changer
I didn’t realize how much metallic gold acrylic paint adds until I tried it on a whim. It catches the light in a way that makes the ornament look lit from inside—even when the glow paint isn’t active. Just dab tiny bits in with a small brush or tap the ornament gently on the edge of your paint bowl.
Use a Rotating Motion—Not Shaking
This is one of those why didn’t I learn this sooner moments. Shaking the ornament bubbles everything up and messes up the layers. Rotating slowly, like turning a doorknob, keeps the paint swirls elegant and layered. Bonus: it’s kinda relaxing.
Nailing the nebula swirl effect takes a little practice, but once you find your rhythm? Pure magic. I’ve had friends straight-up ask if I used an airbrush machine. Nah. Just some dollar-store paint and a little finesse. Every ornament turns out a bit different, and that’s the best part—it’s like your own tiny galaxy.
Decorating Ideas Using Nebula Glow Ornaments
Okay, you’ve swirled, glowed, and crafted your heart out—now what? Don’t just toss your beautiful DIY nebula ornaments on the tree and call it a day. These little cosmic wonders deserve the spotlight. I’ve tried a bunch of setups, and I’ve gotta say, these ornaments are way more versatile than I expected.
Galactic Christmas Tree Glow-Up
This one’s the obvious go-to, but oh man—it hits hard when the lights go low. Pair your nebula ornaments with string lights and metallic garlands, and suddenly your tree is giving serious interstellar vibes. I like to tuck a few deep inside the branches too. The glow adds this subtle backlight that’s just unreal.
Pro tip: Mix them with silver or deep blue ornaments for a space-themed tree that looks like it belongs in a sci-fi movie.
Space-Themed Party Favors
Last year I threw a “Galaxy Night” dinner for my nieces and nephews. Used the ornaments as space-themed party favors and the kids lost their minds. I wrote their names in metallic marker on each one and let them charge them under the lamp. Instant hit.
You can even stick mini glow sticks inside for an extra “supernova” effect.
Window Magic at Night
Hanging these from curtain rods or suction hooks on your windows? Chef’s kiss. During the day, the sunlight shows off all the swirl detail. At night, they glow like little UFOs hovering in your room. I’ve got three in my home office right now—my Zoom background is basically NASA.
Galaxy-in-a-Jar Display
If you want to get a little crafty (again), fill a wide mason jar with fairy lights and toss in a few small nebula ornaments. Boom—instant glow in the dark holiday decor centerpiece. I keep one on my coffee table and every guest asks where I bought it. Spoiler: I made it while watching old sci-fi reruns.
Cosmic Gift Tags or Keepsakes
One year, I tied mini versions of these to wrapped gifts. It looked like I paid way more than I did. Plus, people kept them and used them as ornaments later. If you’re into personalized holiday decorating ideas, these make awesome keepsakes with a little name tag or date painted on.
Bottom line? These aren’t just decorations—they’re conversation starters. Whether you’re decking the halls, throwing a theme party, or just trying to add a little stardust to your room, nebula glow ornaments bring that unexpected wow factor.

And that’s a wrap—literally and figuratively! From mixing vibrant acrylics to watching that first glow flicker to life in the dark, making these DIY nebula glow ornaments has been one of my favorite holiday traditions. It’s messy, it’s creative, and honestly? It’s kind of meditative too. There’s just something magical about swirling your own little universe into a clear globe and seeing it light up like a starfield.
Whether you hang them on your tree, line your windows with them, or give them away as handmade Christmas decorations, these glowing beauties are more than just crafts—they’re moments. Moments you get to make with your kids, your friends, or just during a quiet afternoon with a good playlist and a paintbrush.
So go ahead—grab those supplies and let your inner astronaut-artist shine. And if this tutorial brought a little stardust to your day, do me a favor: save it on Pinterest or share it with someone who’d love it. The universe could use a little more glow.

