

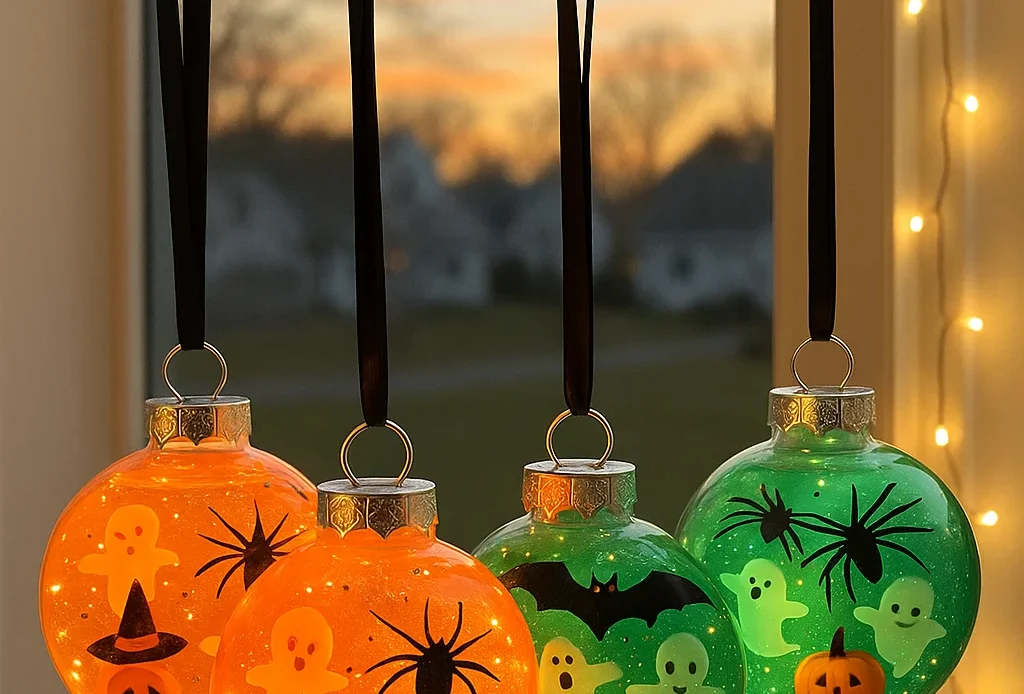
Halloween is the perfect excuse to combine creepy and crafty! Did you know that glitter can enhance focus and relaxation when used in sensory crafts? That’s why these DIY Ghoulish Glitter Shaker Ornaments are more than just spooky decorations—they’re swirling, shimmering fun for kids and adults alike. Whether you’re prepping for a party or adding eerie elegance to your haunted house, this guide walks you through making a Halloween ornament that literally shakes things up!
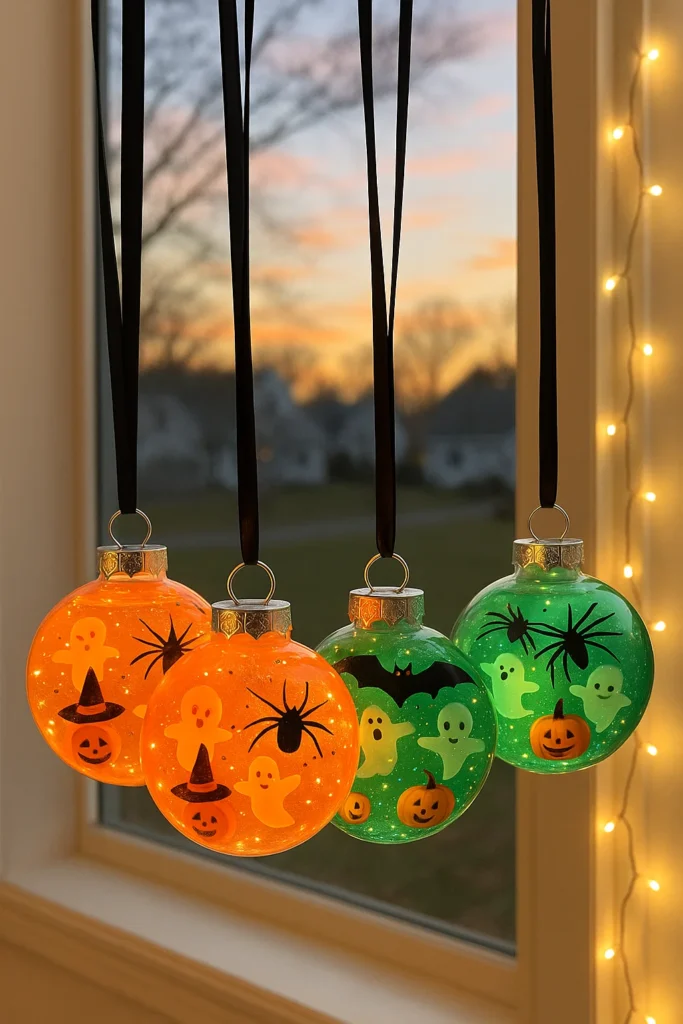
What You Need to Make Ghoulish Glitter Shaker Ornaments
Let me tell ya—when I first tried making these glitter shaker ornaments, I didn’t even own a funnel. Picture me trying to pour sticky orange glue into a plastic ornament with a coffee filter. It… didn’t go well. But hey, mistakes are part of the fun, right?
Supplies That’ll Save Your Sanity
This isn’t just another one of those vague Halloween crafts for kids where you wing it with pipe cleaners and googly eyes. Nope. These glitter shakers need the right stuff to swirl properly and not leak (ask me how I know—RIP to my carpet). Here’s your must-have list:
- Clear plastic fillable ornament – Trust me, go with plastic. Safer, cheaper, and way easier for the kiddos.
- Clear liquid glue (PVA) – You want that thick, oozy texture. Don’t water it down too much or your glitter won’t float right.
- Warm water – Helps the glue mix better. Just a splash will do.
- Liquid food coloring – Orange and green are my go-tos for Halloween, but purple hits different too.
- Fine glitter + chunky glitter mix – I use a blend of fine glitter for the shimmer and chunky confetti for that “OMG, there’s a tiny bat!” vibe.
- Mini Halloween charms – I found little ghosts and spiders at the dollar store that are perfect for plastic ornament filler.
- Ribbon or twine – For hanging. Black satin ribbon gives it that spooky-chic look.
Where to Score the Good Stuff
If you’re short on time (like me, always), Amazon has pretty much everything under “DIY Halloween decorations” or “Halloween party favors bulk.” I also love hitting up craft stores post-summer for clearance glitter—those neon greens work so well in these.
Also—hot tip: check the nail art section at beauty stores for teeny charms and glitters. Way cheaper than craft supplies and just the right size for ornaments.
Don’t Forget the Tools
You’ll wanna grab:
- A small mixing cup (I reuse medicine cups from kiddo cold syrups),
- A plastic funnel (or a real one if you don’t want a repeat of my coffee filter disaster),
- And a hot glue gun or super glue to seal it all up tight.
Let the kids pick out their favorite charms and glitter colors. I swear, they take so much pride in their own creepy combos. These also make adorable Halloween party favors—especially when you personalize them with little name tags.
Final Thoughts Before You Dive In
These aren’t just any DIY Halloween decorations—they’re little potions of spooky joy! Whether you hang them in your window, on a mini black tree, or give them out to your classroom, they’re the kind of handmade magic that gets people talking.
Alright, that’s the gear rundown! Next up, we’ll be mixing the glitter potion itself—and it’s where the real sparkly mess (I mean magic) begins.
Mixing Your Glittery Potion
Okay, real talk: the first time I tried mixing the glue and glitter for this, it turned into a chunky, goopy mess. My five-year-old was still impressed, but I was going for “sparkly spell,” not “expired yogurt.” So yeah—lesson learned. There’s a method to the madness when it comes to making these little potions swirl just right.
Potion Mixing 101 (No Cauldron Required)
Here’s the recipe I swear by now. It’s like a cross between a Halloween slime recipe and those fancy DIY sensory bottles—but you get to hang this one on a tree or window.
- 2 tablespoons of clear glue (PVA or glitter glue)
I sometimes use the pre-glittered glue, but it can be too thick. Mixing it yourself gives better swirl. - 1 tablespoon warm water
Not cold! Warm helps the glue dissolve into a smooth base. It also stops the glitter from clumping. - 1–2 drops food coloring
Go easy here. Too much and you won’t see your glitter sparkle. I learned that the hard way with a deep green that turned into sad swamp juice. - ½ teaspoon fine glitter
Think shimmer, not snow globe. If you use only chunky glitter, it sinks too fast. - A pinch of chunky glitter or confetti
Stars, bats, moons—whatever’s spooky and shiny.
Mixing Tips I Wish I Knew Sooner
- Use a plastic spoon or popsicle stick to stir slowly. Vigorously mixing just bubbles everything up.
- Want it extra sparkly? Add a drop of glycerin. It thickens the mix and makes the glitter swirl longer (like in those fancy commercial snow globes).
- Avoid metallic food coloring—it can stain plastic and your fingers forever. Ask me how I know…
Oh, and do all the mixing in a disposable cup or something you’re okay tossing. I once used my good measuring cup and spent 30 minutes scrubbing dried purple glitter glue out of it. Never again.
Make It a Family Potion Session
This step is super fun for kids—and kinda therapeutic for adults too. It’s like adult coloring books… but spooky and sparkly. If you’re doing this at a Halloween party or in a classroom, line the table with wax paper or trash bags. That way, cleanup’s a breeze (and trust me, there will be a glitter explosion).
Let everyone customize their potion—some go for “Witch’s Brew,” others for “Ghost Goo.” Give it a name. Make it a thing. It adds so much fun to your homemade Halloween crafts!
Final Mix Moment
Before you pour it into the ornament, give the mix a minute to settle. If it’s too bubbly or too runny, adjust with more glue or glitter. It should look like magical ooze—not soup.
Once you’ve nailed your potion, it’s time to fill your ornament. And that, my friend, is where the real chaos starts. But don’t worry—I’ve got tips to keep it from becoming a sticky disaster.
Assembling Your Shaker Ornament
Alright, potion’s ready. Glitter’s looking spooky as heck. Now comes the part where you either feel like a craft wizard—or wind up wearing half the glitter. Been there. I once dropped an open ornament right into the bowl of goo… looked like I’d been slimed by a glittery ghost.
So! Let’s talk about how to fill these babies without making your table look like a glitter crime scene.
Start With the Charms
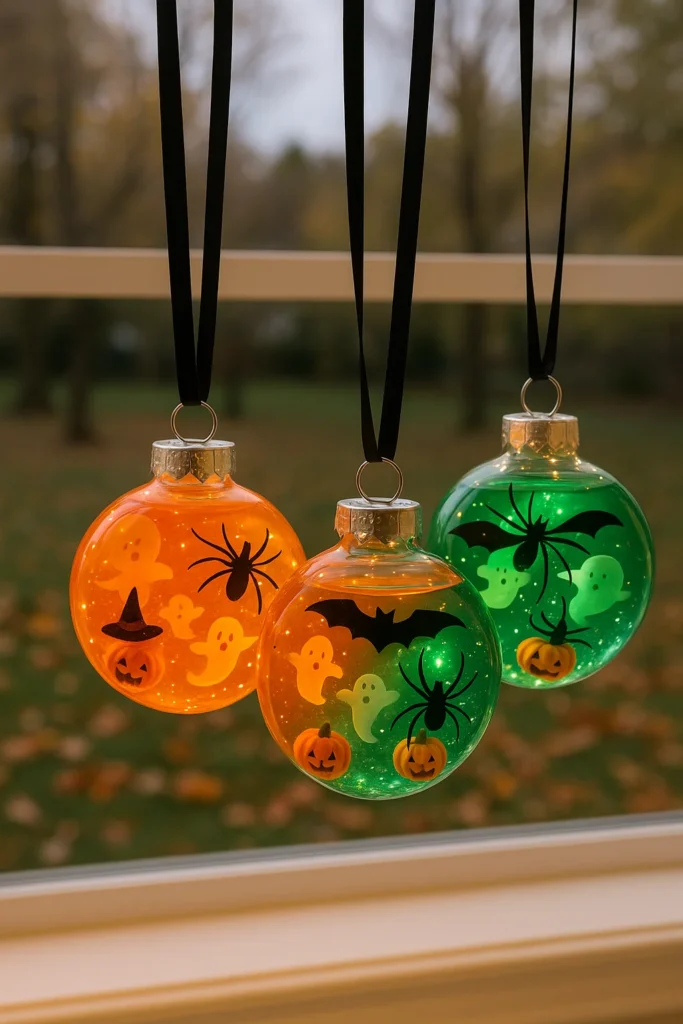
First thing I do? Drop the tiny Halloween charms into the empty ornament. Spiders, pumpkins, little skeletons—whatever you’ve got. These go in first so they don’t just float on top. Trust me, it’s way cooler watching bats swirl through the glitter storm than just seeing them stuck at the neck of the ornament.
If you’re using these as Halloween decorations for kids, let them pick their own charms. One of my nieces made hers entirely out of ghost emojis and purple glitter. Still hangs it every year.
Funnel or… Disaster?
Now it’s time to pour your glitter mix in. Use a small funnel. Please. Unless you like scraping dried glue off the floor.
If you don’t have a funnel, you can make a DIY one out of parchment paper or the corner of a Ziploc bag snipped off—but those are desperation moves. Been there, done that. You don’t want to cry over spilled slime.
Here’s how to do it cleanly:
- Insert the funnel into the ornament’s top.
- Slowly pour the potion until it’s about ¾ full—don’t overfill!
- Tap the side gently to help air bubbles rise and pop.
Space Matters
Leave about ¼ inch of air at the top. You need room for the charms to shake around. If it’s filled to the brim, nothing moves. And the whole glitter shaker ornament idea kinda falls apart, ya know?
This is where a lot of glitter ornament DIY tutorials get it wrong—they don’t account for movement space. Think of it like a snow globe: you want swirl, not sludge.
Optional: Extra Sparkle Layer
Sometimes, before sealing, I add just a dash more glitter—like topping off a fancy drink. Not necessary, but chef’s kiss if you want to level up your sparkle game.
Final Tip: Work Over a Tray
If you’re doing this with kids (or adults like me who spill everything), work over a shallow tray or cookie sheet. It catches all the overflow, and cleanup is so much easier. Plus, you can pour unused glitter right back into the jar. No waste!
Once it’s filled, you’re ready to seal the deal—literally. And that’s coming up next.
Sealing and Finishing Your Ornament
Okay, this is the step where I used to totally mess things up. Everything would look amazing—sparkles, charms, the swirl—but then I’d rush the sealing, and boom… glitter soup everywhere. One time I even hot glued the cap to my finger. So yeah, let me save you from that nightmare.
Clean Up Before You Seal
First off, wipe any glue drips or glitter bits from the top of the ornament. You want that rim dry and clean. If there’s goo around the edge, your glue might not hold, and you’ll be waking up to a puddle of sparkle sludge on your shelf.
I use a cotton swab dipped in rubbing alcohol. Works like a charm. Learned that trick after super glue ate through my wood table finish. (RIP to that corner.)
Best Way to Seal It
Now comes the big question: hot glue or super glue? Both work—but here’s what I’ve found from trial and error.
- Hot glue for crafts: Dries faster, easier to control, but bulkier.
- Super glue (gel kind): Cleaner finish, but more permanent and runny if you’re not careful.
If you’re doing this with kids, hot glue is way more forgiving. Just don’t touch the metal tip—those things are mini flamethrowers.
Here’s my go-to method:
- Run a thin line of glue inside the cap or along the ornament rim (depends on the type you have).
- Press the cap on quickly but carefully. Hold it in place for 30 seconds.
- Let it sit undisturbed for at least an hour. No shaking yet, even if you’re dying to see the magic.
If you’re using hot glue, give it a gentle twist test after a few minutes. If it moves, you didn’t use enough. (No shame, just re-glue.)
Add the Final Touch: Ribbon Magic
You have to add a little something-something up top. Otherwise, it’s just a sad ornament with no flair. I use:
- Satin ribbon in black, orange, or purple (looks super polished),
- Twine for that rustic Halloween vibe,
- Or even glow-in-the-dark yarn for extra fun with kids.
Cut a piece about 8–10 inches long and loop it through the top. Tie a little bow or knot it into a hanger. Boom—you’ve just made spooky adorable.
If you’re using these as Halloween DIY decorations, hang them on black branches, doorknobs, or even your car mirror (don’t @ me—it’s festive).
Optional Hack: Label It
Want to go full witch-core? Add a mini tag with a name like “Bat Brew” or “Witch Wobble.” You can even make it look like a little apothecary bottle. It’s a killer party favor if you’re hosting a Halloween bash.
Fun Ways to Use Your Halloween Shaker Ornaments
Alright, your glitter potion’s sealed, your ribbon’s tied, and you’re staring at your sparkly little globe like it’s a work of art—which it totally is. Now what?
You could just hang it on a branch and call it a day, but let me tell you—these things are way more versatile than they look. I’ve used them for everything from party favors to sensory tools, and they always get a “Whoa, you made that?!” reaction.
Party Favor Showstoppers
If you’re throwing a Halloween party (or even just sending kids to one), these make killer Halloween party favors. Pop one into a black paper bag with some candy and a little tag that says “Swirl me, if you dare”. People lose it. You don’t need to buy those mass-produced plastic spider rings anymore. These feel thoughtful—and they’re functional, too.
I once made a batch of 15 for my son’s kindergarten class. Added their names in silver Sharpie and boom—teacher of the year (well, kinda).
Halloween Decor Goals
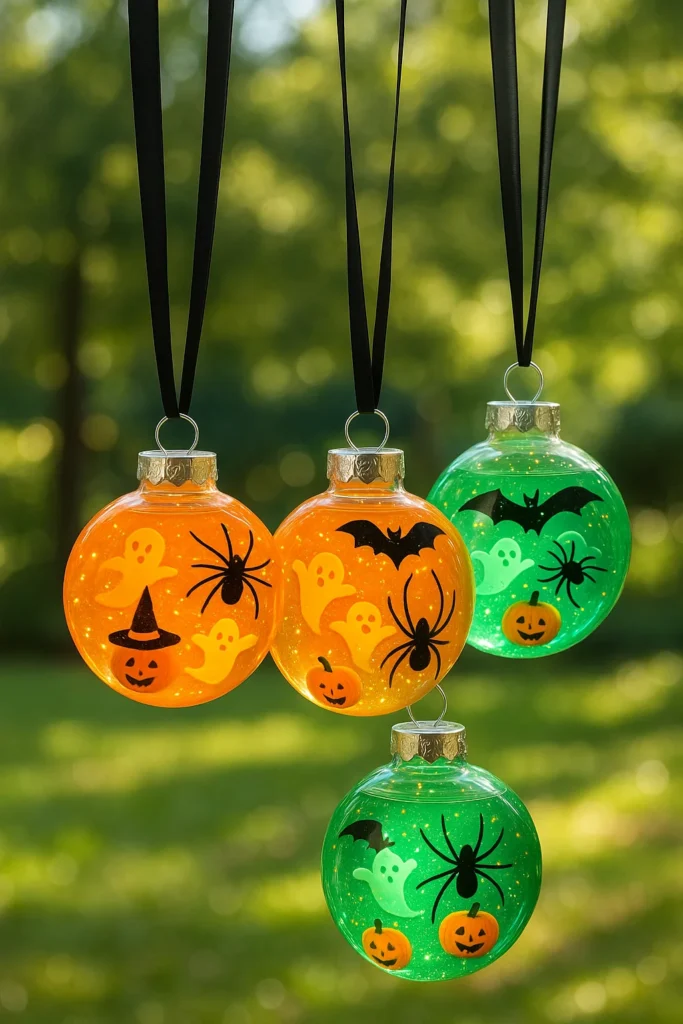
These look amazing hanging in windows. You know those little suction cup hooks? I hang them in a staggered row across our kitchen window with fishing line. They catch the light during the day, and at night, they reflect the glow of the porch jack-o’-lantern. Instant DIY Halloween decorations for home.
You can also:
- Hang them on black spray-painted branches in a vase for a spooky centerpiece.
- Loop them along your mantel with fairy lights.
- Hang one from each chair if you’re doing a Halloween dinner party.
Sensory Fun for Kids (and, um, Me)
These aren’t just pretty. They’re also low-key genius as sensory crafts for kids. Especially younger ones. My daughter shakes hers every time she’s stressed (or bored), and it genuinely calms her down. It’s like a Halloween-themed calming jar.
One mom from our daycare group actually told me she uses one in her car for her sensory-sensitive kid during long drives. It’s a swirl-and-breathe moment in a ball.
And listen—I’m not above grabbing one myself when I need to chill. Glitter is therapy, y’all.
Classroom or Office Decor
Teachers, you need to try this. Set up a mini tree with these hanging in your room, and it becomes an interactive activity station. Kids can vote on their favorite mix, or you can tie it into a “potion lesson” (hello, chemistry class!).
Even in a boring office cubicle, hanging one of these can seriously up your spooky game. Bonus: no one steals your stapler when there’s a ghost-filled glitter bomb guarding it.
Take It One Step Further…
If you’re crafty-crazy like me, you can even turn them into Halloween tree ornaments for a spooky themed tree. Add a mini broomstick, tiny eyeball beads, whatever screams Halloween. Make it your own creepy masterpiece.
There’s just something magical about a craft that shakes when you do. These DIY Ghoulish Glitter Shaker Ornaments aren’t just another Pinterest project—they’re a mashup of science, sparkle, and spooky fun all rolled into one. Whether you’re decorating for a Halloween party, crafting with your kids, or just want to make something that feels like October, this one totally delivers.
You’ve mixed your glitter potion like a pro, sealed it without a mess (hopefully), and now you’ve got something that’s part decoration, part sensory tool, and part party favor. I mean, how many Halloween craft ideas can check all those boxes?
So here’s your challenge: Make a few. Make a dozen. Add names, creepy tags, glow-in-the-dark bits, and hang them all over your place like a spooky little art show. Then? Share them on Pinterest! Tag your creations with something like #GhoulishGlitterOrnaments or #DIYHalloweenOrnaments and inspire the next poor soul who doesn’t know their funnel from their glue gun.
Let’s keep Halloween weird, sparkly, and totally homemade.

