

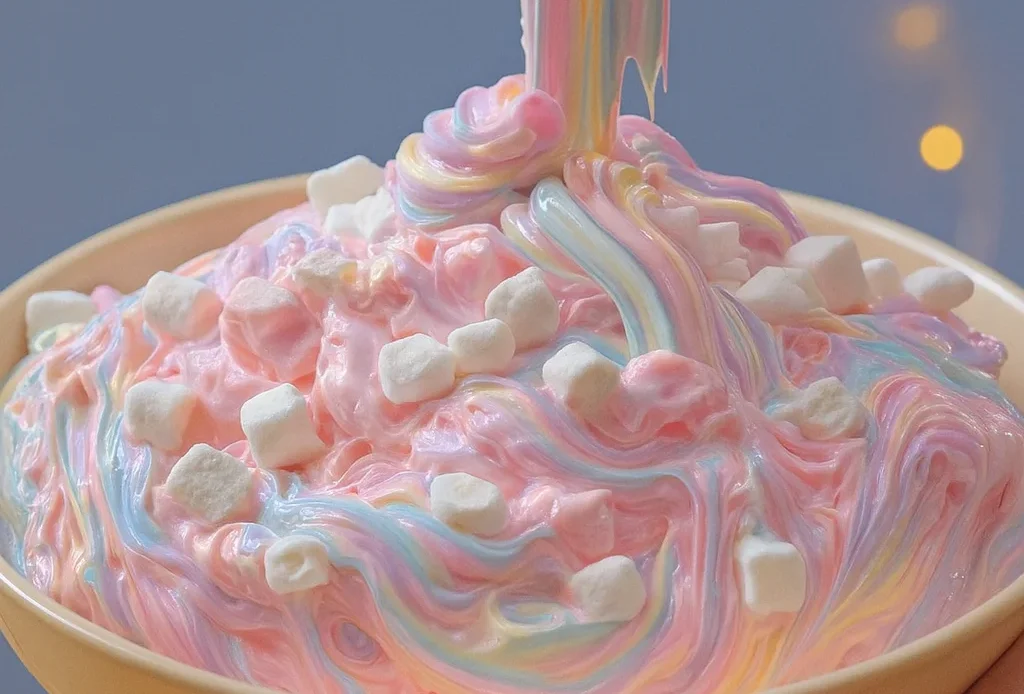
Ever wanted to let your kids play with slime and snack on it too? 🍭 Well, you’re in luck! According to recent parenting trends, edible sensory crafts are skyrocketing in popularity, and for good reason—they’re safe, hands-on, and downright fun. Today, I’m sharing my foolproof method for creating edible marshmallow slime right in your kitchen. With just a handful of ingredients, you’ll mix, knead, and play your way to a sweet sensory treat. Whether you’re a parent looking for a rainy-day activity, or a teacher in search of a creative classroom craft, this recipe is sure to be a hit. Let’s dive in!
What You’ll Need to Make Edible Marshmallow Slime
Gather Your Sticky Arsenal
So the first time I tried making edible marshmallow slime, I was wildly unprepared. Picture this: a bowl of overcooked marshmallow goo, no cornstarch in sight, and a toddler trying to lick the countertop. Total chaos. But after that sticky mess, I learned what actually works—and what you absolutely need to make this safe slime recipe a breeze.
Here’s your no-fail ingredient list for a sweet, stretchy slime session that won’t end in tears (yours or the kids’).
Essentials You Already Have at Home
1 cup of mini marshmallows – Jet-Puffed or store brand, they all work.
2 to 3 tablespoons of cornstarch – This is what keeps things from becoming marshmallow soup.
1 teaspoon coconut oil or butter – I’ve used both. Coconut oil smells better and keeps it softer longer.
Food coloring (optional) – I once made galaxy slime with purple, blue, and black dye. Looked awesome. Tasted like sugar overload.
Sprinkles or edible glitter (optional) – This is the real MVP if your kid loves sparkles. Just make sure it’s edible—nobody wants glitter poop.
Helpful Tools for Smooth Slime-Making
Microwave-safe bowl – Don’t use metal unless you’re in the mood for fireworks.
Silicone spatula or spoon – Marshmallow goo laughs in the face of wooden spoons. Silicone’s easier to clean.
Clean countertop or cutting board – You’ll need space to knead. I like dusting it with extra cornstarch so it doesn’t get too clingy.
Apron or old shirt – Trust me. Once I had green food coloring in my jeans for weeks. Rookie move.
A Quick Note on Safety
One of the reasons I LOVE this project is because it falls into that magical category of non-toxic crafts. No borax. No glue. Nothing you’d panic over if your kid decides to sneak a bite. It’s an ideal activity for toddlers, preschoolers, or even older kids who love sensory play activities.
Honestly, making this DIY slime for kids is easier than baking cookies. Fewer ingredients. Less cleanup. And bonus: you don’t have to pretend you’re not eating half of it. 😂
Step-by-Step Instructions for Making Marshmallow Slime
Let’s Get Sticky
Alright, now for the fun part—turning that sweet pile of ingredients into stretchable, squishable, totally edible slime. I’ve messed this up a few times (microwaved too long, forgot the oil… oops), but I’ve finally landed on a foolproof method. If you follow these steps, your homemade slime will be snackable, safe, and seriously fun to play with.
Step 1: Melt the Marshmallows
Toss 1 cup of mini marshmallows and 1 teaspoon of coconut oil or butter into a microwave-safe bowl. Heat it for about 20–30 seconds. Keep an eye on it—those marshmallows puff up fast and can overflow if you’re not watching.
Once they’re all gooey and melty, take it out carefully (it’s hot!) and give it a good stir. You want a smooth, sticky consistency that almost looks like marshmallow fluff.
Step 2: Add Color (Optional, but Fun!)
This is your moment to get creative. Add a couple drops of food coloring to the warm mixture and stir it in. I’ve done rainbow batches before where I split the mix into small bowls and dyed each one a different color. Looks awesome. Makes a mess. Worth it.
Step 3: Mix in the Cornstarch
Start slowly. Add one tablespoon of cornstarch at a time, mixing it in with a spoon or spatula. You’ll start seeing the slime thicken up pretty quickly. Don’t dump it all in at once—it gets clumpy and weird. Trust me, I’ve been there.
You want the texture to be stretchy but not too sticky. Like… pizza dough made out of candy.
Step 4: Knead It Like Dough
Dust your hands with a bit of cornstarch (do NOT skip this part unless you want to wear the slime) and start kneading the mix. Just like you’re working with dough. Warm, squishy, sugary dough. It’ll feel a little sticky at first, but after a minute or two of kneading, it’ll smooth out and get that perfect, soft, gluten-free slime texture.
Step 5: Add the Sparkle
If your kid’s anything like mine, plain slime won’t cut it. Throw in some edible glitter or sprinkles to make it sparkle. Unicorn slime? Done. Birthday slime? Easy. This is where you can let them go wild and make it their own.
Troubleshooting the Goo
Too sticky? Add more cornstarch.
Too dry? Add a teeny bit more coconut oil.
Too tempting to eat? That’s the point 😄
This easy slime recipe doesn’t require glue, borax, or any weird chemicals, so it’s 100% safe. Honestly, I love that it’s a slime without glue—one less thing to scrub out of the carpet later.
Sensory Play Benefits of Edible Slime
It’s More Than Just Messy Fun
Okay, I know what you’re thinking—this is just an excuse for kids to make a mess and eat sugar. And yeah… that’s kinda true. But edible marshmallow slime is also a total goldmine for learning. I’m talking real, brain-boosting benefits that make you feel less guilty when your kitchen turns into a sticky explosion.
As a parent, I used to roll my eyes at all those Pinterest-perfect preschool activities until I realized my kid was learning more from slime than he was from some of those fancy apps.
1. Boosts Tactile Learning
This slime is the ultimate tactile learning tool. It’s soft, stretchy, warm (right out of the microwave), and just the right amount of squishy. Kids get to explore texture, resistance, and temperature—all in one go. Plus, they can pinch, pull, roll, and squish, which helps their brains understand how materials change with touch.
My little one would spend 30 minutes just poking at it. That’s focus I usually only see when Bluey’s on.
2. Strengthens Fine Motor Skills
You ever watch a toddler try to peel a sticker? That tiny struggle? That’s fine motor skill development. And kneading slime, rolling it into snakes, or picking up individual sprinkles with sticky fingers—yep, same thing.
This activity naturally encourages those small hand movements, which are key for things like writing, tying shoes, and eventually, holding a fork without launching peas across the table.
3. Encourages Creative Thinking
Slime play is all about creativity. Want it to be neon pink with edible gold stars? Go for it. Make a Halloween version with black coloring and candy eyes? Yup. Your kid becomes the little scientist, artist, and baker all at once.
I’ve even used it as a sneaky intro to STEM learning for kids—mixing colors, talking about solids vs. liquids, and how heat changes textures. All while they think they’re just making a snack.
4. Safe and Non-Toxic Exploration
Unlike traditional slime that’s loaded with glue or borax (why was that ever a thing?!), this version is 100% edible and safe. That means toddlers can play without you hovering like a helicopter mom. If they nibble it, no problem. If they rub it in their hair… okay, maybe a small problem—but at least it won’t burn their scalp.
5. Encourages Independent Play
Once they know the drill, most kids can do this with very little help. Set it up, hand them the sprinkles, and boom—you just bought yourself 20-30 minutes of quiet time. And yes, that counts as a parenting win.
Tips for Customizing Your Slime
Make It Yours (or Theirs)
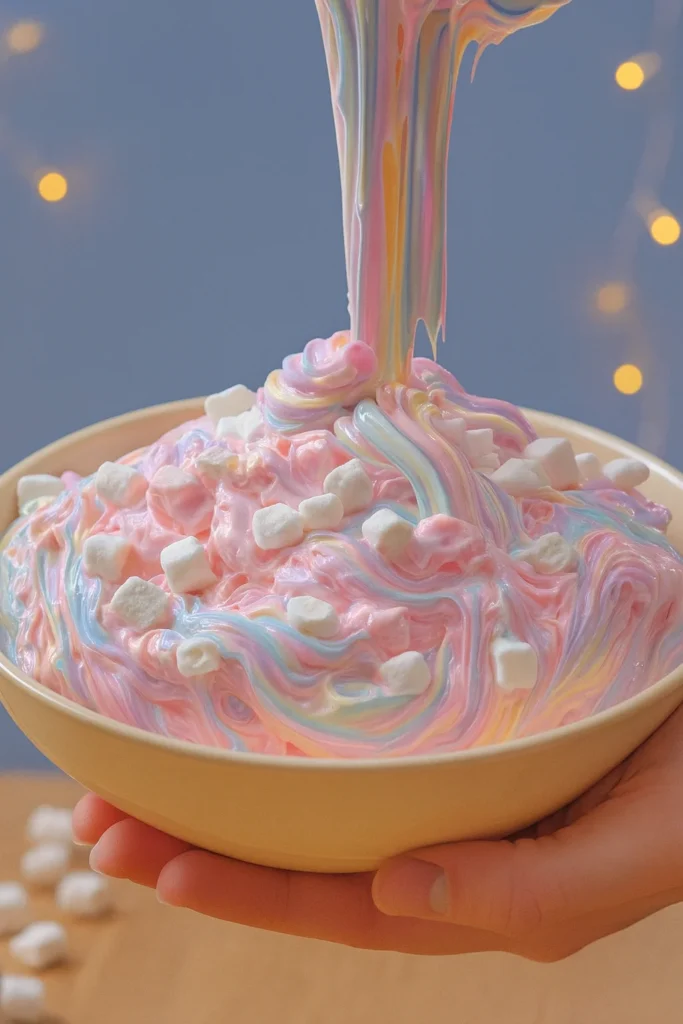
Once you’ve nailed the basic recipe, it’s time to level up. The best thing about this marshmallow slime is how customizable it is. Like, it’s seriously the blank canvas of kids’ crafts. Want to turn it into rainbow slime? Done. Make it fit a holiday theme? Easy. Add edible glitter so your kid can pretend it’s unicorn snot? Say no more.
I’ve probably made at least 15 versions by now, and no two were ever the same. It keeps the kids engaged—and honestly, it keeps me from getting bored, too.
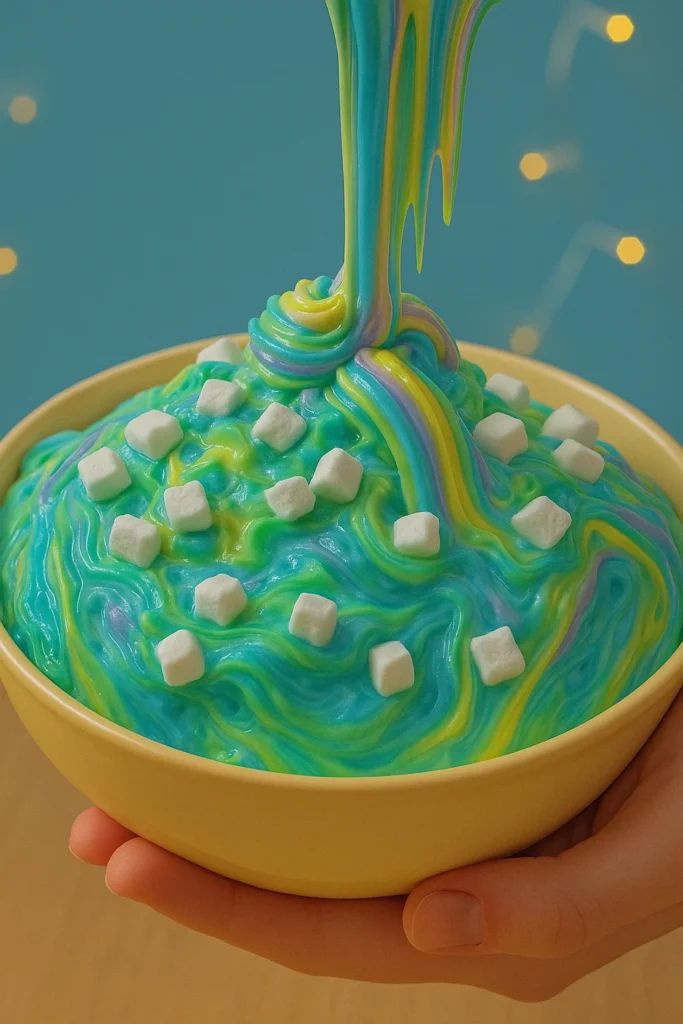
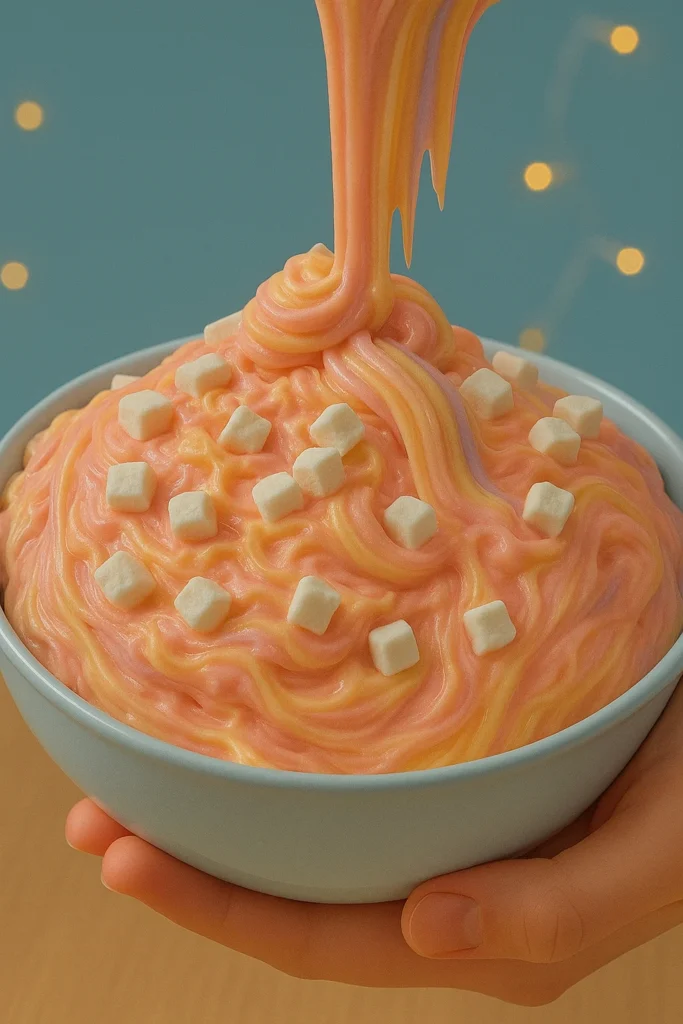
1. Play with Color
A couple drops of food coloring go a long way. For pastel shades, use just one or two drops. For bolder colors, go wild. I’ve mixed colors to make teal, lavender, even this deep orange that looked like melted candy corn (perfect for Halloween). Just don’t go too dark or it starts looking… uh, not delicious.
You can also divide your base into smaller bowls and make multiple colors to twist together for that cool, tie-dye effect. Instant rainbow slime!
2. Add Sprinkles or Edible Glitter
Sprinkles are the easiest upgrade. Jimmies, nonpareils, sugar pearls—they all work. You can even match them to holidays: red and green for Christmas, hearts for Valentine’s Day, etc. I’ve done candy eyes for a monster theme once, and the kids lost their minds.
As for edible glitter slime? It’s real. And magical. Just don’t use regular craft glitter (please)—you want the kind made for cake decorating. Trust me on this one. Lesson learned the hard way.
3. Scent It Up
You can totally add flavor extracts like vanilla, strawberry, or even peppermint to the melted marshmallow stage. It makes it smell amazing and adds to the sensory experience. One drop goes a long way—no need to make it smell like a candle store.
4. Make It a Holiday or Birthday Theme
This has become one of my go-to holiday crafts for kids. We’ve done spooky black-and-orange slime for Halloween, pastel pink for Easter, and peppermint white with red glitter for Christmas.
And don’t sleep on using it as a DIY birthday activity—give each kid a mini bowl, some mix-ins, and let them make their own. Way easier than party games, and they get to take it home like a party favor.
5. Play With Texture
Want it stretchier? Add a little extra oil. Too stiff? Warm it up again for a few seconds. You can also fold in crushed cookies or cereal for a crunchier texture (though it won’t store well after that). One time I mixed in crushed Froot Loops and the slime smelled like a cereal aisle. Kind of amazing.
And there you have it—your complete guide to making edible marshmallow slime that’s safe, fun, and totally delicious. Whether you’re looking for a rainy-day activity, a hands-on STEM learning for kids moment, or just an excuse to play with your food, this DIY is a guaranteed win.
It’s simple enough for toddlers, cool enough for big kids, and customizable enough to make it feel new every time. Plus, it checks all the boxes: non-toxic, no weird chemicals, budget-friendly, and loaded with sensory benefits.
So grab your marshmallows and get sticky! If you had fun with this project (or made an epic mess), I’d love to hear about it. Better yet—snap a pic and pin it to share the fun with other parents, teachers, and slime-loving kids.
Because let’s be real… everyone could use a little more squishy, stretchy joy in their life 💖
