

Ever watched a child’s face light up during a science experiment? There’s magic in mixing creativity with chemistry—and Glitter Fireworks Jars bring that magic home! These sparkling, bubbling jars are like mini Fourth of July shows in a jar. And the best part? You only need a handful of simple household items. Whether you’re looking to entertain curious kiddos, spice up a homeschool lesson, or just want something delightfully messy to do on a rainy afternoon, this DIY experiment checks all the boxes. Let’s dive into how these fizzy jars of joy work and how you can easily recreate them!
What Are Glitter Fireworks Jars?
I still remember the first time we made glitter fireworks jars at home—it felt like I’d handed my kids a front-row seat to their very own science magic show.
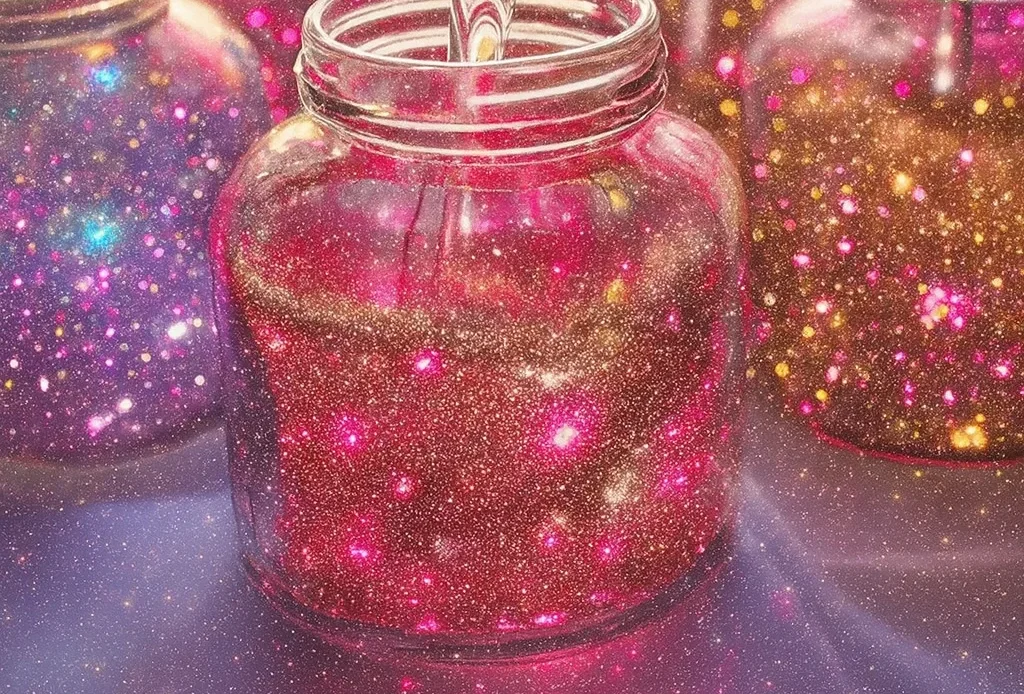
It’s more than just glitter in a jar. It’s a DIY science experiment that combines a bubbly baking soda and vinegar reaction with the hypnotic swirl of glitter and color. The result? A totally mesmerizing “firework” show that happens right there on your kitchen counter.
A STEM-Approved, Kid-Friendly Experiment
These jars are secretly a science lesson. Seriously—this isn’t just messy play (though it definitely is that too). It’s STEM for kids disguised as fun. The fizz is a chemical reaction, the colors are cause and effect, and the glitter? That’s the sparkle of discovery. You get to explain carbon dioxide gas formation, acids and bases, and sensory response without pulling out a single worksheet.
I’ve used this in a preschool sensory play setup and also during a fourth-grade homeschool science module. It scales up and down like a charm depending on how deep you want to go with the explanation.
Fun That Fizzes and Teaches
The real magic though? That wide-eyed “WOAH!” from kids when the vinegar hits the baking soda. My daughter once yelled, “It’s alive!” and honestly, that’s not too far off.
And for parents? It’s low-cost, quick to set up, and uses stuff you already have—kitchen science for kids at its best. You’ll need about 5 minutes and zero science degrees.
Pro tip? Try dropping the vinegar in slowly with a pipette or spoon—it stretches the reaction longer and builds anticipation like crazy.
So yeah, it’s part experiment, part sensory bottle, and all kinds of awesome. If you’ve ever wanted to sneak a bit of learning into your day (without the whining), this is your golden glittery ticket.
Supplies You’ll Need
The first time we made these, I rummaged through drawers like a madwoman, hunting down that last bottle of food coloring I swore I’d just seen yesterday. Learn from me—gather everything first. You’ll thank yourself when things start fizzing!
Your At-Home Science Kit
Here’s what you’ll need to pull off this science kit for kids—no need for anything fancy or expensive:
- Clear glass or plastic jars: Mason jars work great, but any recycled salsa or peanut butter jar will do. Bonus points if your kids can see the glitter swirl clearly.
- Baking soda: About 2 tablespoons per jar. Stock up—you’ll want to repeat this a few times.
- Vinegar: The magical ingredient that kicks off the reaction. White vinegar works best for a visible fizz.
- Glitter: Fine or chunky, silver or rainbow. This is your “fireworks”—get creative! I once let my kiddo use galaxy glitter, and it looked like a nebula exploded.
- Food coloring (optional): A few drops go a long way. Mix and match for cool color effects. Blue and red together? So good.
- Dish soap (optional): Just a drop makes the bubbles foam up like a mini volcano.
- Spoon or stir stick: For adding baking soda and guiding the glitter to dance (my kid calls it “the magic wand”).
A Craft That Doubles as a Lesson
What I love about this is that it doesn’t feel like you’re doing educational DIY projects. It feels like play. But secretly? You’re building fine motor skills, teaching early chemistry, and giving them a way to express creativity—all wrapped up in one fizzy, sparkly jar.
And if you’re doing this in a classroom or group setting, I highly recommend a tray or plastic bin under each jar. The clean-up is a breeze if you contain the chaos.
I keep most of these materials in a small basket labeled “STEM craft supplies” now. Anytime we’re bored, boom—science + fun. If you’ve got young ones into sensory play materials, this activity will be your new go-to.
Step-by-Step Instructions
Alright, here’s where the fun (and the fizz) really begins. If you’ve got everything gathered, you’re about five minutes away from hearing “Can we do that again?!”
This DIY science experiment is so simple, you can almost do it blindfolded. I wouldn’t recommend that, but you get the point.
Step 1: Prep Your Science Zone
Trust me on this—lay down a tray, towel, or even a plastic tablecloth. These jars love to bubble over, and you don’t want glitter in your grout.
Put your jars on the tray and make sure tiny hands are ready to go.
Step 2: Add Baking Soda
Drop about 2 tablespoons of baking soda into each jar. No need to be exact—this isn’t chemistry class. Actually, wait… it is, but it’s the fun kind.
Step 3: Sprinkle in Glitter
Now let the kids go wild. Okay, controlled wild. Glitter is like toddler confetti—once it’s out, it’s everywhere.
We usually add a teaspoon of glitter, mixing colors for that “ooh-ahh” sparkle.
Step 4: Optional – Dish Soap Drop
Add just a single drop of dish soap. It slows the fizz and creates big, foamy bubbles. Makes it feel more like a volcanic explosion than just a science demo.
Step 5: Add Food Coloring
Let each kid choose a couple colors. I like to use gel food coloring—it’s vibrant and really makes the reaction pop.
We layer red on one side, blue on the other. Looks so cool when it starts to swirl.
Step 6: The Big Boom – Pour the Vinegar
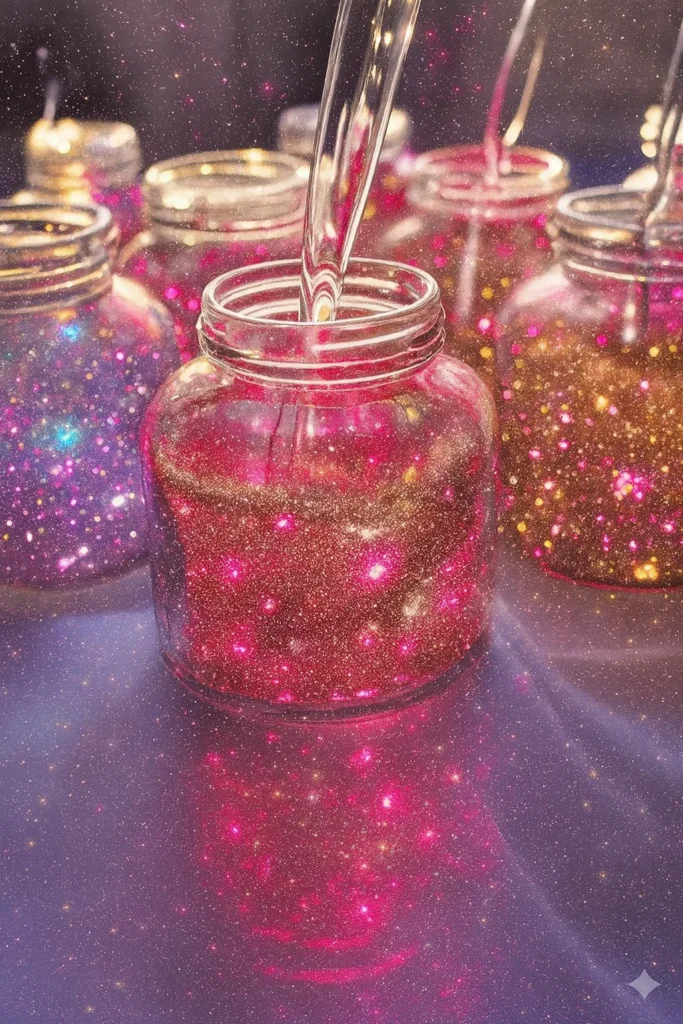
Now for the magic: Slowly pour in the vinegar until you see the fizz rise.
Pour slowly for a longer fizz. Or dump it all in at once for that wild, overflowing blast.
That’s it. You just completed a STEM activity for kids that covers chemistry, sensory stimulation, and color theory all in one messy, beautiful go.
Keep the Fun Going
Want to go another round? Just spoon in more baking soda and do it again! We usually go through 3-4 rounds per jar before calling it a day.
This has become a regular in our home science project rotation. And every time, it’s just as exciting as the first.
Science Behind the Sparkle
Okay, let’s talk science—but don’t worry, we’re keeping it fun. I’m not a chemistry teacher, but I’ve run this chemical reaction experiment enough times to sound like one.
The fizz and bubble you see in the glitter fireworks jar? That’s all thanks to a little battle between baking soda and vinegar. It’s basically science’s version of pop rocks.
The Reaction in Action
Here’s the lowdown:
- Baking soda is a base.
- Vinegar is an acid.
When they meet, they react and create carbon dioxide gas. That gas needs space, so it rushes upward—bubbling, fizzing, and carrying glitter and color with it like a mini lava lamp on overdrive.
Throw in a little dish soap, and you trap those gas bubbles in foam, which makes the reaction even more dramatic and long-lasting.
Easy Way to Teach Chemistry
This is the kind of STEM learning for kids that sneaks in knowledge when they least expect it. I’ll usually ask my daughter, “What do you think is happening?” and her answers crack me up—“The glitter is dancing!” or “It’s boiling sparkles!” Honestly, not wrong.
Once they’ve seen it a few times, we talk about gases, reactions, and how mixing stuff can change it into something totally new. That’s hands-on science for kids right there—way better than a worksheet.
Why It’s So Good for Learning
- It’s visual. You see the change instantly.
- It’s interactive. Kids add ingredients and control the reaction.
- It’s sensory. They hear fizzing, feel bubbles, and watch the glitter swirl.
I mean, isn’t that what science activities at home should be about? Excitement, curiosity, and a tiny bit of mess?
Even my science-resistant nephew got hooked when we tried this. One fizz and he was asking if he could make it with purple glitter “like a galaxy.” Mission. Accomplished.
Creative Variations to Try
Once you’ve mastered the basic glitter fireworks jar (and trust me, you will), it’s time to level up. We’ve done this craft at least a dozen times, and no two jars have looked the same. That’s the beauty of this being a DIY craft for kids—you can remix it endlessly.
Here are some of our favorite twists on the classic version:
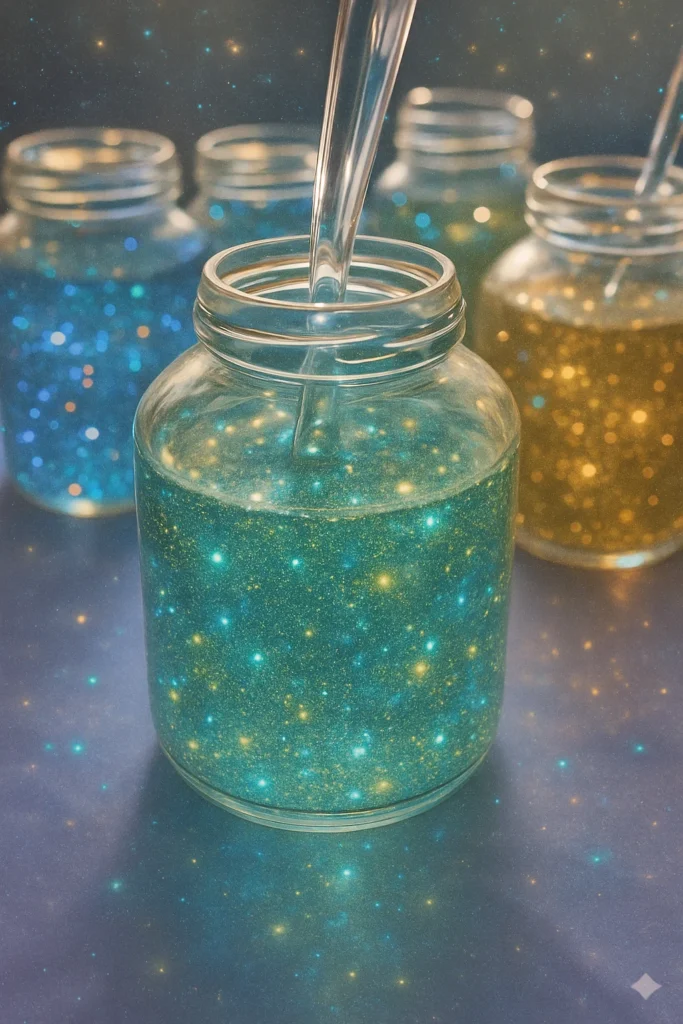
🌈 Neon & Glow-in-the-Dark Glitter
Want your jars to look like a mini rave? Swap out regular glitter for neon or glow-in-the-dark glitter. We did this with a black light once and it was next-level cool. Just dim the lights and boom—instant glow show.
🍁 Seasonal Themes
These are huge hits for seasonal crafts for children:
- Fall: Use orange and gold glitter with a cinnamon scent (a few drops of extract).
- Winter: Silver and blue glitter, peppermint extract, and snowflake confetti.
- Spring: Flower sequins, pastel colors, and floral scents.
- Summer/July 4th: Red, white, and blue everything. Stars, stripes, the whole deal.
You can even add tiny themed items like plastic spiders for Halloween or hearts for Valentine’s Day. It turns the project into an instant holiday craft.
🌀 Color Layering
Here’s a cool trick: add baking soda and glitter in layers with different colors between them.
Then pour vinegar slowly, and watch as the fizz rises through the layers like a lava lamp. This was a total accident the first time we did it, and now we do it on purpose all the time.
✨ Add a Story
Let your kids create a backstory for their jar. “This is a magic potion for unicorns,” or “It’s what space smells like.” It’s silly, yes. But adding imagination turns this into more than just an experiment—it becomes educational fun at home in every way.
🎭 Mix in Sensory Elements
If your little ones are into sensory play, toss in some tiny beads or textured items that float with the fizz. We’ve even used bits of foil confetti and small rubber toys. Just don’t use anything too heavy—it’ll sink and stay there.
Every time we try something new, my kids act like it’s the first time again. And honestly? I kinda do too. There’s something really satisfying about shaking things up—literally.

Safety and Cleanup Tips
Let’s be real—anything involving glitter, vinegar, and children has the potential to turn your kitchen into a disaster zone. I’ve been there. Once, I skipped the tray and ended up with a baking soda crust on my dining table that took two days to fully scrub off. So yeah… learn from my battle scars.
👀 Supervision Is Non-Negotiable
This is one of those safe science experiments for kids—as long as you’re keeping an eye on things. The ingredients are non-toxic, but you don’t want toddlers chugging vinegar or dumping glitter in their mouths (yep, happened once).
Keep jars stable and let younger kids handle ingredients under guidance.
🧺 The Right Setup = Easy Cleanup
Here’s the golden rule: use a tray or baking sheet under each jar. It catches the overflow and keeps all that fizzy fun contained.
I also lay down a dish towel or even a dollar-store plastic tablecloth. Makes for a quick easy craft cleanup when the reaction ends.
Bonus tip: put a damp paper towel near the glitter jar to wipe fingers quickly before the sparkles spread to the dog, the fridge, and your soul.
🧴 Store Supplies Smart
Keep your materials in a little bin labeled “Science Stuff” or “STEM Kit.” I found it saves me so much hassle when I don’t have to hunt for baking soda every time inspiration strikes.
Plus, it gets the kids used to organizing STEM activities at home, which—let’s face it—is a parenting win.
♻️ Cleanup That Won’t Drive You Nuts
To clean out the jars after the fizz fun ends, just run warm water in them with a bit of dish soap. It’ll cut through the glitter and foam pretty easily.
If anything’s stuck to the bottom, let it soak for 5–10 minutes. Most of the glitter will float and wash away with a few swirls.
I used to dread clean-up, but once we had a system, it became part of the fun. My kids even race to see who can clean their jar faster. Win-win, right?
If you’re anything like me, you love a project that makes your kids light up, teaches them something cool, and doesn’t require a last-minute Target run. Glitter fireworks jars hit that sweet spot—blending fizz, sparkle, and science into one dazzling afternoon.
Whether you’re doing it as a DIY learning activity, part of your STEM fun for kids lineup, or just need something to fill that rainy Saturday energy, this project delivers. It’s hands-on, inexpensive, and endlessly repeatable. And the best part? You don’t need to be a scientist to make magic happen.
Try it with different colors, glitters, or even scents. Let your kids take the lead and turn the kitchen into their own science lab. You’ll be surprised how quickly a simple fizz turns into a full-on imagination explosion.
📌 Love this idea? Save it and share it on Pinterest!
Snap pics of your jars, pin them to your favorite educational crafts board, and tag a friend who’d love to try it too. These jars aren’t just fun—they’re made to be shared.
Let the sparkling science adventures begin!
