

Ever had one of those days where everything just feels a little too much? Yep, same here. That’s exactly why calm-down bottles—also known as glitter jars or sensory bottles—are a total game changer. These swirly, sparkly, slow-moving crafts aren’t just gorgeous to look at—they’re like little bottles of mindfulness. Whether you’re a parent looking to soothe your child’s anxiety or an adult in need of a quick reset, this DIY project is as therapeutic as it is simple. Plus, it’s super fun to make! Let’s dive into how to create your own DIY calm-down bottle step by step.
What Is a Calm-Down Bottle and Why Use One?
So here’s the thing—I didn’t know what a calm-down bottle was until my toddler had their first full-on grocery store meltdown. You know the type: cereal aisle, everyone staring, I’m whisper-begging while sweat pours down my back. That’s when a fellow mom casually handed me this glittery bottle and said, “Here, just shake it.”
And y’all—it worked. Not magic, but close.
A calm-down bottle is basically a clear container filled with water, glitter, and sometimes syrup or glycerin. But the real magic? It slows everything down—literally. The glitter gently swirls and sinks, giving little ones (and big ones like me) something soothing to focus on. It’s like a mini mindfulness meditation in a bottle.
🌈 A Visual Anchor for Big Emotions
Kids, especially toddlers, don’t always know what to do with huge feelings. Calm-down bottles work as a visual anchor—they help shift the brain out of fight-or-flight mode. Watching the glitter fall can be super helpful for sensory processing or just resetting during a rough moment.
I’ve seen teachers use them in classrooms during transitions. I’ve seen therapists recommend them as anxiety tools for toddlers. Heck, I even keep one on my own desk to help with work stress. You shake it, breathe, watch—and somehow, the storm inside quiets a bit.
💡 Why It Works (Hint: It’s Not Just Glitter)
It’s not just pretty to look at—there’s legit science behind this. These bottles engage the visual system and can calm the nervous system. When combined with slow breathing or counting, they support mindfulness for kids, especially those who struggle with attention or overstimulation.
They’re especially helpful for:
- Stress relief for children with anxiety or sensory challenges
- ADHD or autism routines where visual focus helps reset behavior
- Creating calm-down strategies at home or in school
🪴 From Crisis to Calm—In Seconds
I’ve made a few of these now—one’s ocean-themed, another glows in the dark (which my nephew is obsessed with). They’re portable, cheap, and way better than handing over an iPad when things go sideways.
So if you’re searching for a screen-free stress buster, a calm-down bottle might just be your new parenting hack. Seriously, don’t knock it ‘til you shake it.
DIY Calm-Down Bottle Ingredients You’ll Need
I remember the first time I decided to make a calm-down bottle, I thought, Wait—do I need fancy oils? Unicorn glitter? Some kind of wizard training? Nope. Turns out, most of what you need is probably already hiding in a junk drawer or pantry.
These bottles are honestly one of the easiest DIY sensory toys to throw together. And the best part? You can totally customize them depending on your child’s mood, age, or even their favorite cartoon character (I may or may not have made a blue “Frozen” bottle… don’t judge).
🧴 Here’s What You’ll Need:
- 1 Clear Plastic Bottle – A recycled water or soda bottle works great. Just make sure it’s durable and seals tight. Bonus: upcycle points!
- Warm Water – This helps glitter and glue mix better.
- Glitter – Go wild here. Fine glitter moves slow; chunky glitter adds pop. I mix both for that whoa effect.
- Clear Corn Syrup or Glycerin – This is the secret sauce. It slows the glitter’s movement, making it super soothing to watch. Glycerin works best but corn syrup is easier to find.
- Food Coloring – A drop or two can completely change the mood. Blue feels calming, red’s energizing. I once used teal and got totally hooked.
- Tiny Toys or Beads – These add dimension. I throw in little plastic stars, buttons, even confetti. Think of it as a Where’s Waldo challenge for emotional regulation.
- Hot Glue Gun – Trust me, glue that lid shut. One bottle spill and your carpet will sparkle forever. Ask me how I know.
- Optional Add-ons – A few drops of lavender oil? Yes, please. Glitter glue instead of loose glitter? Totally works. This is a great space to experiment.
🛠 Tips From My Craft Fails
Once I used thick craft glue instead of glycerin. It clumped up and floated like sad jellyfish. Lesson learned. Also—don’t overfill. You need a tiny air bubble or the glitter gets sluggish and clumpy. The right balance gives that hypnotic snow globe vibe.
These ingredients are more than just sparkly stuff—they’re the building blocks of homemade stress relief. I like calling them my calm-down tools for toddlers (and, yeah, myself too). It’s a practical way to turn a chaotic moment into a sensory reset—and no screens required.
Honestly, I keep a little “calm kit” now with all these supplies in one bin. That way, if my niece starts spiraling or my brain’s in overdrive, we can whip one up in under ten minutes. It’s one of those therapeutic crafts for kids that ends up helping adults just as much.
Step-by-Step Instructions to Make Your Bottle
I’ll be real with you—my first calm-down bottle attempt? Total glitter bomb. I skipped a step (rookie mistake) and ended up with a bottle that looked like a swamp of sadness. But once I figured out the rhythm, it became one of the easiest DIY relaxation tools I’ve ever made.
Here’s your foolproof calm-down bottle tutorial—learn from my chaos, friends.
🔧 Step 1: Clean and Prep the Bottle
Start with a clear plastic bottle. I usually grab a Voss bottle or repurpose a soda one. Just make sure it’s sturdy and label-free. Hot tip: soak it in warm, soapy water for 10 minutes and the label peels off like magic.
Dry it thoroughly—water + glitter glue = nope.
💦 Step 2: Fill Halfway with Warm Water
Not cold. Not lukewarm. Warm. It helps everything mix smoothly, especially if you’re using glitter glue. About halfway full is your sweet spot.
✨ Step 3: Add Glitter, Beads & Tiny Toys
This is where you get creative. I like mixing big silver stars with super fine glitter—it gives it a slow fall and adds some sparkle punch. Throw in some tiny beads or even a mini LEGO for fun.
Less is more. Too much and it turns into glitter soup (not cute).
🌈 Step 4: Drop in Some Color
Food coloring takes this bottle from pretty to mesmerizing. I usually use 2–3 drops. Blue is calming, purple feels magical, and green reminds me of nature. Mix and match if you’re feelin’ wild.
🧴 Step 5: Pour in Glycerin or Corn Syrup
This step is key for that dreamy, slow-motion swirl. I use 2 tablespoons of glycerin—it thickens the liquid just enough. Corn syrup works too, especially if you’re in a pinch.
Give it a gentle stir to blend it up.
🚰 Step 6: Top Off with Water
Fill almost to the top, but leave a little air space so the glitter has room to move. Too full and you’ll lose that satisfying swirl.
🔥 Step 7: Seal the Deal
Hot glue is your best friend here. Run it around the rim of the bottle, then screw the lid on tight. I once skipped this and… yeah, my rug still sparkles in the moonlight.
Let it sit for a few minutes so the glue hardens completely.
And voilà—your very own sensory bottle for kids (or grown-ups who need a breather). These little bottles are more than just cute—they’re legit stress relief activities that work. Whether it’s for your kid’s bedtime wind-down or your own coffee break cooldown, this thing gets the job done.
Honestly, it’s one of the most affordable emotional regulation techniques out there—and way more fun than most.
Creative Customizations and Themes
Once I got the hang of making these bottles, I kinda went off the deep end. What started as a plain blue glitter bottle turned into a collection—each one with its own vibe. I made one that looked like a galaxy, another that glowed in the dark, and one packed with tiny dinosaurs that my nephew now guards with his life. Turns out, making personalized sensory bottles is just as calming as using them.
🌌 Themed Calm-Down Bottles
You can totally customize your bottle based on mood, season, or even favorite movies. Here are a few of my favorites:
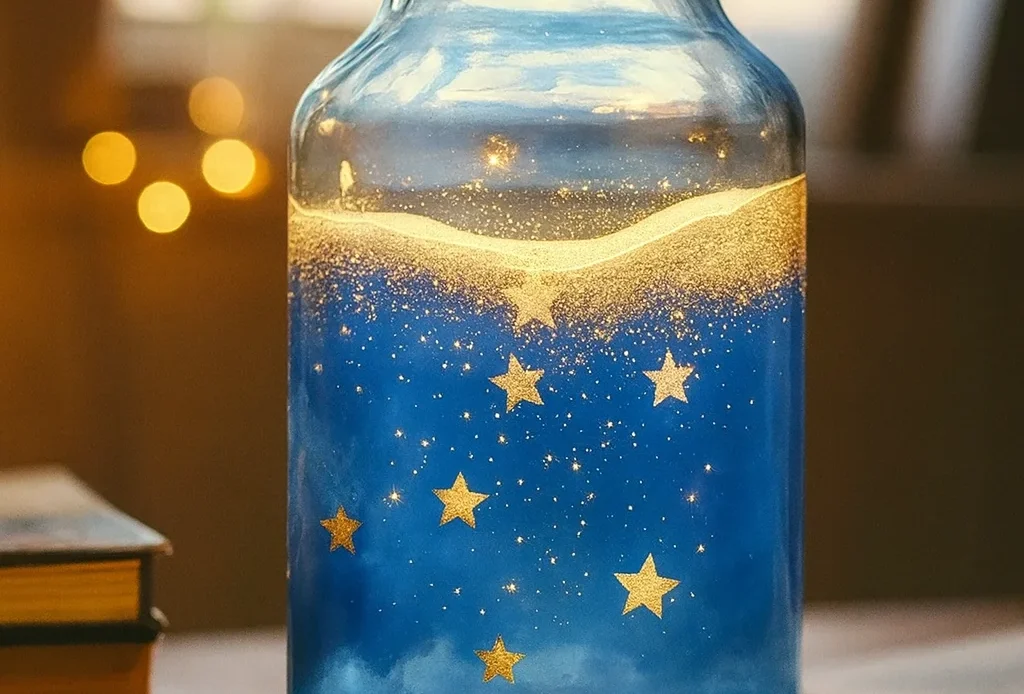
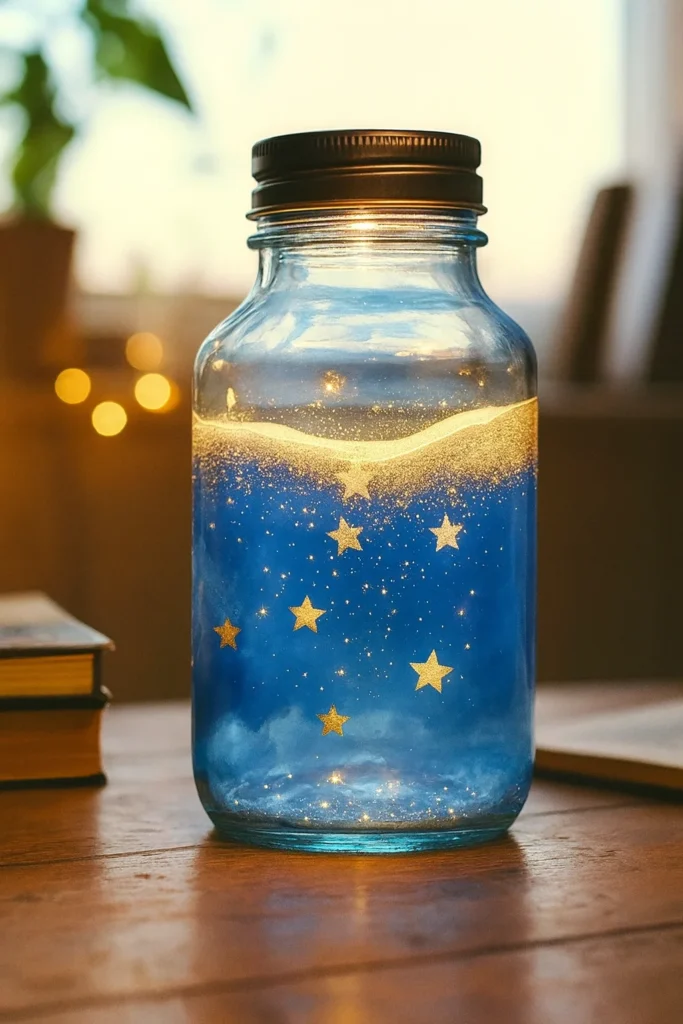
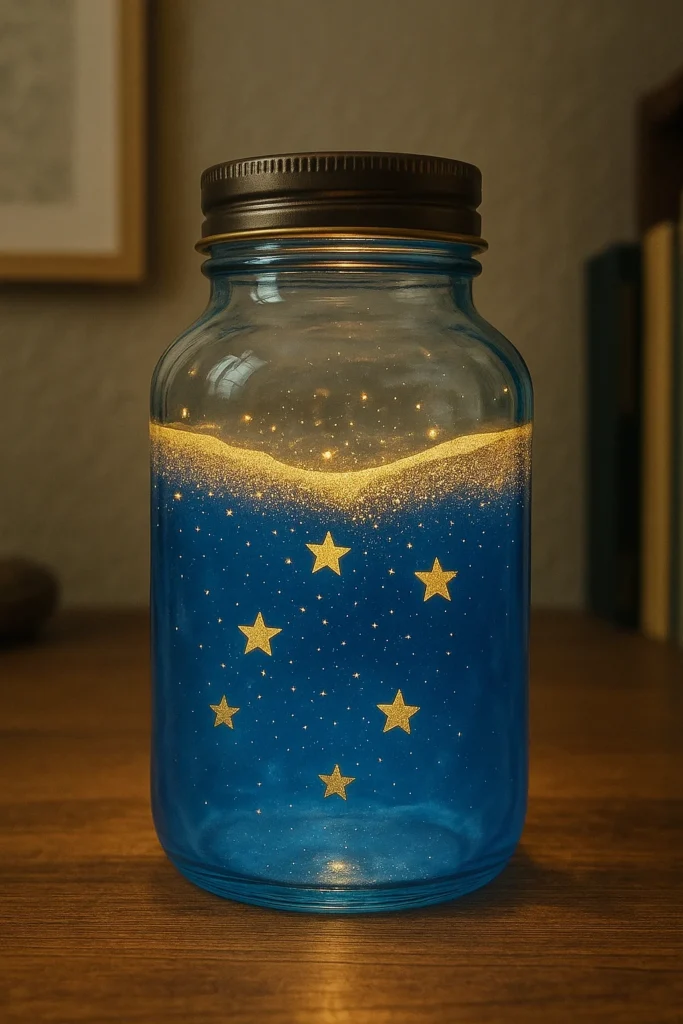
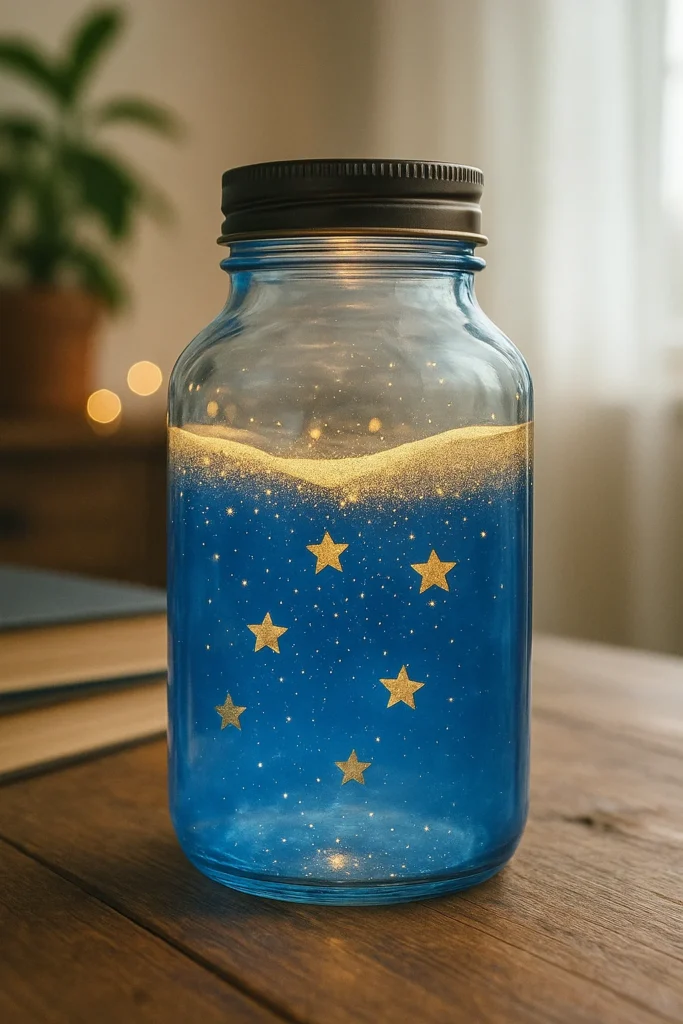
- Galaxy Bottle: Purple food coloring, silver stars, dark blue glitter, and glow-in-the-dark beads. It’s like space in a bottle.
- Ocean Vibes: Blue-green glitter, seashell confetti, and tiny fish toys. I paired this one with eucalyptus oil for an ocean-breeze kinda calm.
- Holiday Cheer: Red and green glitter, snowflake sequins, and cinnamon-scented oil. Great for that hyper energy during winter break.
- Dino World: Green glitter, mini dinosaurs, and gold flakes. My nephew named his “Jurassic Calm.”
These bottles aren’t just cute—they become real calm-down tools for anxiety. The themes help kids connect with them emotionally. If a child loves space, a galaxy-themed bottle becomes their go-to tool when emotions get big.
🧠 Add Sensory Elements
Beyond glitter, try:
- Scent: A few drops of lavender or chamomile essential oil turns this into a multisensory experience. Think DIY aromatherapy for kiddos.
- Texture: Add mini beads that gently rattle or confetti that catches the light just right. My “Unicorn Bottle” has iridescent flakes that shimmer like magic.
- Glow Effect: Use glow glitter or even highlighter ink (yep!) to make a glow-in-the-dark version. Great for nighttime wind-down.
🛠 DIY Tips From My Craft Chaos
I once added chunky glitter and foam beads in the same bottle… mistake. The beads floated awkwardly and blocked everything. So yeah—stick to 2–3 elements max for best visual effect.
These themed relaxation crafts are honestly one of my favorite parenting hacks. Not only do they provide DIY stress relief for kids, but they also serve as creative expression and bonding time. And if you’re into mindfulness crafts? These bottles are a total gem. Every one tells a story—and every swirl helps soothe a storm.
Tips for Using Calm-Down Bottles Effectively
So you’ve made your calm-down bottle—it’s glittery, it’s gorgeous, it’s sealed tight. Now what?
Let me tell you, the real power of these bottles isn’t just in how they look. It’s in how and when you use them. I learned this the hard way when I handed one to my daughter mid-meltdown and expected it to work like a magic wand. Spoiler: it didn’t. Turns out, you gotta introduce these things before the big emotions hit.
Here’s what actually works, from my trial-and-error parenting toolkit.
🧘♀️ Use It Before the Storm Hits
The key to using calm-down bottles as effective emotional regulation tools is not waiting until your kid is full-on freaking out. Introduce it during quiet time first—maybe after lunch or before bed. Let them explore it when they’re calm, so it feels familiar when things get rocky.
It becomes part of their calm-down strategies for toddlers—like a favorite blanket, but shiny and hypnotic.
🪑 Create a “Calm-Down Corner”
Designate a little cozy spot with pillows, books, fidget toys, and your calm-down bottle. We call ours “the chill chair.” It’s not a timeout spot—it’s a space for breathing and resetting. And let me tell you, it’s saved us from more tantrums than I can count.
Kids start to associate that corner with peace, not punishment.
🗣 Pair It with Simple Language
Say stuff like, “Let’s shake the bottle and take deep breaths until the glitter settles.” This combines mindfulness activities for kids with visual focus and deep breathing, which seriously helps ground their nervous system.
I’ve seen this work wonders with both neurotypical kids and those navigating autism or ADHD. It’s a gentle, visual cue that supports sensory regulation in a really intuitive way.
⏱ Time It Right
Don’t push it. If your child doesn’t engage right away, that’s okay. Sometimes my daughter needs to stomp and cry first before she can even look at her bottle. But once she’s ready, it’s like flipping a switch—the visual movement calms her down quicker than anything else.
Same goes for older kids (and adults, honestly). I use mine at work sometimes to get through overwhelming meetings. Zero shame in my glitter game.
💬 Normalize the Tool
Don’t make it a “baby thing.” Even older kids (and grown-ups) need behavior management tools that are non-judgmental. Frame it as a brain tool, not a toy. I tell my niece, “This helps your brain breathe.” And she totally gets it.
These aren’t just glitter bottles—they’re legit parenting allies. The best part? You’re teaching lifelong emotional regulation skills without lectures or screens. Just a little sparkle, a quiet space, and a few deep breaths.
Who knew something as simple as water, glitter, and a little glue could pack so much peace? I swear, making these DIY mindfulness tools has changed the way I handle chaos—both in my home and in my head.
Whether you’re a parent looking for calm-down activities for kids, a teacher building a quiet corner in your classroom, or just someone who loves a good craft that actually does something… this is it. You don’t need fancy gadgets or big budgets. Just a clear bottle, a few supplies, and the intention to slow things down.
So here’s your sign to give it a try. Make it with your kids. Make it for yourself. Get creative. Get messy. And most importantly—take a moment to breathe while the glitter settles.
💡 Pin this project on Pinterest so you can come back to it (and help another stressed-out parent or teacher find it too). It’s one of those stress relief crafts that just keeps giving—like a tiny, sparkly reminder that calm is always within reach.
