

Ever held up a piece of melted crayon art to the sun and watched it glow like stained glass? Wax paper sun catchers are one of those timeless DIY crafts that mix science, creativity, and pure joy. Whether you’re a parent looking to entertain the kids or someone who just loves cheerful window décor, this activity is a winner.
All you need are some crayons, wax paper, and a few household tools. It’s inexpensive, mess-friendly (mostly), and totally satisfying—especially when sunlight hits just right. In this guide, I’ll walk you through exactly how to make wax paper sun catchers at home, plus some tips to get extra artsy with your designs!
What Are Wax Paper Sun Catchers?
Okay, so let me paint you a picture. It’s a rainy afternoon, the kids are bouncing off the walls, and I’m dangerously close to losing my last nerve. That’s when I remembered this magical little thing called a wax paper sun catcher. It’s not just a time-filler—it’s one of those DIY crafts for kids that turns into a full-blown educational craft without them even realizing it.
From Boredom to Bright Windows
Honestly, I stumbled into this project years ago when I was trying to declutter and found an old box of broken crayons. I’d seen a Pinterest post about melting crayons between wax paper and figured—why not? Thirty minutes later, my kitchen smelled faintly of Crayola, and my windows looked like they belonged in a miniature art gallery. Easy home project, big win.
These sun catchers are super simple. You just grate or shave some crayons, sandwich them between wax paper, and apply a little heat. Boom—rainbow magic. When sunlight hits those melted colors? Pure joy. Like stained glass, but safer and way less pricey.
The Secret Sauce? Science and Simplicity
What I love most is how it sneaks a little learning into the fun. There’s basic science in crafts here—melting points, color blending, light refraction. You can even drop a little lesson in there if you’re in teacher mode (or just want to impress grandma).
It’s low-mess (ish), cheap, and works across seasons. We’ve done stars for summer, leaves in the fall, and even snowflakes when winter boredom hits. Plus, these make pretty sweet little window decorations or gifts. Yep, even grandparents get excited about homemade sun catchers—especially when they come from their grandkid’s “art studio” (aka your kitchen table).
Not Just for Kids, FYI
And here’s the thing: I’ve caught myself doing them even after the kids were done. There’s something weirdly relaxing about it. You start out just helping, then suddenly you’re deep into color schemes and debating whether to make a mandala or a sunset.
Whether you’re crafting with toddlers or just need a break from adulting, wax paper sun catchers are that perfect intersection of chill and cheerful.
Supplies You’ll Need
Look, I’m all for elaborate craft projects—on Pinterest. But in real life? If it takes more than five things, I’m probably out. That’s why I love this one. Wax paper sun catchers are super beginner-friendly and don’t require some massive Amazon order or a trip to a fancy craft store. You probably already have most of these kids crafting supplies in a drawer somewhere!
The Basic Lineup
Here’s the good stuff you actually need:
- Wax paper – This is the MVP. You’ll need large sheets because it gets folded over. You can usually find a giant roll at the dollar store or any grocery shop.
- Crayons – Go wild with colors. I usually raid the broken ones at the bottom of the bin. Just make sure they’re peelable. Bonus tip: Crayola melts better than the off-brand ones. Ask me how I know.
- Old towel or parchment – This protects your ironing surface. I used one of my husband’s gym towels once—oops.
- Iron – Low heat. Just warm enough to melt, not scorch.
- Grater or sharpener – To shred the crayons into colorful magic. Just don’t use the cheese grater unless you want rainbow mac and cheese later.
- Scissors – For trimming into fun shapes once it cools.
- Hole punch + string or twine – For hanging in windows, from curtain rods, wherever your sunshine lives.
Safety Without Sacrificing Fun
I used to stress about safe DIY projects for children, especially with heat involved. But here’s what works: I set up a safe area where the kids pick colors and sprinkle shavings, then I handle the ironing. Keeps the fun going without anyone getting burned—or coloring the dog.
We’ve done this craft with cousins, neighbor kids, even a few reluctant dads. It’s cheap, cheerful, and hands-down one of our favorite budget crafts for families. You can even prep a “kit” of supplies to gift to another family. It’s like handing them a sunny afternoon in a bag.
Honestly, the supplies are so simple it’s kind of laughable how pretty the results are. That’s what makes this one a repeat project in our house.
Step-by-Step Instructions to Make Wax Paper Sun Catchers
I’ll be real with you—when I first tried this DIY sun catcher tutorial, I was a little skeptical. Like, how can crayons and wax paper turn into anything that pretty? But once you see those colors swirl and melt together… it’s addictive. I blinked and suddenly had 12 of them taped all over my kitchen windows.
If you’ve got 20 minutes, you’ve got yourself a masterpiece in the making. Here’s how we do it:
Step 1: Cut and Fold the Wax Paper
Start by cutting a good-sized rectangle of wax paper. Fold it in half like a book. That fold line is your working crease—everything’s going inside like a craft sandwich.
Pro tip? If your kids are little, pre-fold everything. It avoids confusion and helps keep shavings where they belong (mostly).
Step 2: Sprinkle the Crayon Shavings
Now the fun begins. Grab those grated crayons and let the kids go wild. You want a thin, even layer—but not too thick or it’ll just blob together.
Mixing colors is part of the fun. My youngest once made a whole rainbow gradient without realizing it. Just remind them not to dump it all in one pile unless they want brown goo.
Step 3: Close It Up and Get Ready to Iron
Carefully fold the top flap of wax paper down to cover the crayons. Now sandwich that inside an old towel or a piece of parchment paper. You’re protecting both your iron and your sanity here.
Step 4: Time to Melt
Set your iron to low heat—no steam. Then press down gently for just a few seconds at a time, moving slowly. You’ll see the magic start to happen as the crayons melt and blend.
Honestly, the first time I saw those colors fuse, I may have gasped out loud. It’s that good.
Watch out for edges getting too hot and curling. If that happens, just flip and press the other side quickly to flatten it.
Step 5: Let It Cool and Cut Your Shapes
Give it a minute to cool—trust me, it’s tempting to touch, but let it settle. Once it’s solid again, grab your scissors and cut out whatever shapes you want. We’ve done hearts, stars, leaves, even weird abstract squiggles. Anything goes.
You can trace cookie cutters or use stencils too if you’re feeling fancy. Or let the kids cut their own for some extra wonky charm.
Step 6: Hang and Admire
Punch a small hole at the top, loop through some string or yarn, and hang them up. Windows, sliding glass doors, even from curtain rods—they look awesome anywhere the light hits.
We even made a mobile once with a coat hanger and fishing line. It spun every time the AC kicked on. Looked like a rainbow tornado in the living room!
Fun Shape Ideas for Every Season
Now here’s where you can really flex those creative muscles—or let the kids take over, which honestly is even better. One of the coolest parts of this wax paper craft idea is how easily it adapts to seasonal crafts for kids. We’ve made versions of these sun catchers for pretty much every holiday and weather mood. The shapes bring it to life and give each project a fresh twist.
Valentine’s Day – Hearts Galore
Classic move. We grab every red, pink, and purple crayon in the bin, melt up a sheet, and cut out big and little hearts. Then we hang them in a cluster in the window. Looks like a love explosion. My oldest once made one with a swirly tie-dye effect—it turned out better than anything I could’ve done!
Spring – Butterflies and Flowers
When the weather starts warming up, it’s all about butterflies. Cut the wax paper in half, fold it again, and shape it like you’re making paper snowflakes—but wing-style. Add in some bright greens and pinks? Boom. You’ve got spring-themed window decorations that feel like sunshine.
We also love daisy shapes and even little rainbows with cotton ball clouds (yep, we get extra like that).
Summer – Stars and Sunshine
Red, white, and blue stars for the 4th of July? Yes please. You can even layer the colors in stripes before melting. My kid once made one that looked like Captain America’s shield—I was genuinely impressed. Suns, flip-flops, or even popsicle outlines are cute too. Go wild!
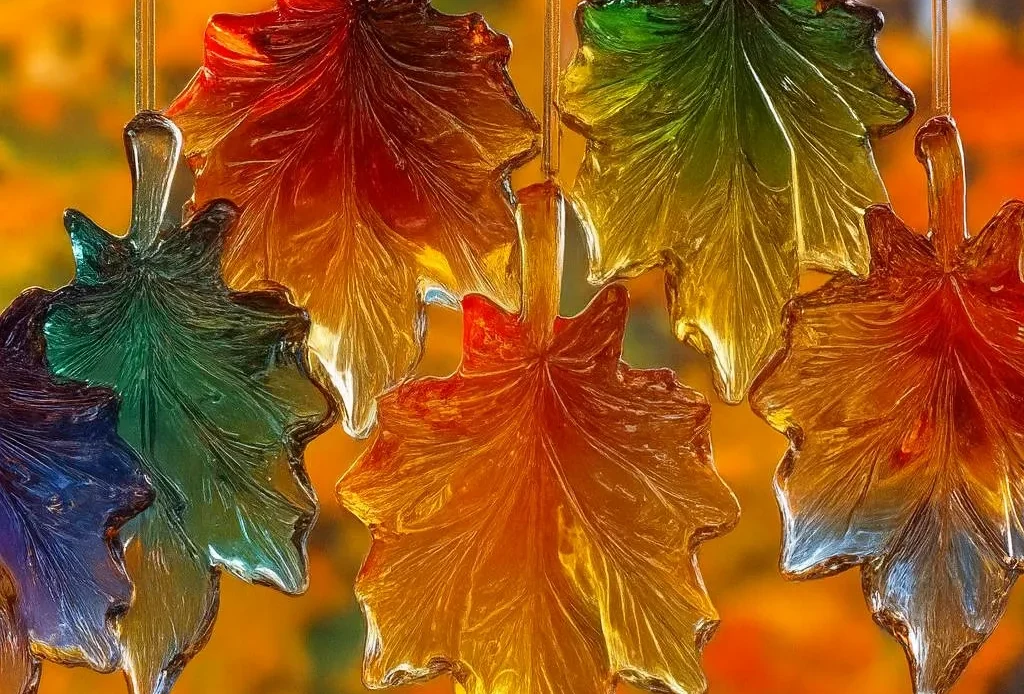
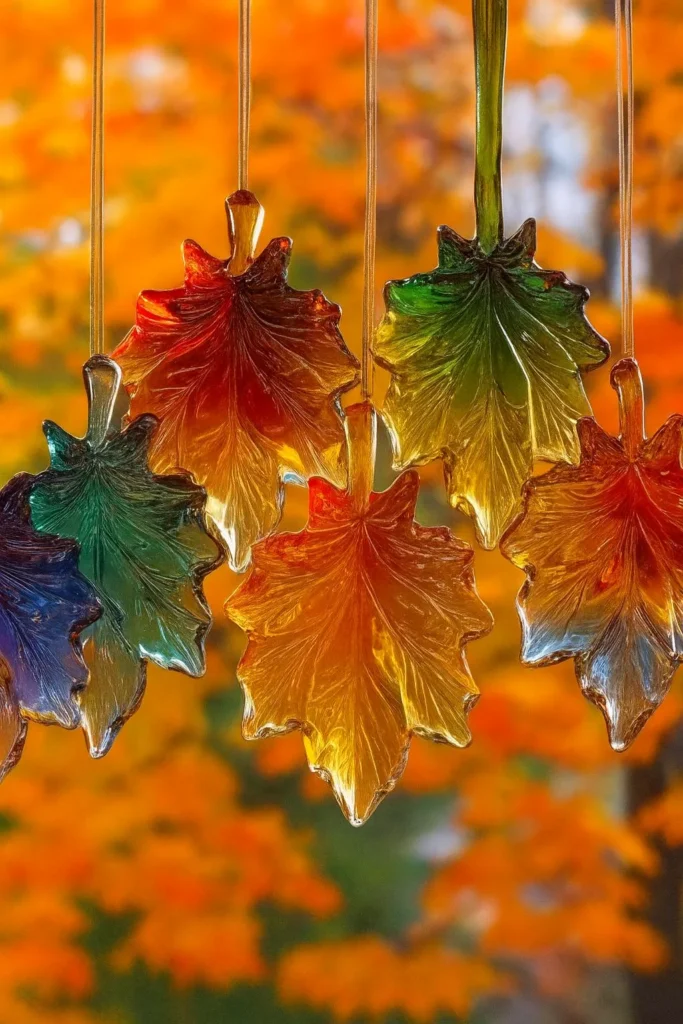
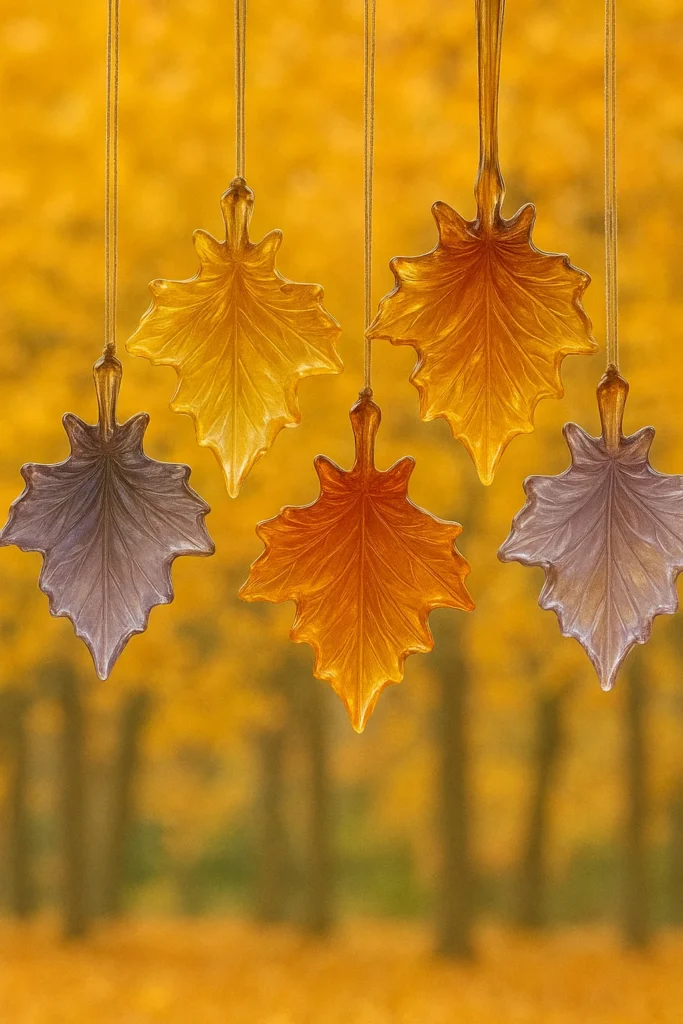
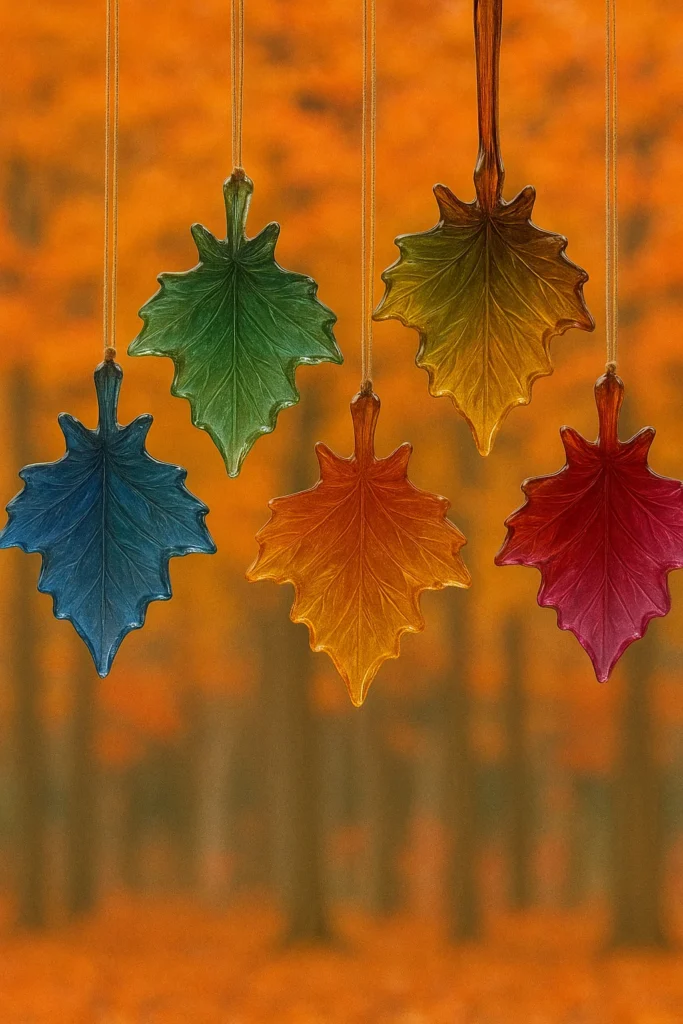
Fall – Leaves and Pumpkins
This is maybe my favorite. We use warm-toned crayons—think orange, rust, gold, burgundy—and cut out maple leaf shapes. It legit looks like your window is wearing a cozy flannel. Bonus: we add little jack-o’-lantern faces in October using black marker. Talk about holiday window decorations on a budget!
Winter – Snowflakes and Stars
Grab those cool-toned crayons—blues, whites, silvers if you have ‘em—and melt yourself a winter wonderland. We cut out snowflakes (tip: fold and snip, old-school style) and tape them to the windows. When the sun hits, it makes the room feel magical, like there’s a snowstorm inside. If you want to level up, layer two pieces with different shavings in each for a 3D vibe.
Tips for Better Results (From Real Life Mistakes)
Oh boy. You know those projects that look easy but still somehow manage to explode in chaos? This one almost did—until I learned a few things the hard way. Don’t worry, I’ve tested (and messed up) enough to save you the trouble. These DIY art tips are straight from my kitchen table, crayon shavings and all.
Don’t Over-Iron
The biggest fail? Thinking more heat = better melt. Nope. I scorched my first masterpiece. The crayons oozed out the sides, the wax paper shriveled like a raisin, and my ironing board still has a faint rainbow stain.
Use low heat only, and press gently. Just enough to melt—not cook—the crayons. I do short presses (like 5 seconds), then lift and check before repeating.
Less Is More (Seriously)
It’s tempting to pile on the crayon shavings, especially when the kids are hyped. But too many shavings just turn into a mushy mess. You want to see some wax paper between the colors for that stained glass effect. I aim for a light, even sprinkle. You can always layer more in a second sheet later if needed.
Use Good Quality Crayons
Yeah, the cheap ones melt… weird. They can leave greasy streaks or refuse to blend. Crayola isn’t paying me to say this, but they just work better for melted crayon crafts. Trust me—I’ve tried the dollar store brand and ended up with colors that looked like sad soup.
Cool Before You Cut
I’ve made the mistake of getting scissor-happy too soon. Warm wax paper is floppy and tears super easy. Let your art cool fully before you start shaping. It takes like 2 minutes. Use that time to clean up or grab a snack. Worth it.
Protect Your Surfaces
One time, I forgot the towel layer under the wax paper. Guess what happened? Melted crayon in the iron. That was a wild clean-up. Always place your project between an old towel or parchment paper to protect both the iron and whatever you’re pressing on. I now keep a “craft towel” just for this.
Make It a Kid-Safe Station
My kids LOVE doing this, but only the color-and-sprinkle part. I take over when it’s time to iron—just to keep things safe. If you’ve got older kids, show them how to do it with supervision. It’s a perfect way to sneak in some safe crafting habits while still having fun.
Bonus: Pre-Cut Shapes = Sanity Saver
If you’re doing this with a group (birthday party, classroom, etc.), try pre-cutting basic shapes. Melt first, then let them decorate the inside like a sun catcher coloring book. Less chaos. More fun. Total win.
Displaying Your Sun Catchers Like a Pro
So you’ve made your masterpiece—maybe five of them. Now what? Time to show off! Honestly, the window art display is half the fun. Watching sunlight dance through all those melted colors? It’s the reward for all the wax shavings in your rug (which you’ll find for weeks, by the way).
Here’s what’s worked best for me when it comes to how to hang sun catchers without turning your windows into a hot glue war zone.
Windows = Prime Real Estate
Obvious, I know, but seriously—pick your sunniest window. The ones that get that nice afternoon light? Chef’s kiss. I like to rotate mine depending on the season. Winter sun hits differently than summer sun, and the colors totally shift throughout the day.
We hang ours on the glass with small suction cup hooks, which work like a dream and leave no marks. You can also use washi tape, which adds a cute border and peels off easy.
Make a Gallery Wall (Yep, for Sun Catchers)
This was a happy accident. My youngest kept making more and more, and I ran out of windows. So I started lining them up like a mini kids art gallery. We used a tension rod inside the window frame and hung each piece with string and clothespins. It turned out way cooler than I expected—like a rainbow curtain!
If you’ve got a big kitchen or living room window, go for a grid or line formation. Symmetry makes it feel intentional, even if your shapes are a little… “abstract.”
Turn Them Into a Mobile
This one’s a hit in kids’ bedrooms. Use a wire hanger or an embroidery hoop, tie your sun catchers with clear string or yarn, and hang it from the ceiling. The breeze from a fan makes it spin gently. Total mood.
We once did this with all-star shapes for the 4th of July and hung it in the porch window. It caught the wind and sunlight perfectly. People thought we bought it.
Mix and Match with Other Crafts
If you’ve got other DIY kids room decorations, combine them! We’ve done paper chain borders, watercolor cutouts, and sun catchers all in one window. It’s like your kids have their own curated gallery space.
Also, if you’re into seasonal decorating, switch them out! Autumn leaves in October, hearts in February—it’s low effort and makes the space feel fresh.
Final Tip: Laminate if You Want Them to Last
Okay, I didn’t think of this one until later, but if you fall in love with a particular piece, you can laminate it before cutting shapes. It’ll last longer and resist curling over time. Just use thin layers of wax and flatten it well before laminating. Great for saving those “special” creations from fading in the sun.
And there you have it—your window’s about to look like a burst of color and joy, all thanks to a bit of wax paper and some old crayons. Whether you’re doing this with toddlers, teens, or just in need of a little low-stress art therapy yourself, wax paper sun catchers are a win every single time.
They check all the boxes: fun, cheap, creative, easy craft idea for kids, and just enough science to feel educational without anyone rolling their eyes. You don’t need fancy supplies or Pinterest-level perfection—just a little time and some sunshine.
So next time you’ve got a rainy day or a fidgety afternoon, pull out the crayons and give this one a go. It’s the kind of DIY window art that turns a plain space into something magical—and gives kids that “I made that!” pride that never gets old.
🌞 If this guide inspired you, why not save it on Pinterest and share it with your crafty friends? A little color goes a long way—and you never know who might need a splash of sunshine today.
