

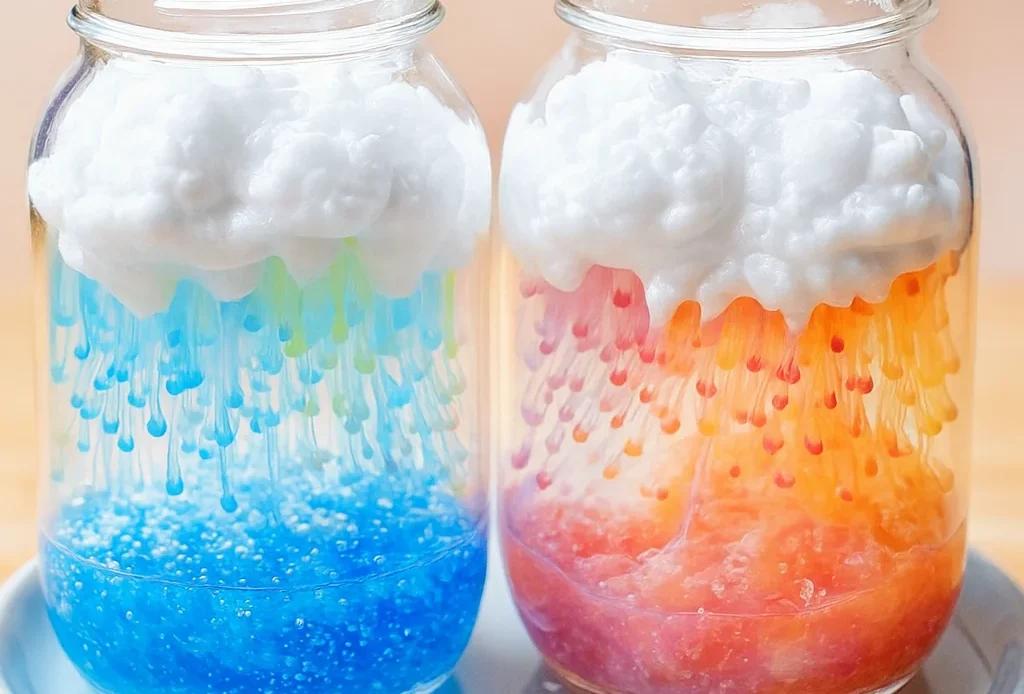
Have you ever wanted to make it rain—inside your own home? 🌧️ Sounds wild, right? Well, with just a few things from your kitchen and bathroom, you can create a magical weather experiment that looks just like a real cloud. Kids absolutely love this activity—and it’s a hands-on way to explore how rain forms in nature.
Science meets playtime in the best possible way. According to the National Science Teachers Association, “Hands-on learning boosts retention by up to 75%.” That’s huge! So let’s turn your kitchen counter into a mini weather lab. Grab your jar, and let’s make it rain—literally.
What You’ll Need to Create a Rain Cloud in a Jar
Okay, before you even think about dropping that food coloring, let’s talk gear. Making a rain cloud in a jar is crazy easy, but you’ve gotta have the right setup or it’s just a soggy mess and confusion. Trust me—I learned that the hard way when I tried using whipped cream instead of shaving cream (spoiler: total flop).
Must-Have Materials (And Why They Matter)
1. Clear Glass Jar or Vase
This is your canvas. Use one that’s transparent all the way around so you can see every bit of the action—kids love the color show when the “rain” starts falling. You could even use a mason jar if that’s what you’ve got. Just don’t use colored glass or plastic.
2. Water (About ¾ Full)
This represents the atmosphere. I know, sounds fancy. But really, you’re just giving the colored rain a space to fall through. Use room temperature water—it seems to help the color flow better than cold.
3. White Shaving Cream
NOT whipped cream. I repeat: not whipped cream. The shaving cream floats on the water and acts like a cloud. When it gets too heavy with “rain,” it releases drops through the water, just like real clouds do. Barbasol works great (and it’s cheap).
4. Food Coloring
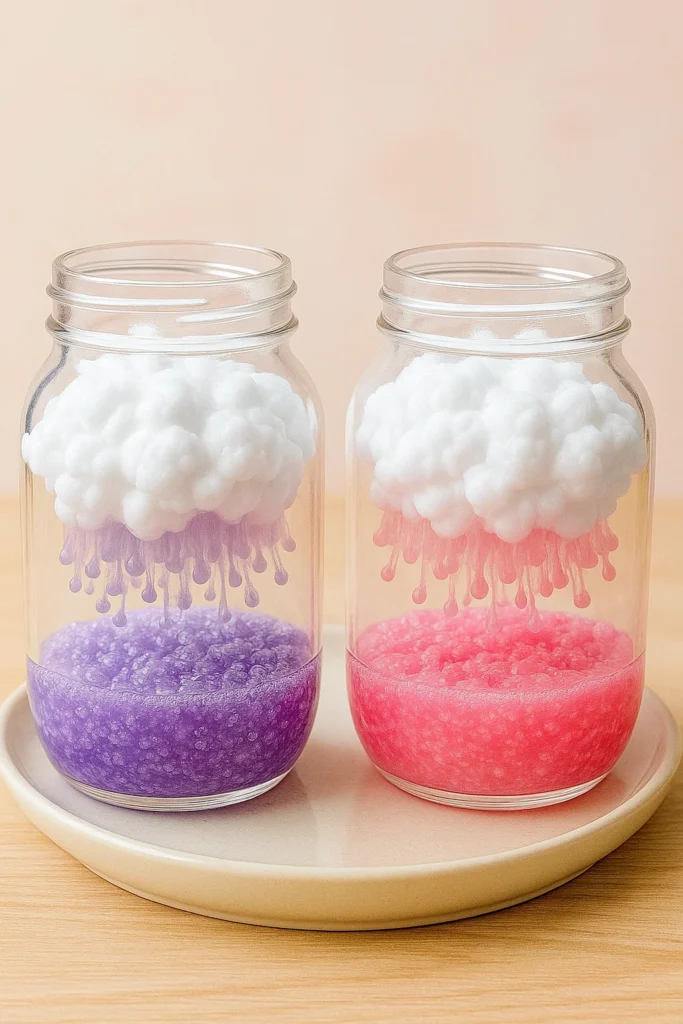
This is where the magic happens. Use blue for classic rain, or go rogue with purples, pinks, or green if you want rainbow weather. Pro tip: Mix a few drops of food coloring with a tablespoon of water first—don’t just drop straight dye into the cloud. You’ll get better drips and less mess.
5. Dropper or Teaspoon
You’ll need something to drip the color onto the cloud slowly. Too fast and you’ll swamp it. A dropper gives you control, but I’ve totally used a spoon before in a pinch. Just go slow and steady.
Pro Tips from My Kitchen Table Lab
- Put a paper towel or tray under your jar unless you’re cool with blue countertops.
- Don’t overdo the shaving cream—if it’s too thick, the rain takes forever to fall.
- Use a flashlight behind the jar for a crazy cool shadow effect that makes the cloud look like it’s glowing. Kids. Go. Wild.
Step-by-Step Guide to Making the Rain Cloud
Alright, time to get our hands a little messy—in the best way. I’ve done this experiment with nieces, neighbor kids, even a couple of adults who got way too into it. 😅 If you’re aiming for that wow moment when the rain starts falling through the “cloud,” timing and patience are your besties.
Step 1: Fill the Jar ¾ Full with Water
Think of this as setting the stage. The water represents the sky or air. Use room temperature water (cold can mess with how the colors behave—trust me, I found out the hard way). The clearer your jar and water, the better the visuals.
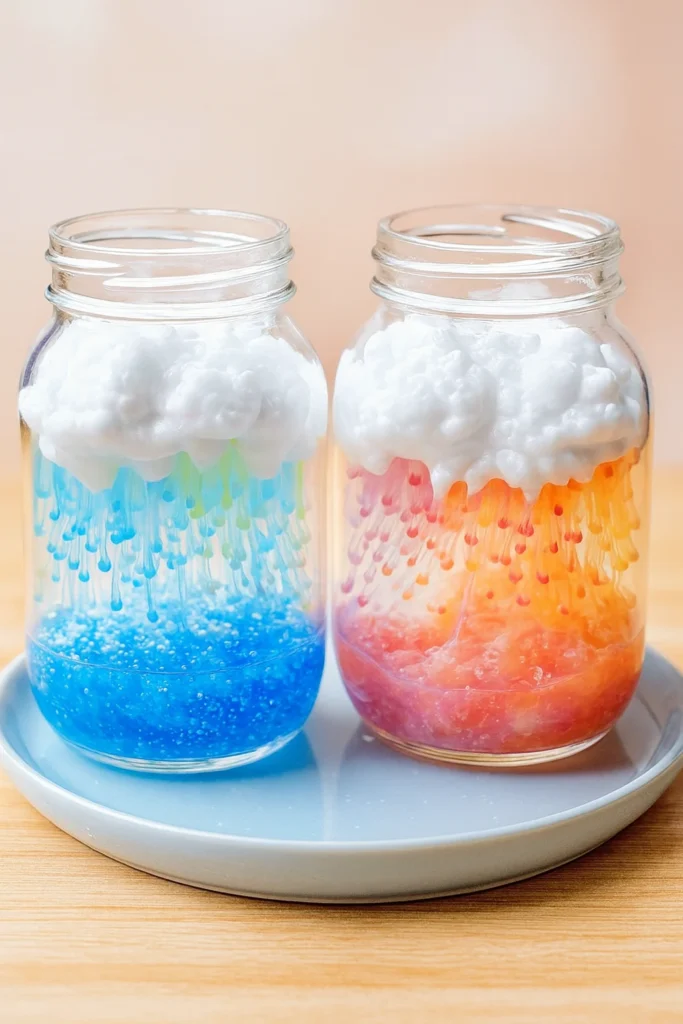
Step 2: Add the Shaving Cream “Cloud”
Go slow here. Spray shaving cream on top of the water until you have a nice, puffy layer floating. Don’t pile it sky-high though—if the cloud’s too thick, it takes forever for the rain to break through. One time I got impatient and added a double layer… 10 minutes later, still no rain.
Step 3: Mix Food Coloring with Water
This is where you prep your “rain.” Mix a few drops of food coloring with about a tablespoon of water in a small cup or bowl. This gives you more control and makes the color drip better through the foam. Straight-up dye? Way too thick, and it just sits there.
Step 4: Drip the Color Onto the Cloud
Using a dropper (or teaspoon if you’re winging it), gently drip the colored water onto different spots on the shaving cream. Don’t rush! It takes a second, but once the cream can’t hold the “rain” anymore—it starts to fall through like a slow-motion storm. It’s so satisfying. Like watching a lava lamp made of rainbows.
Real Talk: Stuff I Wish I Knew First Time
- If the food coloring isn’t dropping through, the cream’s probably too thick. Scrape a bit off and try again.
- Kids will want to dump the whole bowl in—give them a few drops at a time and make it a guessing game: “Which color will fall first?”
- Try layering colors for a crazy cool tie-dye storm. I accidentally discovered this when my blue and red mixed mid-cloud. It looked like galaxy rain.
The Science Behind the Rain Cloud Experiment
Okay, so you’ve made the cloud, you’ve watched the rain fall—everyone’s cheering, probably yelling “do it again!” But now comes the part that turns this from just fun into smart fun. Let’s break down what’s actually going on inside that jar.
What the Water and Shaving Cream Represent
So, the water in the jar? That’s like the air in our atmosphere. And the fluffy shaving cream on top? That’s your cloud. In real life, clouds are made of tiny water droplets that hang out up in the sky, chilling (literally). When enough water builds up in those clouds, it gets heavy—and gravity says, “nah, you’re coming down now.” That’s rain.
In the experiment, your shaving cream gets soaked with colored water. Once it’s saturated enough, it releases that water—just like a cloud would in nature. Pretty cool, right?
Why the Color Falls Through
The food coloring mixed with water acts like condensed moisture. At first, it sits on top of the cloud, just like real vapor does in clouds. But the more you drip, the heavier it gets. Eventually, the shaving cream (aka the cloud) can’t hold it anymore, and the “rain” starts falling down through the “atmosphere” in the jar.
It’s a visual way to teach big science ideas like:
- Condensation
- Saturation
- Precipitation
- Gravity
One time I did this during a stormy week and used it to explain why it rains before a thunderstorm. It totally clicked for the kids.
Nerdy But Cool Bonus Facts
- Real clouds can weigh millions of pounds! But the droplets are so tiny and spread out, they float. Until… they don’t.
- The reason we use shaving cream is because it’s porous. It lets water build up and then break through, like clouds.
- You can tie this into the water cycle too: evaporation (invisible here), condensation (the food coloring on the cream), and precipitation (when it drips).
Make It More Educational
If you’re homeschooling or teaching, this is a perfect moment to bring in terms like:
- Water cycle stages
- Atmospheric pressure
- Weather patterns
- Storm formation
I once had a kid ask if this was how tornadoes start. Not quite—but hey, that’s curiosity, and that’s the win. You’re not just doing a craft, you’re planting seeds of wonder.
Fun Variations to Try with Your Cloud Jar
Alright, so you’ve mastered the classic rain cloud in a jar. Now what? Time to remix it. This experiment is like the pizza of science activities—once you’ve got the base, you can top it however you want. I’ve tried so many twists over the years, and some of them? Absolute crowd-pleasers.
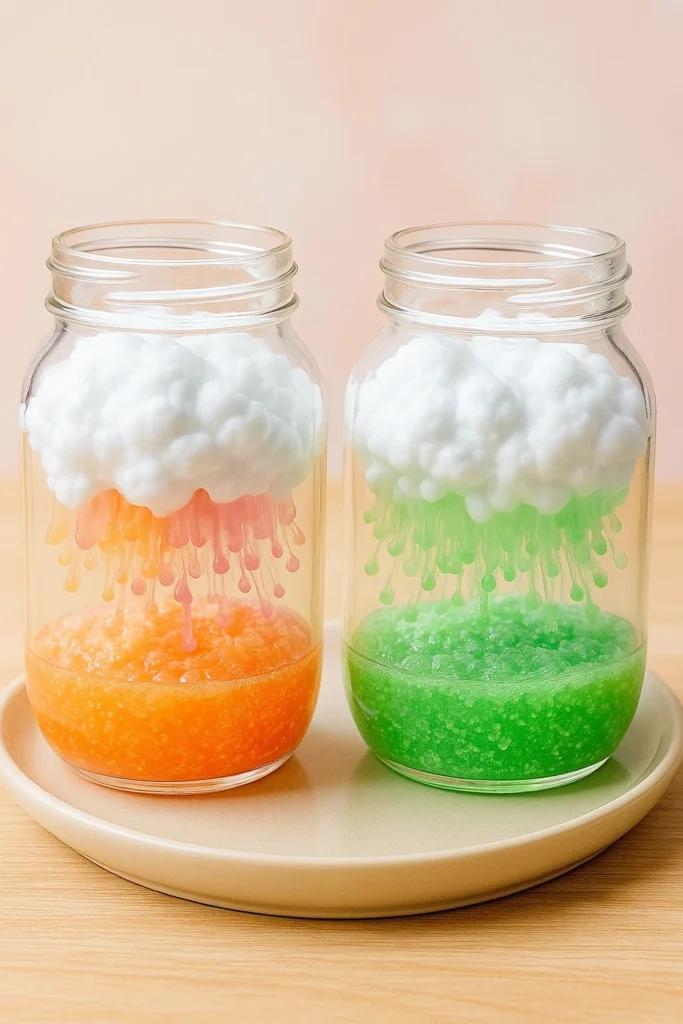
Rainbow Rain: Go Full Color Mode
Instead of one color, try layering multiple food colors. Start with blue, then green, red, and yellow. Drop each into different cloud spots and watch them swirl together like a weather-themed lava lamp. Seriously, it’s mesmerizing.
One time I added purple and accidentally made “galaxy rain.” It looked like space was dripping into the jar.
Add Glitter or Confetti
Want to make it sparkle? Mix in a tiny bit of eco-friendly glitter or even biodegradable confetti into your colored water. It falls slower and looks like magical snow. Just don’t overdo it or it’ll clog the “cloud.”
And fair warning—glitter gets everywhere. Use a tray. Or do it outside. Or mentally prepare for a sparkly kitchen.
Light It Up with a Flashlight
Turn off the lights, and shine a flashlight behind or below the jar. It lights up the water and makes the rain glow. It’s perfect for bedtime science or if you’re filming for social media. Insta-worthy for sure.
I did this once during a power outage—yeah, for real—and it totally saved the day.
Try the Upside-Down Version
Okay, this one’s more advanced, but if you’re feeling adventurous, flip the whole concept. Use a small clear bowl on top and pour the colored water slowly under a suspended cloud layer (like held with a spoon or mesh). You can watch the rain rise like reverse weather. Mind. Blown.
Other Wacky Add-Ons I’ve Tried (And You Should Too)
- Coconut-scented shaving cream for a tropical storm vibe
- Adding tiny plastic animals in the bottom for an “under the storm” scene
- Using warm water to speed up the dripping effect
- Mixing dish soap with water for bubble rain (weird but kinda cool)
Tips for a Mess-Free and Educational Experiment
Look, we all love a good messy experiment—until it ends up on the dog. I’ve done this rain cloud in a jar thing a lot, and while it’s fun every time, I’ve also learned the hard way that a few simple tweaks make it waaaay easier to enjoy (and less stressful to clean up).
So here’s how to keep things smooth, smart, and squeaky clean(ish).
Set Up a “Science Zone”
Do yourself a favor—put everything on a tray. I use one of those plastic dishpans from the dollar store. It catches all the drips, food coloring splashes, and sudden elbow disasters. (Because yes, someone will knock the jar over at some point.)
Lay down paper towels or a plastic tablecloth too. Especially if you’re working with kids under 7 or a group.
Use Clear Bowls for Visibility
I used to use random jars from my cabinet, but I found that shallow glass bowls or wide-mouth jars show off the rain action better. Kids can crowd around and actually see the droplets falling like real rain, which makes it more fun and more educational.
If you’re doing this for a class or group lesson, clear bowls are a game-changer.
Ask Questions While They Watch
Here’s where the learning happens. Don’t just let them drip and walk away—talk about what’s going on.
Try asking:
- “What do you think will happen next?”
- “Why do you think the rain falls?”
- “What color do you think will fall first?”
That kind of curiosity keeps them engaged and thinking critically, even when it feels like just a fun craft.
Tie It into a Lesson
This activity is a perfect add-on for:
- Weather units in science class
- The water cycle
- Cloud types
- Color mixing lessons
I once paired it with a storybook about storms, and the kids made their own storm jars afterward. It turned into a full lesson without me even planning it that way!
More Quick Tips to Keep It Clean & Smart
- Limit each kid to 1 color at a time = less chaos
- Label droppers if you’re using multiple colors
- Keep baby wipes nearby (food coloring is a beast)
- Make a prediction chart—great for group science projects
- Have kids draw what they saw happen afterward
So there you have it—your very own rain cloud in a jar! 🌧️ Whether you’re teaching weather to a group of curious kiddos or just trying to entertain your own with something a little more wow than screen time, this experiment hits the sweet spot between learning and play. Every time I’ve done it, I’m amazed at how something so simple can feel so magical.
You’ve just explored evaporation, condensation, saturation, and precipitation—all with a jar, some foam, and a little food dye. And honestly? That’s pretty genius. It’s not just an experiment; it’s a mini weather lab you can set up in five minutes.
Don’t stop with one cloud—try different colors, use different containers, ask new questions. Make it a routine rainy-day ritual. And hey, if your jar looks awesome (which it will), snap a photo and pin it!
📌 Share your rain cloud jars on Pinterest!
Tag it with #DIYRainCloudJar and inspire other science-loving families to give it a whirl.
Thanks for coming on this rainy little adventure. Now go let it pour—on purpose.
