

Have you ever wanted to create your own erupting volcano—without lava, but with loads of fizz and color? Say hello to the DIY Salt Volcano, a kid-friendly science activity that’s equal parts mesmerizing and educational! Whether you’re looking for a rainy-day craft, a homeschool experiment, or just want to wow your little ones, this bubbly volcano is the answer.
All it takes are a few kitchen staples and a dash of curiosity. According to a survey by Science Buddies, 76% of kids said their favorite experiments involved colorful reactions. This one’s a guaranteed crowd-pleaser.
Let’s dive into the colorful, bubbling magic and learn how you can make a DIY Salt Volcano right at home!
Ingredients You’ll Need for a DIY Salt Volcano
Okay, real talk—I’ve done dozens of science experiments for kids at home, but this one? Total game changer. It’s colorful, fizzy, and so easy it’s borderline dangerous (like, you’ll wanna do it again and again).
My First Time? A Mess… But Worth It
The first time I made a salt volcano, I didn’t read the instructions all the way through—classic me. I just dumped the oil in like I was deep-frying something. Spoiler: it didn’t bubble. At all. My daughter looked at me like I’d just ruined Christmas.
But once I got the proportions right? MAGIC. We had a full-blown bubbly rainbow show happening on our kitchen counter.
Here’s exactly what you’ll need (don’t skip anything, trust me):
The Ingredient Lineup
- 1 Clear Glass or Jar – You’ll want to see the action. Mason jars or old pasta sauce jars work great.
- 1/2 Cup Vegetable Oil – This creates the layer that traps color and makes the bubbles rise.
- 1/2 Cup Water – Just plain tap water. Add your color to this.
- Food Coloring – Use bold colors (like neon blue or firetruck red) so the bubbles really pop.
- 2–3 Tablespoons Salt – Regular table salt is perfect. Don’t use sea salt—I tried that, and it was underwhelming.
Quick Tips from the Trenches
- If you’re doing this as part of your STEM learning at home, label the jars with your kids and talk through each layer. That really helps them feel like little scientists.
- Add food coloring to the water, not the oil. Learned that the hard way—food dye won’t mix with oil, so it’ll just sit there like sad polka dots.
- Want a mega fizz? Use slightly warm water. It’s not necessary, but it helps the salt kick in faster.
- Set everything on a baking tray or towel. I skipped this once and spent 20 minutes wiping oily food coloring off my countertops. 0/10 recommend.
This setup is golden for a rainy day educational activity at home, and honestly, it takes less than 5 minutes to prep. I keep these ingredients in a little science bin now, ready to go for surprise “boredom emergencies.”
I’ll walk you through the eruption process next—get ready to see your kids’ eyes light up.
Step-by-Step Instructions to Make Your Salt Volcano Erupt
Alright, this is where the fun really kicks in. If you’ve got your ingredients ready, you’re literally 60 seconds away from a fizzy, bubbling science show. I did this last week with my nephew, and the look on his face? Priceless. Like, pure “is this magic or science?” energy.
Here’s the lowdown on how to make this easy science experiment explode (safely).
Step 1: Fill the glass about halfway with water
I like using filtered water because I feel fancy, but tap works fine. Add 5–10 drops of food coloring directly into the water. Stir it up until it’s nicely mixed. This is gonna be the base for your “lava.”
Step 2: Slowly pour in the vegetable oil
Pour the oil over the back of a spoon if you want to get real about it. That keeps it from mixing with the water too quickly. The oil will float above the water, and kids always love seeing that separation. Quick science moment: oil’s less dense, so it hangs out on top.
Step 3: Sprinkle salt into the glass
Start with one spoonful. The salt grabs some oil on its way down, sinks to the bottom, and then rises back up as the salt dissolves. That’s what creates those gorgeous, fizzy bubbles. It’s honestly addictive to watch.
Step 4: Keep adding salt and watch the show
Seriously, just keep going. The more salt you add, the more bubbles you get. I usually do this until my kids start yelling “AGAIN!” or until I run out of salt. Whichever comes first.
Pro tip: If you’re doing STEM at home, ask your kids to predict what’ll happen before each step. It turns this into a full-on hands-on science activity, not just a mess-making session (though, full disclosure, it can be both).
Bonus tip: Don’t stir it after adding the salt. That ruins the layers and flattens the eruption. I learned that after my 4-year-old got a little too excited with the spoon.
This experiment is the kind of thing you’ll want to do over and over again. I even caught myself doing it alone once after bedtime. No shame.
Want to take it to the next level? Next up, I’ll explain the actual science behind what’s going on inside that bubbly jar.
The Science Behind the Bubbling Magic
Oil + Water = Science in Action
Let’s start with the basics. Oil and water don’t mix—ever. That’s because water is denser than oil. So when you pour the oil into your jar, it floats right on top of the colored water like it owns the place. It’s a perfect visual for STEM learning activities, especially when teaching kids about density and liquid separation.
The Secret Power of Salt
Now for the magic ingredient: salt. When you drop salt into the glass, it grabs a bit of the oil and drags it down through the water. That’s because salt is denser than both oil and water, so it sinks fast. But here’s the twist—once the salt starts dissolving at the bottom, the trapped oil breaks free and rises back up. That’s where all the fizzy action comes from.
Why the Bubbles Rise and Fall
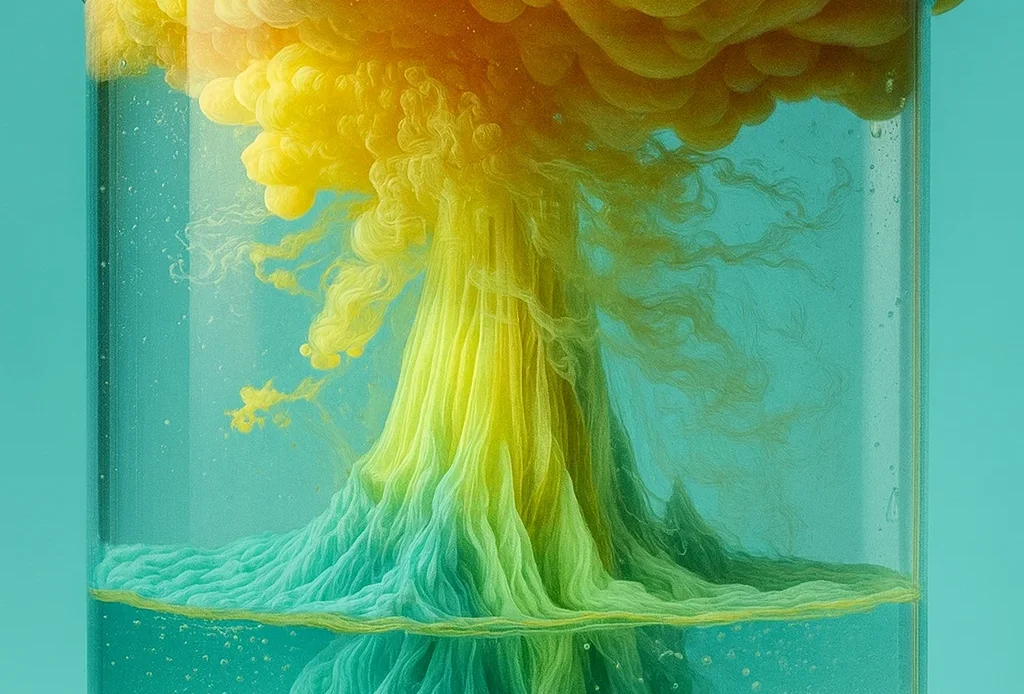
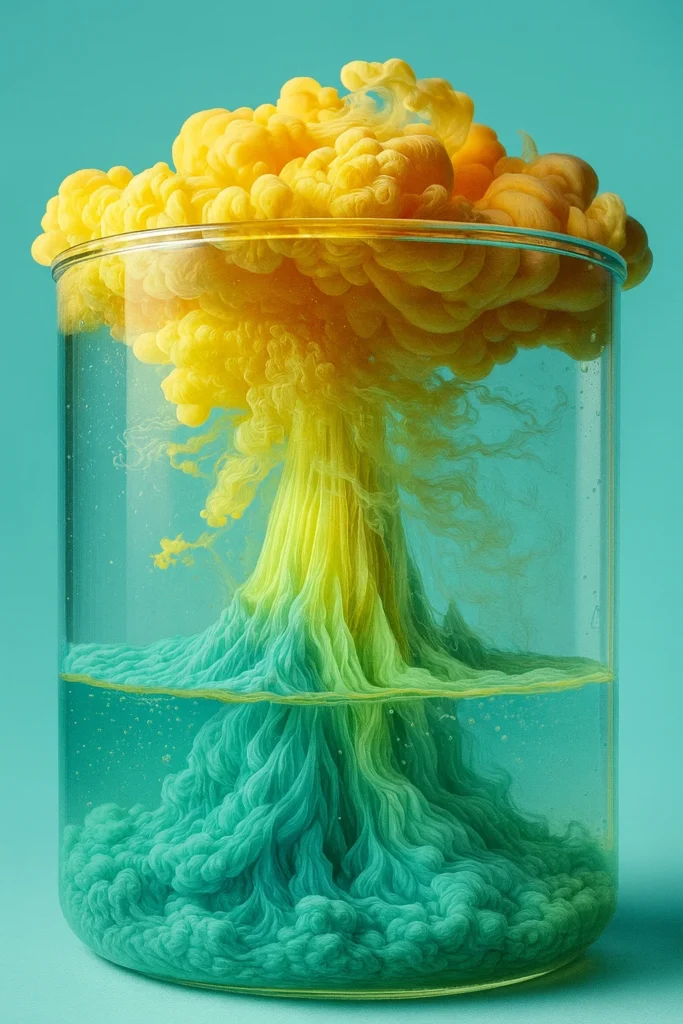
As the oil comes back up, it forms colorful blobs that look like tiny lava eruptions. The rising bubbles are just oil making its way to the top again—no baking soda or vinegar needed. It’s simple, effective, and honestly just beautiful to watch.
Teaching Moments Disguised as Fun
This is one of those fun chemistry for kids moments where they’re totally engaged, but also learning the basics of density, solubility, and gas formation. If you want to keep the educational momentum going, throw in questions like:
- “What happens if we try sugar instead of salt?”
- “Why does the oil float back up?”
- “What if we add more food coloring?”
It’s Science… But Feels Like Magic
The first time I did this, my daughter yelled, “It’s like a potion!” I mean, that’s pretty much the vibe. A DIY kids science experiment that feels like wizardry but is grounded in real chemistry? That’s a win.
Next, let’s get creative. I’ll show you how to upgrade your salt volcano with glow effects, glitter, and more.
Creative Variations to Try With Your Salt Volcano
Let’s be honest—once you’ve done the classic version of the salt volcano, you’ll want to jazz it up. I know I did. After about five rounds of the basic version, my kids were still obsessed, but I wanted to sneak in some extra science fun for kids… and, okay, maybe just entertain myself too.
Here are some cool ways to level up your volcano game:
Add Glitter or Confetti for Sparkle Eruptions
One word: sparkle. Add a pinch of fine glitter or biodegradable confetti before you sprinkle the salt. The results? Chef’s kiss. It turns your basic fizz into a full-on glitter explosion. Just be ready for a little extra cleanup—it’s worth it though.
Try Glow-in-the-Dark Food Coloring
This one’s a showstopper. We did this for a sleepover science night and the kids totally lost it. Use glow-in-the-dark or UV-reactive food coloring and dim the lights. It makes your jar look like a bubbling cauldron straight out of a wizard movie. Bonus points if you use blacklight.
Mix Up the Oil
I used avocado oil once just because I ran out of veggie oil. The bubbles were slightly slower to rise, but it still worked—and it smelled way better. Try using baby oil too. It’s clear, which makes the food coloring really pop. It’s a small tweak, but it makes a big visual difference.
Experiment With Different Salts
Yes, even the salt matters. I tried coarse kosher salt once, and the eruption was more delayed but gave bigger bubbles. Table salt gives you fast fizz, while rock salt… honestly didn’t work well for me. Still, it’s fun for kids to compare and take guesses.
Layer Multiple Food Colors
This one looks so cool. Add red to one half of the water, blue to the other. Don’t stir it too much. As you sprinkle in the salt, the bubbles blend the colors and give you that wild lava-lamp effect. It’s great for sensory play and turns into a mini art project too.
Combine With a Lava Lamp Activity
If your kids are older or you’re feeling ambitious, try combining this with the classic baking soda + vinegar experiment in a separate jar. Talk about differences, reactions, and what makes each one unique. It’s an awesome way to bridge fun and learning in a STEM project idea kind of way.
These variations aren’t just for looks—they actually get kids thinking like little scientists. Every change is a chance to ask “why?” and that’s where the real learning happens.
Next up? I’ll give you my go-to tips for making this a stress-free, fun-filled experiment when working with kids.

Tips for Doing This Salt Volcano Activity With Kids
I’m not gonna lie—doing science experiments with kids can be chaotic. Like, “there’s food coloring on the ceiling” chaotic. But over time (and with more than a few messes), I’ve figured out a few tricks to make this learning through play moment way smoother—and a lot more fun for everyone.
Set Up a Science Zone
Before anything, lay down a tray or an old towel. This isn’t just for looks—trust me, food coloring has a way of showing up on white countertops like it’s auditioning for a crime show. I use a baking tray with raised edges to catch spills. It’s a game changer.
Keep It Kid-Led
Let the kids do the pouring, sprinkling, and even the oops moments. That’s part of the magic. When they own the process, they learn more. Just have wipes nearby for the inevitable salt-in-eye moment (yes, that happened once).
Turn Mistakes Into Teachable Moments
I had one session where my son dumped half the salt box into the jar. It looked like the volcano had a nervous breakdown. But we rolled with it and talked about what happens when you oversaturate the water. Boom—educational activity for kids achieved.
Make It a Group Effort
This is perfect for family science projects or even playdates. Give each kid their own jar and ingredients. It becomes a fun competition: who can get the biggest fizz? The best color combo? It’s surprisingly bonding, and the photos turn out adorable.
Keep the Conversation Going
Ask them what they think will happen if you add more oil. Or use a different kind of salt. Even little ones can start making predictions—it’s how science minds are built. I try to throw in questions like, “Why do you think the bubbles go up?” even if I know they’re gonna say, “Magic.”
Have a Cleanup Plan (Seriously)
Colorful oil + tiny humans = a cleanup scene straight out of a sitcom. Have paper towels, a damp sponge, and maybe even a change of clothes nearby. I now keep “science shirts” in a drawer for exactly this reason.
Doing this activity with kids isn’t just about fizz—it’s about connection. It’s one of those simple things that turns into a lasting memory. My daughter still calls it “the potion experiment” and asks to do it whenever she’s bored.
Next up, I’ll wrap everything up and give a little nudge to share the magic with others—because this one’s too good to keep to yourself.
There you have it—your very own DIY Salt Volcano that bubbles, fizzes, and amazes! Whether you did it for a rainy afternoon activity, a homeschool science lesson, or just needed a quick win to keep the kids entertained, this experiment brings serious payoff with very little prep.
What I love most is how this simple setup turns into so many things at once: it’s colorful, interactive, packed with “why does that happen?” moments, and it doesn’t need any special gear. Just stuff you’ve already got in your kitchen. Honestly, this has become one of our go-to home science experiments.
It’s the kind of educational fun for kids that doesn’t feel forced. They’re learning about density, chemical reactions, and cause and effect—and they think they’re just making potions. Win-win.
If you enjoyed this, pin it to your STEM board on Pinterest and spread the science magic. Whether you’re a teacher, parent, or just someone who loves a good fizzy explosion, this activity is too good to keep to yourself.
Got your own twist on the salt volcano? Tried glitter? Glow dye? Giant jars? I’d love to hear what worked (and what totally flopped). Science is better when we share it.
Now go shake up that salt and make something bubble—your volcano’s waiting.
